views
Removing and Cleaning the Hose
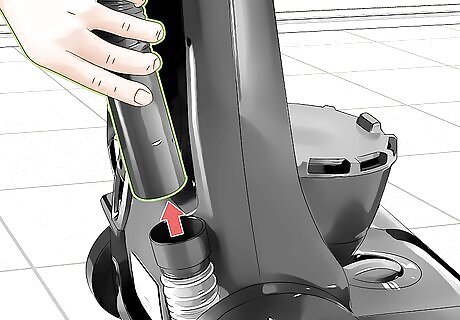
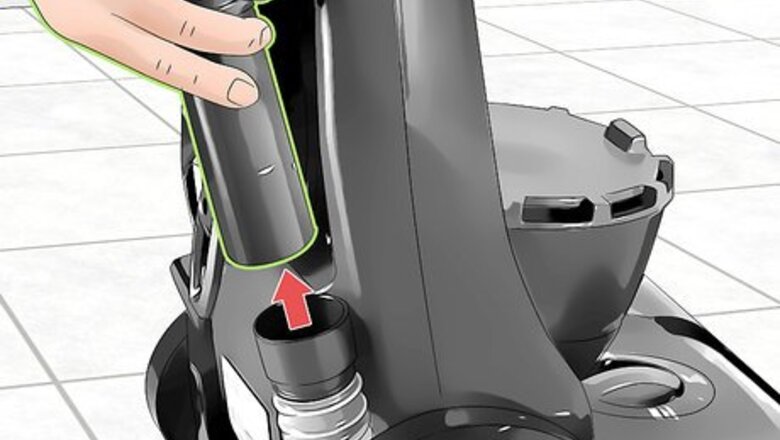
Pull the hose off of your vacuum. Your vacuum will have an exterior hose that connects from the roller on the bottom to the tank or bag. Pull the end of the hose out from the base of the vacuum and remove the other end from the main body. If your vacuum hose screws on, unscrew it before pulling it off of the machine. Set the hose on a flat surface once you remove it. Unplug your vacuum before you start performing maintenance on it to avoid the risk of shock. Check the manufacturer’s instructions for your vacuum to see how to remove the hose.
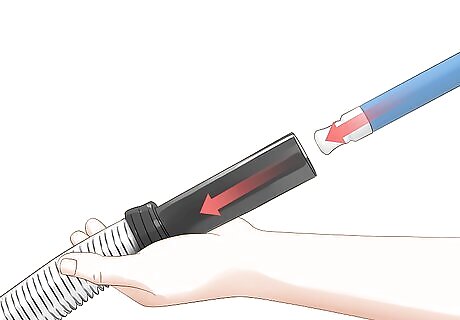
Push a broomstick through the hose to force any large clogs out. Take the end of the broomstick and feed it through the hose. Push the stick in slowly so you don’t accidentally break or puncture the hose. If there is a large clog in your hose, the broomstick will force it out from the other end. If the hose is translucent, hold it up to a light so you can see through it and find where the clog is. If not, you can try looking through the end of the hose. If you don’t see a clog, then it may be in the lower hose attached to your vacuum.Warning: Don’t use a coat hanger or anything sharp since it could poke through your hose and affect the suction on your machine.
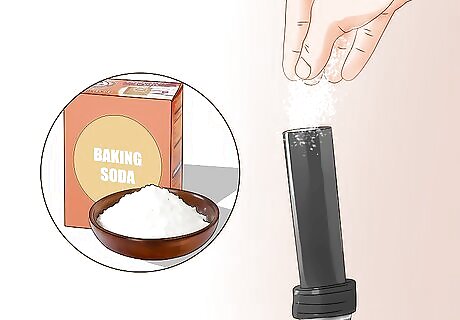
Pour baking soda and vinegar in the hose clean out any buildup inside. Move your hose into your sink and pour ½ cup (115 g) of baking soda into it. Shake the hose so the baking soda coats the interior. Then, slowly pour ⁄2 c (120 ml) of white vinegar into the hose. Let the baking soda and vinegar bubble inside of the hose for 2-3 minutes so it can break apart any buildup inside. You can also use powdered laundry detergent with hot water if you don’t have baking soda and vinegar.
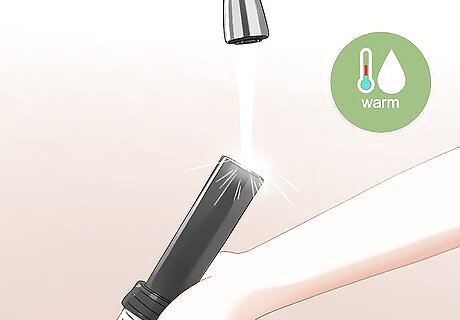
Rinse the hose with warm water. Turn your sink on to the hottest water that you can handle. Run the water through the hose to rinse any baking soda and vinegar left in the hose. Make sure to put the water into both ends of the hose so it’s completely cleaned out. Try soaking the hose in a sink full of water if you can’t easily direct your sink into the hose.
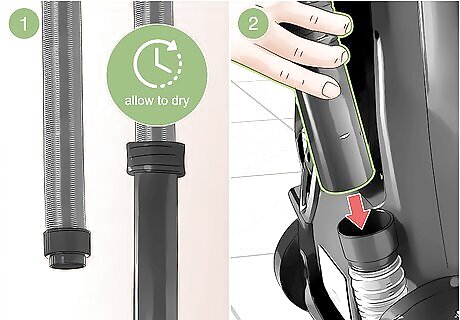
Hang the hose up to dry completely before reattaching it. Set the hose over the edge of your sink or in an area where both of the ends point toward the floor. Leave the hose to dry for at least 1 hour. Once the hose is completely dry, put the hose back onto your machine. Don’t connect the vacuum hose while it’s still wet so you don’t accidentally shock yourself.
Pulling out a Clog in the Lower Hose
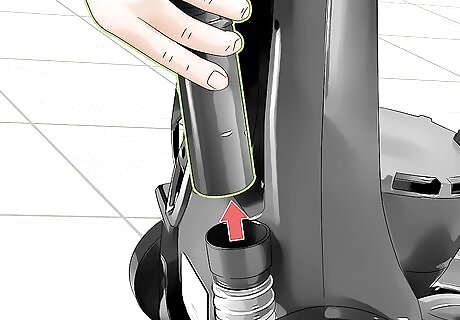
Take the main hose off of the vacuum. The main hose connects near the base of the roller as well as on the main body of the vacuum. Pull off or unscrew the hose from the ports so you can access the lower hose. Read the manufacturer’s manual to see how to properly disconnect the hose from your vacuum.Warning: Make sure you unplug your vacuum before you start working on it.
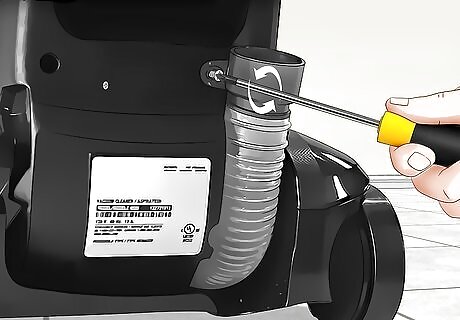
Unscrew the lower hose from the vacuum body. The lower hose connects to the base of the vacuum and is usually the area where the main hose plugs into the machine. Locate the screw holding the lower hose in place with a screwdriver. Set the screw aside in a place where you won’t lose it. Some lower hoses may clip onto the vacuum rather than being screwed in. If so, pull the lower hose out of the clip.
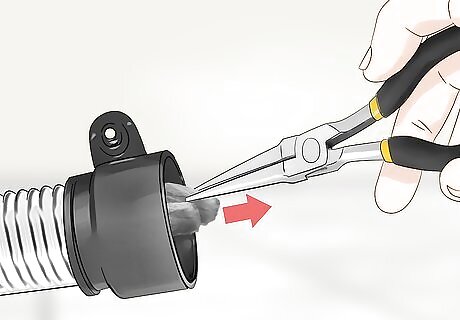
Grab the clog with a pair of needle-nose pliers and pull it out. Open a pair of needle-nose pliers and feed it into the end of the lower hose. Once you feel the clog, pinch the blockage with your pliers to get a good grip on it. Pull the clog out of the hose and throw it away. You should be able to see the clog in the lower hose if you look inside of it. If you can’t see a blockage, then the lower hose may not be clogged and you may have a problem with the roller. You can also try using another vacuum to pull the clog out.
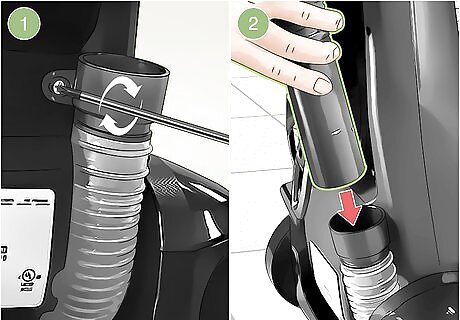
Reattach the hoses to your vacuum. Hold the lower hose against the body of the vacuum and place the screw back in the hole. Use your screwdriver to reattach the hose so it doesn’t move around anymore. Then, reconnect the main hose so it stays in place. Turn on your vacuum and test the suction to see if it works again.




Comments
0 comment