
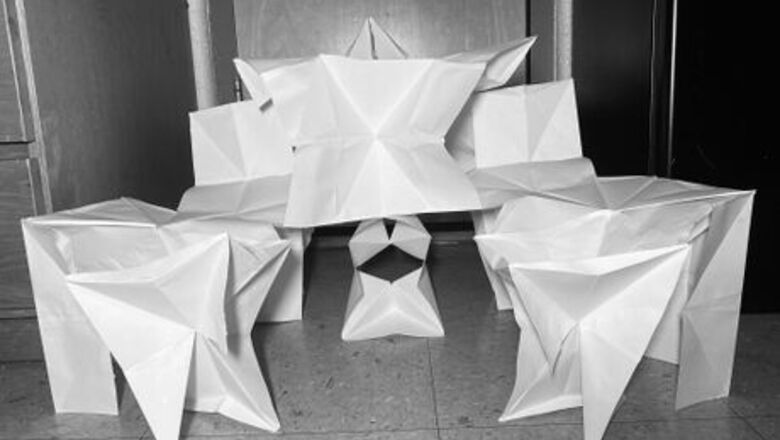
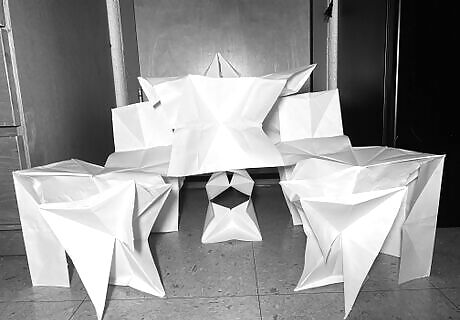
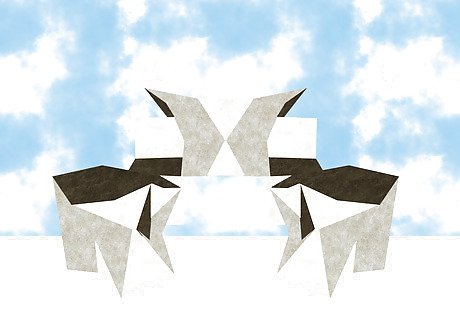
Take photos of your miniature model. Using a phone or camera, capture your miniature model in the most ideal conditions and upload the finished photos to your PC. Utilize lighting to create realistic cast shadows that mimic the location of the sun in your structure’s imagined environment. Try to capture the model with a clean, unbusy background.Structure new.jpg
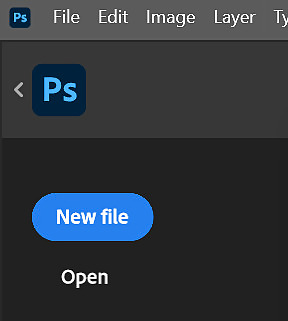
Open Photoshop and create your file. When creating a new file, be sure to adjust the width and height of the document to fit your structure’s needs A tall structure calls for a larger height, while a wide structure calls for a longer width.Screenshot 2025 06 15 231236.png Screenshot 2025 06 15 231250.png
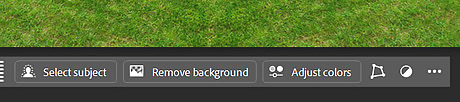
Insert the image you wish to bring to life. Find “File” in the top right corner and click “Place Embedded.” Select the photo of your choosing from your files. Remove the background by clicking on the inserted photo and selecting “Remove Background” at the bottom of the screen. Screenshot 2025 06 22 230546.png Screenshot 2025 06 15 162634.png
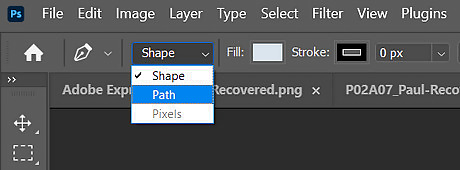
Prepare to trace the structure's outline. Select the pen tool located on the left of the screen. In the top left, convert from “Path” to “Shape,” enabling the option to turn the stroke to 0 and alter the fill of each shape.Screenshot 2025 06 15 163625.png
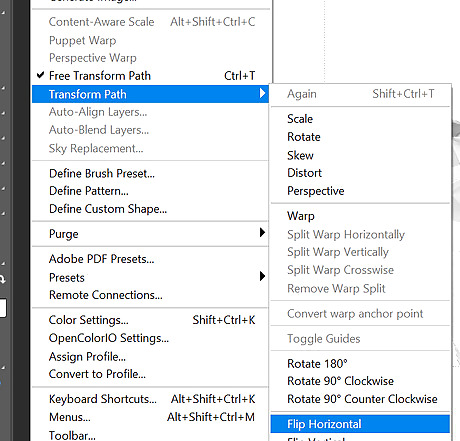
Trace the outline of the structure. If your structure is unintentionally uneven, you may over or under trace to fix crooked lines and inconsistencies. Each individual shape will later receive its own textured image, so it is best to break larger shapes up into smaller pieces to prevent blurring or warping of the texture. If your structure is symmetrical, you may trace only one side of shapes and copy and paste the selection to ensure consistency. To flip this new group of shapes, find “Edit” in the upper left, select “Transform Path,” and click “Flip Horizontal” or “Flip Vertical,” depending on the layout of your structure. Align the two sides so that they meet in the center, and you now have a completely outlined structure.Screenshot 2025 06 15 165810.png Screenshot 2025 06 15 233011.png
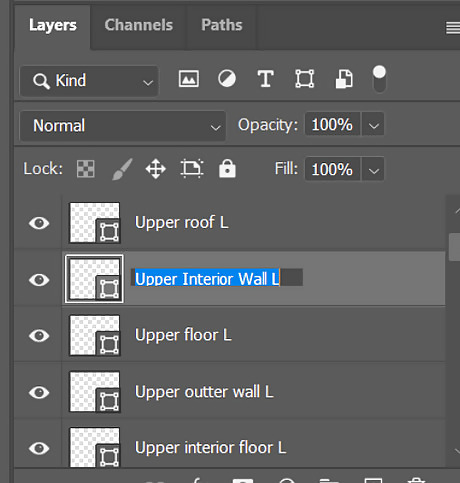
Name each individual shape. Under the “Layers” panel at the bottom right, double click a shape’s name to re-name it. This will help with organization when adding textures. Some things to possibly include are the floor level of the shape, the side it resides on, whether it is on the interior or exterior, if it has a main function such as a door or window, etc. You may now also delete the inserted image of your miniature model.Screenshot 2025 06 30 142716.png
Insert an image of one of the desired textures. Whether the texture is an original photo or a photo found online, they are inserted the same way through “Place Embedded.” You may rename the texture as well.
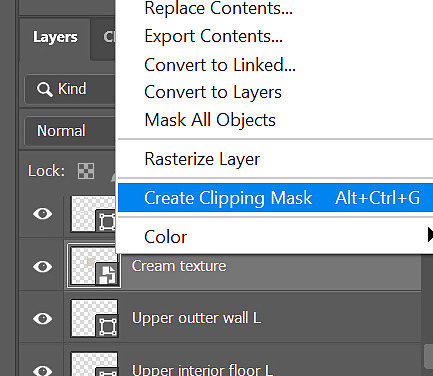
Apply the texture. Position the texture over the desired shape on your canvas. In the “layers” panel, drag and place the image at the layer above the shape it will be applied to. Right click the texture in the “layers” panel and click “Create Clipping Mask.” The texture should now have filled the desired shape. Screenshot 2025 06 15 172849.png
Insert an image to act as the sky around the structure. Similar to the texturization of the structure walls, it may be best to break the sky up into multiple images to ensure clarity. Take into consideration the time of day that is trying to be created and be sure not to contradict the lighting source of the miniature model’s photos. In the “Layers” panel, drag and place the image in the bottom layer to allow the structure to overlap it. Screenshot 2025 06 15 210651.png
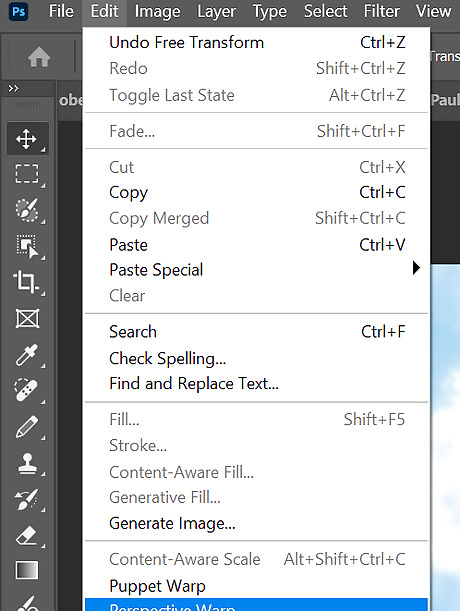
Insert an image to act as the ground around the structure. Again, multiple images may need to be used for the best results. With the photo selected, find “Edit” in the upper left and click “Perspective Warp.” Outline the image of the ground, then in the top left convert from “Layout” to “Warp.” Use the anchor points to warp the image to the correct perspective. When finished, click out of perspective warp and hit apply on the pop up. Repeat with the rest of the ground images, or copy and paste the first completed warp and flip it horizontally to complete the other side. In the “Layers” panel, drag and place the ground layers so that they are above the sky, but below the structure. Screenshot 2025 06 15 211354.png Screenshot 2025 06 15 211439.png
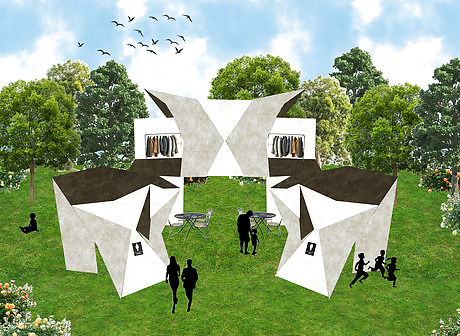
Insert final details to the environment. Greenery such as trees, bushes, flowers, etc. help bring the image to life. Using a mix of images helps obtain the most realistic results. Human silhouettes and items such as garbage bins and chairs should be added for better understanding of the purpose the structure holds. Drag each image to the correct layer in the “Layers” panel.Screenshot 2025 06 15 221857.png
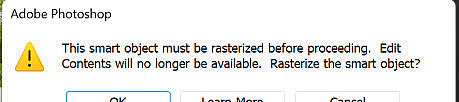
Add shadows to the image. With the top layer selected, click on the brush tool and change the color to black by right clicking the “Color Picker” square. At the top of the screen, select the brush type, size, density, and flow. Click on the image and rasterize it. Replicate the original image’s cast shadows onto the canvas. Include shadows on all greenery, silhouettes, and any other details that were added. When finished, select the Blur Tool and soften the edges of the shadows.Screenshot 2025 06 15 222630.png
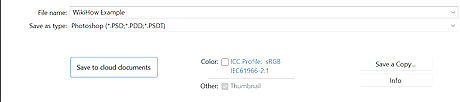
Save your creation. Find “File” in the upper left and select “Save As.” Rename the document and save it to the creative cloud. You may also save it as a PDF or PSD.Screenshot 2025 06 15 232749.png


Comments
0 comment