views
Growing Calla Lilies in Pots
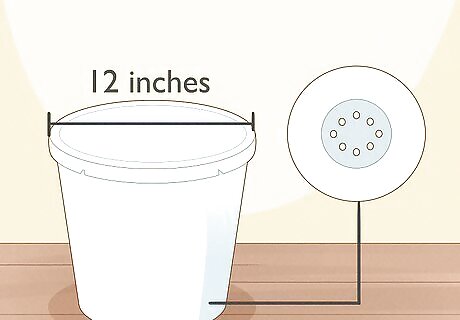
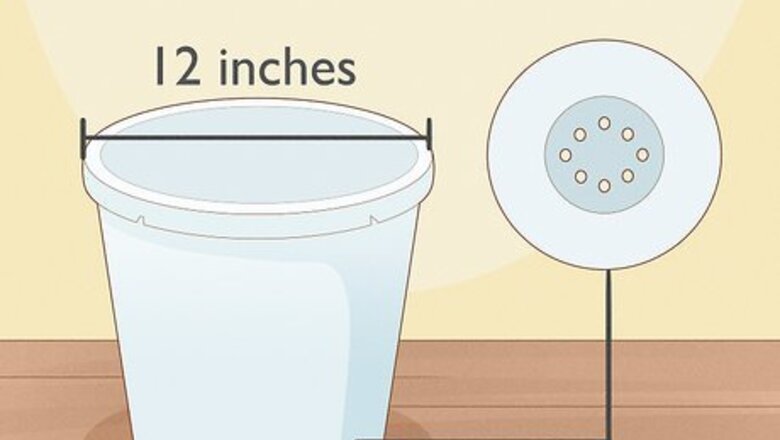
Choose an appropriate pot. Growing calla lilies in pots isn't difficult, but it does require the right container. Choose a deep container that’s about 12 inches (30 cm) in diameter, and that has plenty of drainage holes. Growing calla lilies in large pots will help to keep the soil moist, and will ensure there's plenty of room for the tubers to grow.
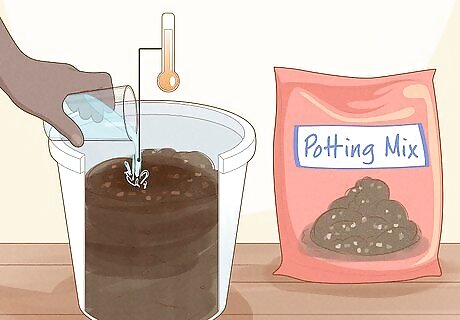
Moisten the soil. Fill your pot with a well-draining soil, such as a potting mix. Then, transfer the soil to a larger bucket. Slowly add enough warm water to the soil to make it moist, but not soggy. Stir the soil with your hand to distribute the water evenly.
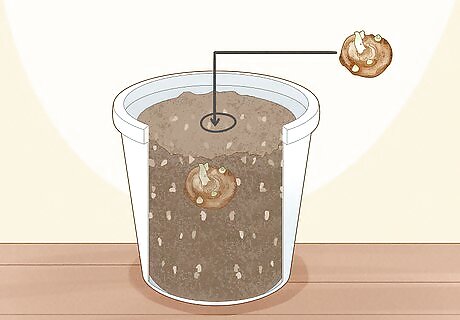
Plant the bulb. Transfer enough moistened soil back to the pot to fill it two-thirds of the way. Place the bulb in the center of the soil with the growth facing upward (not down into the soil). Surround the bulb with more soil and fill the pot the rest of the way. The bulb shouldn’t be planted too deep, which is why you fill the pot most of the way before planting it.
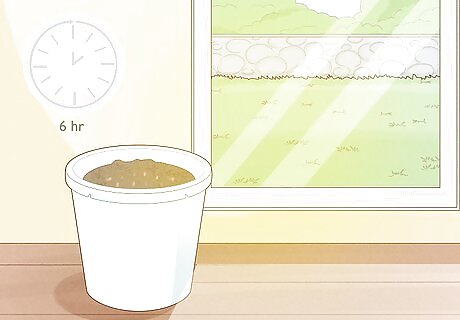
Move the pot to a bright location. Calla lilies require about six hours of indirect sunlight every day to grow properly. However, the leaves and flowers will burn in full sunlight. Choose a bright location, such as a window sill, that’s partially shaded or that gets only indirect light.
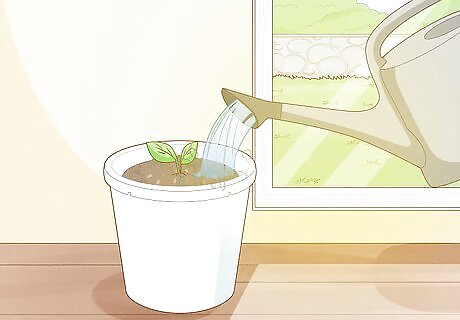
Keep the soil moist as the plant grows. Add a little extra water immediately after planting to help settle the soil around the bulb. Whenever the soil starts to dry out, give the plant more water so the soil stays moist, but not soggy. Dark leaf tips is a sign of overwatering.
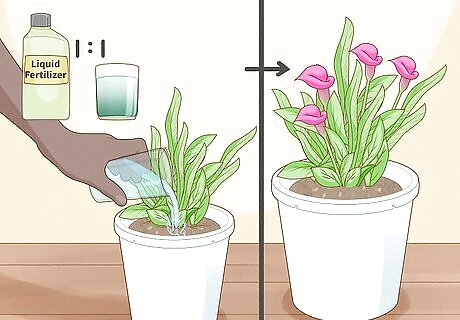
Feed the plant monthly. Calla lilies will benefit from regular fertilizer applications, specially during the growing season. To feed the plant, dilute a 10-10-10 liquid fertilizer with equal parts water and apply it to the soil. Repeat every month when the plant isn't in a state of dormancy. With proper feeding, watering, and light, the plant should start to flower eight weeks after planting.
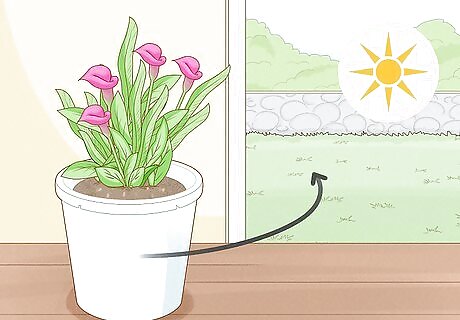
Transfer the pot to a bright outdoor location for the summer. When the outdoor temperatures warm up in the summer, find a spot outside where the calla lily can spend the warmer months. The ideal place is somewhere that is partially shaded or that gets only indirect sun. When the weather starts to cool down at the end of summer, bring the calla lily back inside.
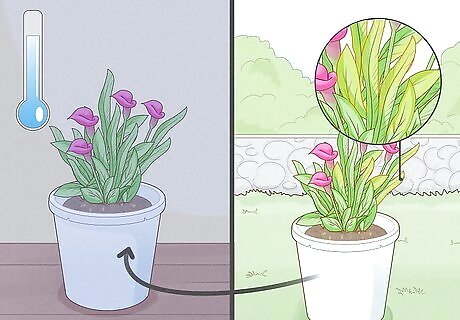
Transfer the plant to a cool and dark place during periods of dormancy. When the leaves start to turn yellow, this is a sign that the plant is going dormant. At this point, stop watering and feeding the plant so that it will stop blooming. Move the plant to an indoor location that’s cool and dark, and leave it there for two to three months. Calla lilies go into a state of dormancy once a year. They need this rest period in order to create their beautiful and abundant flowers. A good temperature range for dormant calla lilies is between 60 and 75 F (15.5 and 24 C).
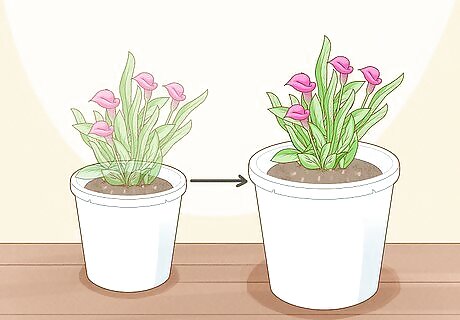
Repot the plant in fresh soil after dormancy. When the plant has rested for a couple of months, fill a new pot with fresh, moist potting soil. Gently dig up the bulb with your hands and transfer it to the new pot. Move the plant to a bright location and resume your regular watering and feeding schedule.
Transplanting Calla Lilies to the Garden
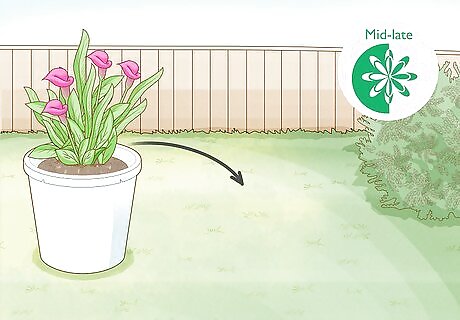
Aim to plant in mid to late spring. It is possible to transplant your calla lilies to the garden for the spring, summer, and fall, as long as you take proper care of them before the winter. You can plant your lilies outside when the temperatures begin to rise and there's no more chance of frost.
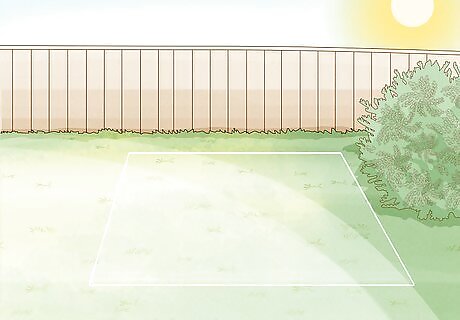
Choose a location with bright, indirect light. Calla lilies that are planted outside need lots of bright but indirect sunlight. Somewhere that gets partial shade is ideal, or an area that gets filtered or indirect light.
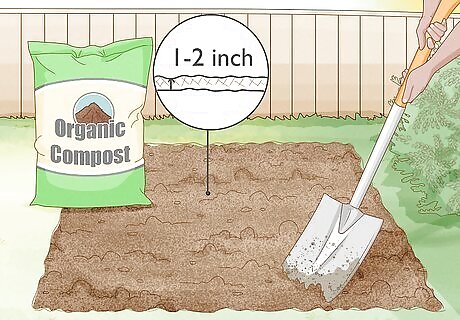
Amend the soil with organic matter. Before planting, till the soil in the garden bed to loosen it. Spread 1 to 2 inches (2.5 to 5 cm) of organic matter, such as compost or organic mulch, over the garden bed. Work the organic matter into the soil with a tiller to improve drainage and provide the calla lily with plenty of nutrients.
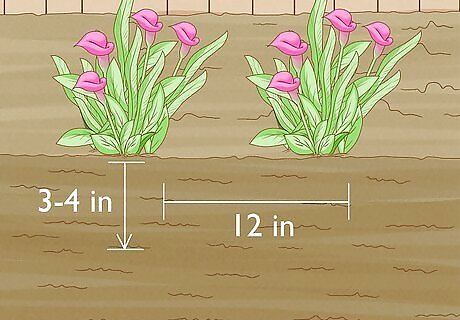
Plant the flowers in the soil. Dig a 3- to 4-inch (8- to 10-cm) hole in the ground for the bulb. Gently dig the bulb from the pot with your hands and place it into the hole. Cover the bulb with fresh soil. If you're transplanting more than one calla lily, space them 12 inches (30 cm) apart.
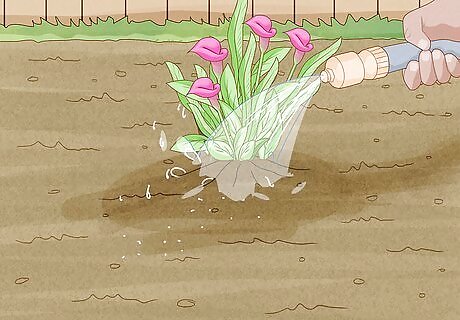
Keep the soil moist. As the plant grows, provide it with water as soon as the soil starts to feel dry to the touch. Water regularly so the soil is always moist, but not soggy. Cut back on water slightly if the leaf tips start to darken.
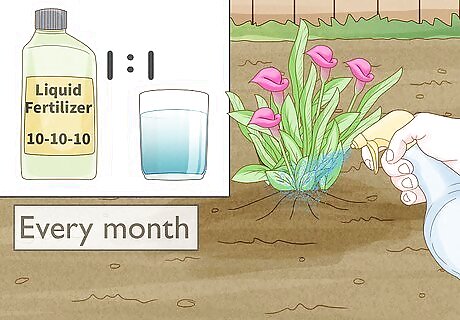
Feed the plant every month. Because calla lilies produce so many flowers and bloom for so long, they need plenty of extra nutrients. Dilute a 10-10-10 fertilizer with the same amount of water and add the water to the soil at the base of the plant. When the calla lily starts to flower, you can increase the feedings to every two weeks.
Caring for Calla Lilies During Cooler Winters
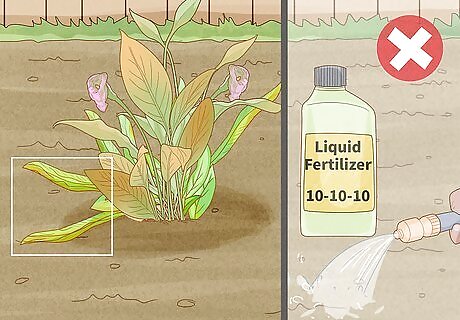
Stop watering and feeding when the flowers die. When you do this, the leaves will start to turn yellow, which means the plant is entering a state of dormancy. This happens once a year, usually in winter. The dormancy phase gives the plant time to rest and recoup its energy for next season.
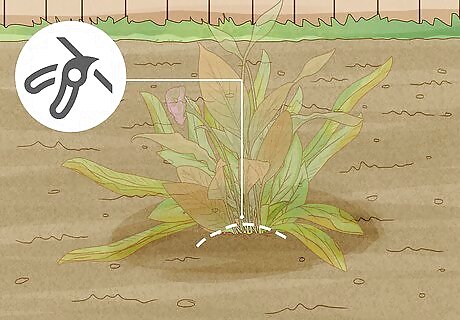
Cut down the foliage when it dies back. Wipe a pair of scissors or garden shears with alcohol to sterilize them. Trim down all the foliage and flowers right down to the soil level.
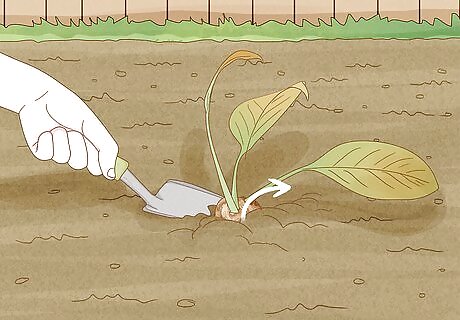
Dig up the bulbs before the last frost. Use your hands or a spade to loosen the soil around the bulb. Reach into the soil and remove the bulb with your hand. You should do this before the frosts come, otherwise it may be too difficult to remove it. If you live in a warmer climate with milder winters, you can actually leave the bulbs in the ground for the season. To help keep the bulb warm, cover the area with a thick layer of mulch for the winter.
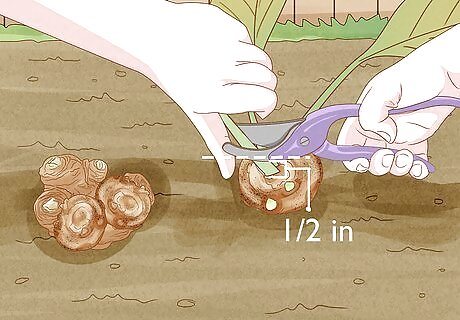
Trim the growth from the bulb. Rinse the bulb to remove excess dirt, and then pat it dry with a clean towel. Use the scissors to trim any extra growth from around the bulb so the growth is no more than a half-inch (13 mm) long.

Dry the bulb overnight. Place the bulb on a wire cooling rack to provide airflow all around it. Leave the bulb out to dry for at least 12 hours, and up to 48. You want the bulb to be completely dry before you put it into storage for the winter.
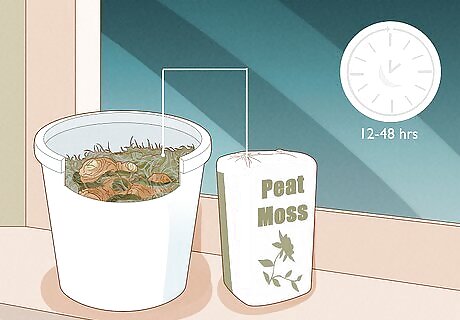
Store the bulb somewhere cool and dry until spring. Transfer the bulb to a paper bag or a pot filled with peat moss. You need to protect the bulb but also keep it well-ventilated. Transfer the bulb to a cool and dark location until it’s time to replant in the spring. Store the bulb between 60 and 75 F (15.5 and 24 C) for the duration of the winter.
Identifying the Groups of Calla Lilies
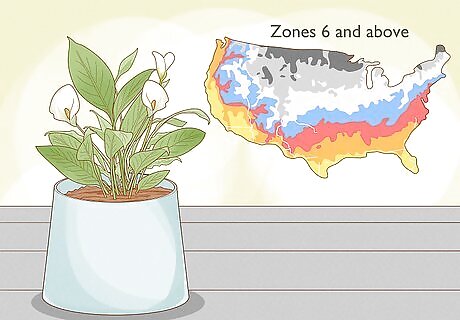
Learn to identify Hardy forms. The most common one is Zantedeschia aethiopica, which is very moisture tolerant and can tolerate soggy soils. This species can be added to water garden settings. It's easy to identify by its large size, plain leaves without spots and often white flowers. Given extra mulch in hardy zones 6 and above (USA), it can survive outdoors.
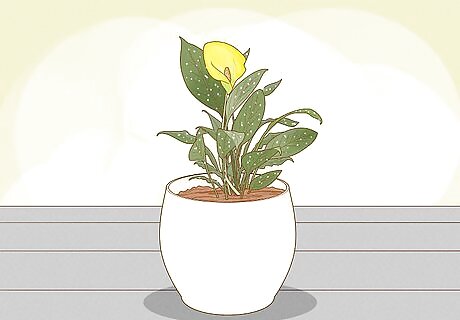
Learn to identify the Tender forms. The tender forms of Zantedeschia are mainly cultivars of Z. elliottiana and Z. rehmannii (also called Elliottiana hybrids and Rehmannii hybrids), but may also include Z. albomaculata and Z. jucunda. These are often referred to as calla lilies. These can be recognized by different flower colors other than white and spotted leaves. These species and their cultivars are not so adaptable to soggy soil and can't stand frost. They are best grown in well-drained situations like in a flower bed with perennials and annuals or in a container. Treat as annuals or dig/move the bulbs indoors at fall before the cold weather sets in. Thanks to plant breeding, there are also hybrids of these two groups which can be hard to tell. Check with a website or plant expert for specifics.


Comments
0 comment