views
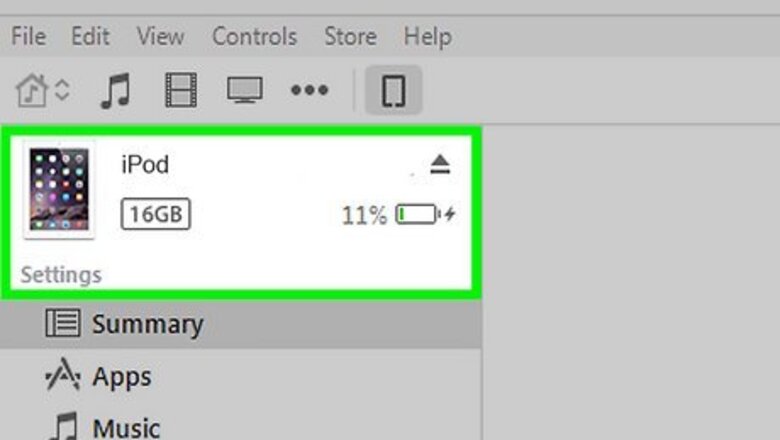
- If you have an original iPod, connect it to your computer and use it in Disk Mode in iTunes.
- Once your original iPod is in Disk Mode, you can drag and drop the photo contents to your computer.
- If you have an iPod Touch, simply connect it to your computer and select "Import" when prompted.
Using an Original iPod
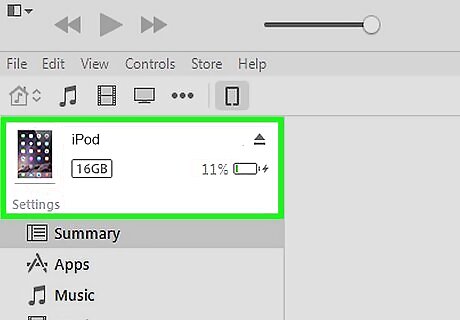
Put the iPod in Disk Mode. In order to connect your iPod to your computer and access the files, your iPod will need to be in Disk Mode. You can do this using iTunes, or you can manually put the iPod into Disk Mode. To put the iPod into Disk Mode using iTunes, plug your iPod into your computer, open iTunes, and select it from the Devices menu. In the Summary window, check the "Enable disk use" in the Options section. To put your iPod into Disk Mode manually, press and hold the Menu and Select buttons for at least six seconds. Keep holding the buttons until the Apple logo appears. As soon as the logo appears, release the Menu and Select buttons, and then press and hold the Select and Play buttons. Hold these buttons until the Disk Mode screen shows up. See this guide for more details on putting your iPod into Disk Mode.
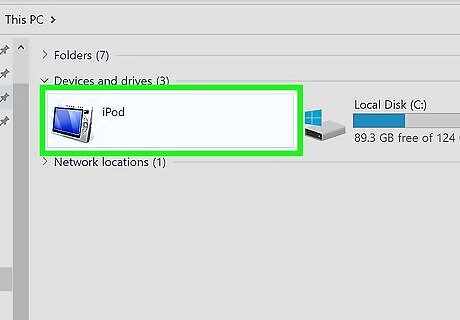
Open the iPod on your computer. If you turned on Disk Mode manually, connect the iPod to your computer. If you are using a Mac, the iPod should appear on the desktop like a USB drive. If you are using Windows, the iPod will be listed with your other drives in the Computer/My Computer/This PC window. If you are using Windows, you can quickly access Computer/My Computer/This PC by pressing the Windows key + Pause.
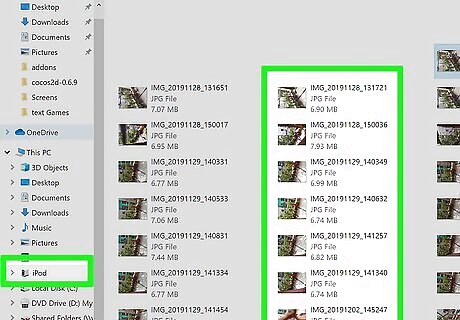
Locate the photos you want to copy. Typically, these will be found in the Photos folder, but since the iPod can be used like a USB drive they could be placed anywhere. Navigate through the folder to find the pictures you want.
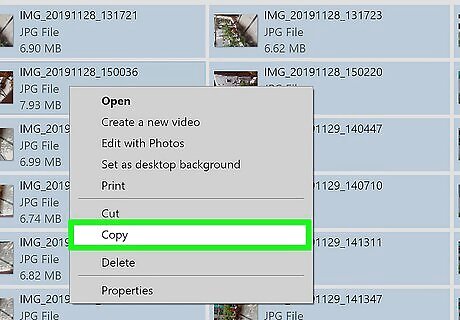
Transfer the pictures from the iPod to the computer. You can select the images you want copy transfer to the computer and then copy them by selecting Edit → Copy, right-clicking and selecting Copy, or by pressing Ctrl + C (Windows) or Command + C (Mac). Select the location that you want to transfer the images to and paste the copied images. You can do this by clicking Edit → Paste, right-clicking on a blank space and selecting Paste, or by pressing Ctrl + V (Windows) or Command + V (Mac). If you don't want to keep the images on your iPod, you can Cut instead of Copy, which will remove the originals once they have been copied to the new location. You can Cut by pressing Ctrl + X (Windows) or Command + X. You can then paste the same way as described above. You can transfer files to your iPod if you want now as well.
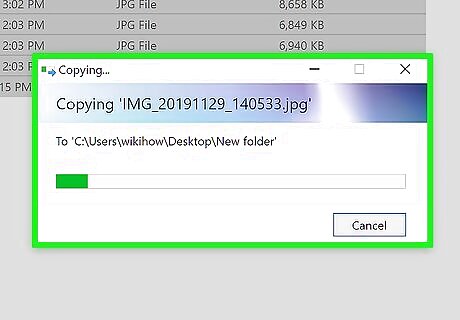
Wait for the transfer to complete. If you are transferring a lot of images, it may take a while for the transfer process to complete. The progress bar will tell you how much estimated time is left.
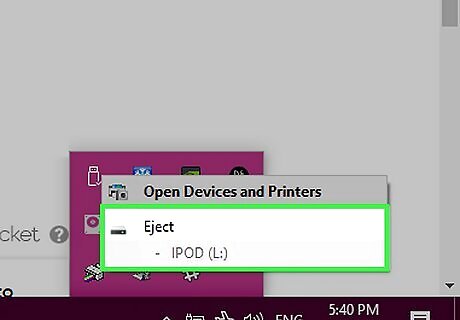
Eject the iPod. After the transfer has completed, you will need to eject the iPod before you detach it from your computer. This will help prevent data corruption. On Mac, right-click on your iPod on the Desktop and select Eject. You can now disconnect the iPod In Windows, click the "Safely remove hardware" button in the System Tray, and then select the iPod. You can now disconnect the iPod.
Using an iPod Touch
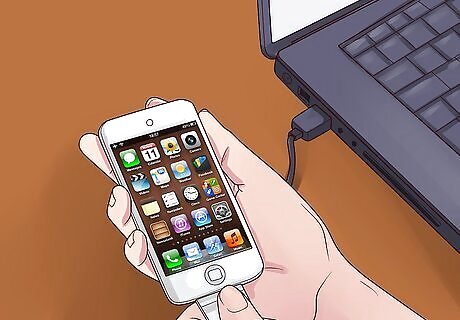
Connect the iPod Touch to your computer. If this is the first time you've connected it to your computer, you will need to wait a few minutes while Windows installs the necessary drivers.
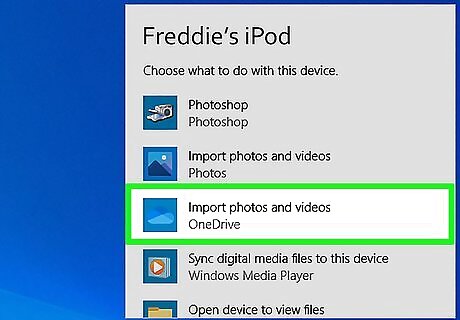
Start the import wizard. If the Autoplay window appears, select "Import pictures and videos". If the Autoplay window does not appear, open the Computer/My Computer/This PC window, right-click on the iPod Touch, and select Import pictures and videos.
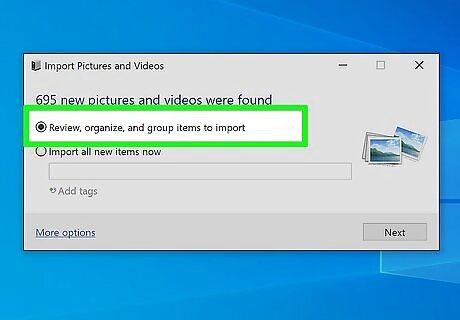
Choose the pictures you want to transfer. Windows will scan the iPod Touch for any pictures. You will then be shown a window displaying the number of pictures found and a few options. To select which pictures you want, ensure that "review, organize, and group items to import" is selected and click Next. The images will be sorted by the date they were taken. By default, all the images will be selected. You can uncheck the boxes next to any image that you don't want to keep, or uncheck the "Select all" box at the top of the list to deselect all the images. You can change the way the images are grouped by sliding the scale in the bottom right-corner.
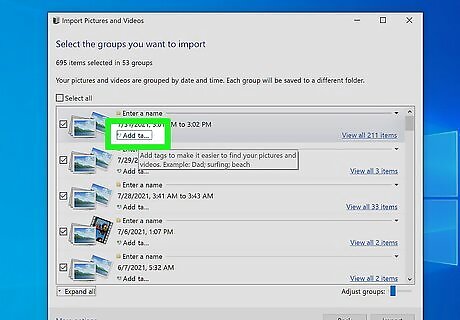
Organize the photos you are going to keep. You can add tags to the images that you transfer over by clicking the "Add tags" button, allowing you to search for them easier. You can also give each grouping of images a custom folder name by clicking the "Enter a name" button with the folder icon.
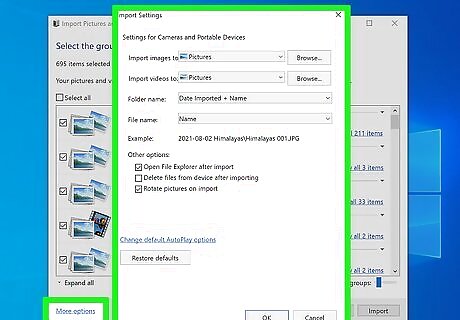
Set your import options. Click the "More options" link in the bottom-left corner of the window. This will allow you to set the folder that your new images will be placed in, and how you want the files to be named. Click OK when finished Check the "Delete files from device after importing" if you want to free up space on your iPod after the transfer.
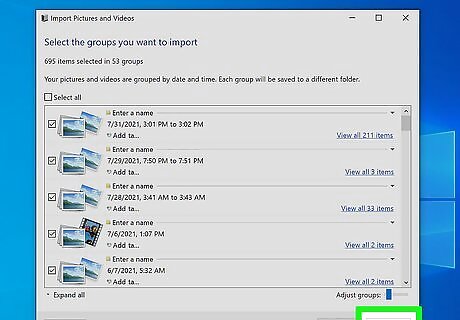
Transfer the files. Click Import to begin the importing process. When the process is complete, you will be taken to the "Imported Pictures and Videos" library. Your pictures can also be found in the folder you set, which is the "Pictures" folder by default.
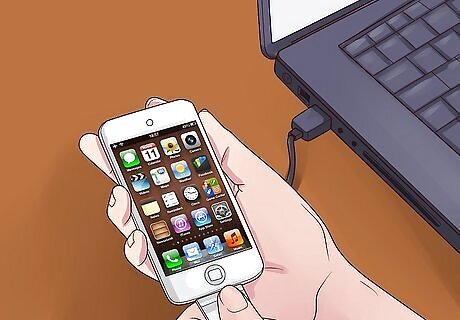
Connect the iPod Touch to your computer. When you connect your iPod, the iPhoto program should open automatically. If iPhoto doesn't start automatically, open it from the "Applications" folder.
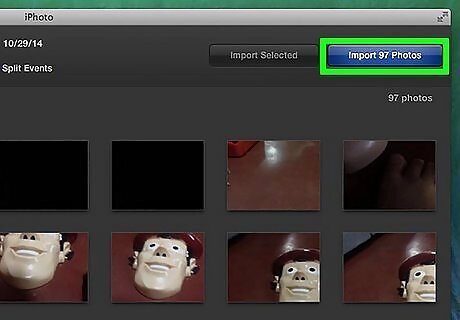
Select the photos you want to import. You can import all the photos on the iPod by clicking "Import # Photos". If you want to only import certain photos, click each photo that you want to transfer to select it. Click the "Import Selected Photos" button to copy the selected images. If iPhoto is not displaying the contents of your iPod, make sure that it is selected from the "Devices" section of the left frame.
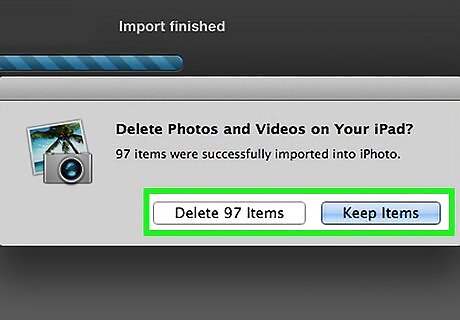
Choose to delete or keep imported images. After choosing your import option, you will be asked if you would like to keep the photos that you import on your iPod, or delete them to save space. If you are planning on importing the photos again on another computer, keep them on the iPod.


Comments
0 comment