views
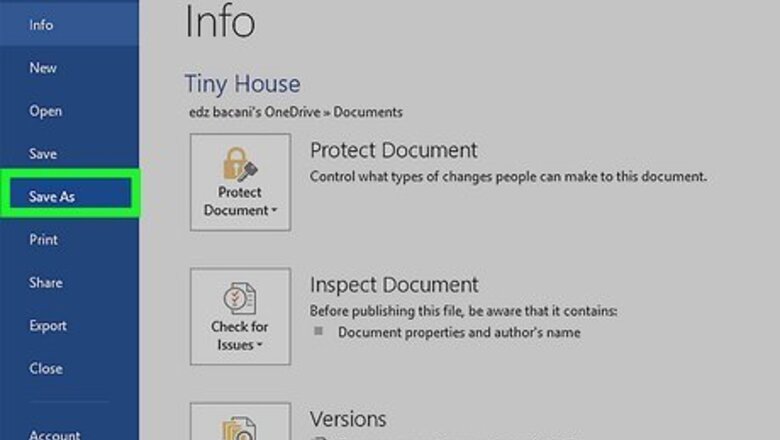
- Click the "File" menu and select "Save As" to save a new document.
- To quickly save changes to an existing document, click the disk icon on the toolbar, or press Control + S on a PC or Command + S on a Mac.
- If you’re using Office 365, enable AutoSave to automatically save your changes to the cloud every few seconds.
Use Save As to save your document for the first time.
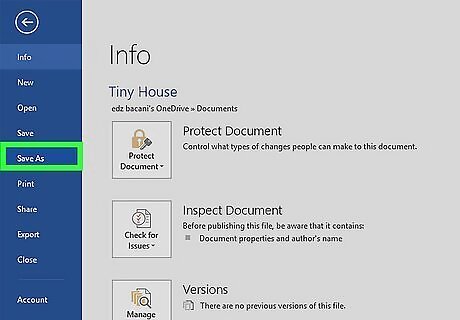
This function lets you name your file and choose its location. Once you’ve created a new Word document, open the File menu and select Save As. A window will pop up prompting you to name the file and choose a location on your computer or a linked cloud account where the file will be stored. Choose the file type (e.g., .docx, .pdf, or .xml) from the drop-down menu at the bottom of the window. Then, select Save. You can also use the keyboard shortcut F12 (in Windows) or ↑+⌘ Command+s (on a Mac) to open the Save As window. If you’re saving a document for the first time, using the Save command will prompt the Save As window to open. If the document is saved locally, you can use Save As to save a copy of an existing document with a new name, format, or location. However, for documents that are saved to OneDrive or another cloud service, you may need to use Save a Copy instead, depending on your version of Word.
Use Save to save changes to an existing document.
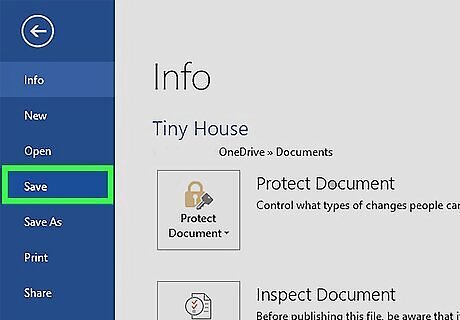
Use this method to save changes to an existing document. With your document open, click the File menu in the toolbar at the top of the screen. Then, click Save. Any recent changes to your file will be saved.
Click the disk icon in the toolbar to quickly save your changes.
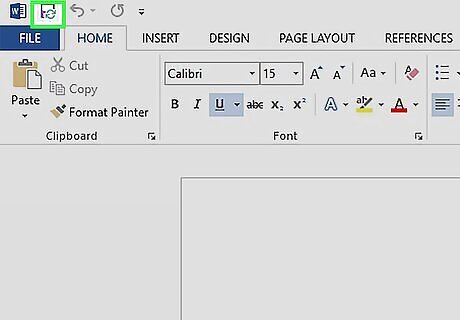
This option lets you save your changes with a single click. The Quick Access Tool Bar is located at the very top of your document window on the right side. Locate the Save button, which looks like an old-fashioned square floppy disk, and click on it to save your document.
Use Control+s or ⌘ Command+s to quickly save.
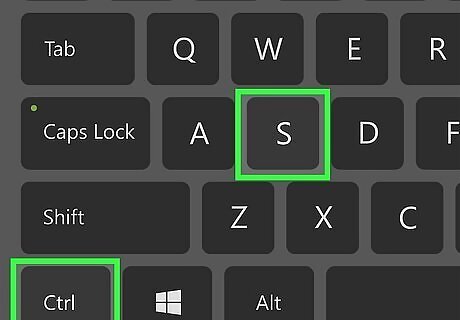
These keyboard shortcuts instantly save recent changes. You can also use the keyboard Save command to launch the Save As window if you’re saving a new document for the first time. On a Windows PC, use Control+s. If you’re using a Mac, hit ⌘ Command+s.
Turn on AutoSave to save your document to OneDrive.
AutoSave is only available for documents saved to the cloud. The AutoSave feature in the Office 365 version of Word prevents you from having to save manually. However, in order to use it, you must save your files to a OneDrive, Box, or SharePoint account. To use AutoSave: Click the toggle switch next to AutoSave in the Quick Access Toolbar at the top right corner of your document window. A window will pop up prompting you to upload your file to a cloud location. You can also rename it, if you like. Select your preferred location using the dropdown Place menu. Click Upload to use the default location or select Choose Location if you pick a different option in the Place menu.
Change the format of your file with Save As.
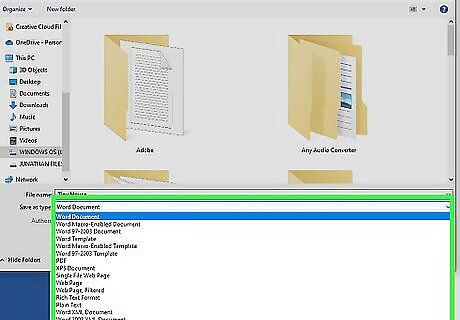
Most Word documents save automatically as .docx files. However, you can choose to save your document as a different format, such as .pdf, .doc (for compatibility with older versions of Word), or .txt. To do this: For documents that are saved locally on your computer, open the File menu and select Save As. In the File Format dropdown menu near the bottom of the Save As window, select your desired format. If your document has AutoSave enabled, you’ll need to use the Save a Copy command instead, which is also located in the File menu. Select the type of file you want to create in the drop-down File Format menu at the bottom of the window. Click Save to confirm your choice. With some formats, such as .pdf, you will be prompted to Export the file rather than Save it after you select the format.
Use "Save a Copy" to duplicate your document.
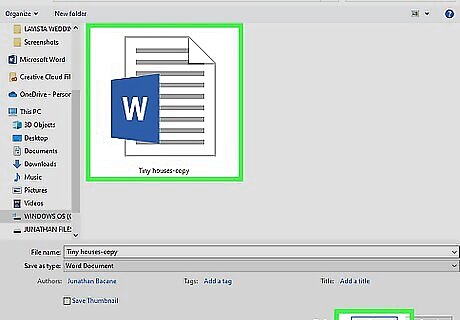
This option creates a separate copy of your document. This is a good option if you want to make changes to your document while also preserving the original version. To make a copy of your Word doc, open the File menu and select Save a Copy…. If you’re saving the copy in the same location as the original, give it a new name. Click Save at the bottom of the Save a Copy window when you’re done.
Change your Save settings under Options or Preferences.
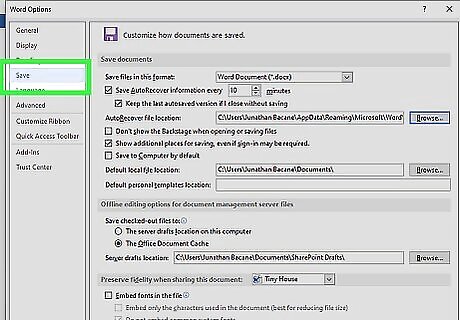
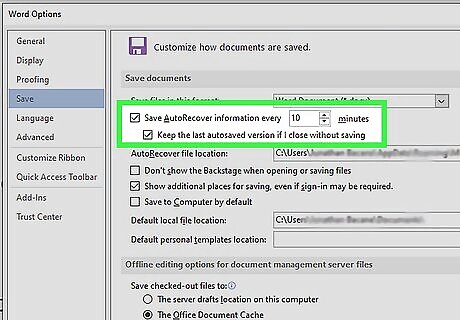
If you don’t like Word’s default Save options, you can change them. On a Windows PC, open the File menu, then select Options, then Save. If you’re using a Mac, open the main Word menu, then click Preferences… and select Save. From there, you can customize options such as: The default format for your saved Word files How frequently Word saves AutoRecover information Where AutoRecover files are stored The default location for saved documents (e.g., a local folder on your computer or a location in the cloud)


Comments
0 comment