
Hand Sewing
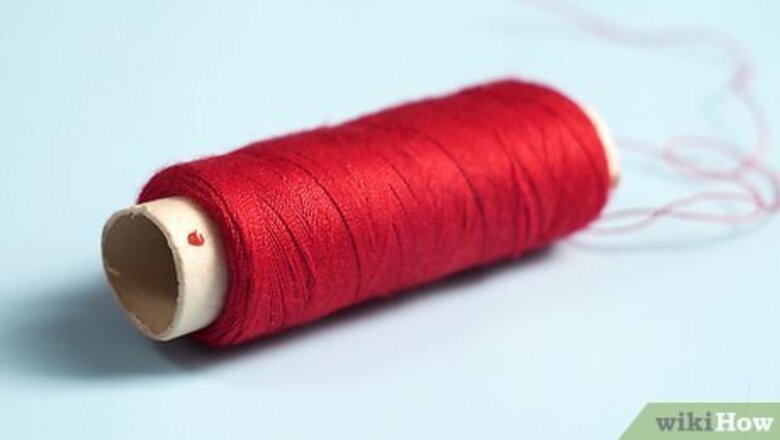
Select a matte thread that matches the color of your shirt. Choose a thread the same color as the shirt you want to fix so your work doesn't stand out. Opt for a matte thread and avoid thread that’s reflective or shiny so the thread blends in with the texture of your shirt. You can also use clear thread that will be invisible on your shirt. Check to see if you already have any thread that matches your shirt. If you don't, take your shirt to a fabric store and find the thread that most closely matches your shirt. If you can’t find an exact match, go with a darker thread rather than a lighter one. A darker color is likely to blend in and not be noticeable.
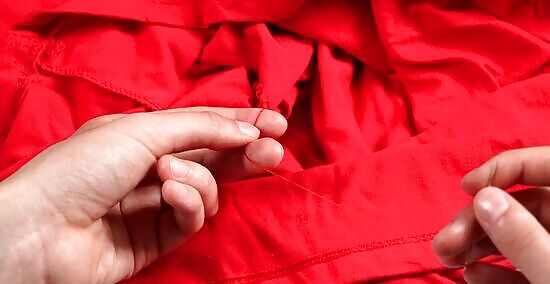
Thread a needle with your chosen thread. Use fabric scissors to cut off a piece of thread from the spool about 24 inches (61 cm) long. Insert one end of the thread through the small hole at the head of the needle. Pull the thread through the hole until the two ends of the thread are the same distance from the needle. Tie the two ends of the thread together to make a knot. Professional Tailor and Fashion Designer Andrea Beaulieu advises to look at the needles’ packaging to ensure you choose one that's right for the fabric you're using. The smaller the gauge, the larger the number. 8 gauge needles are very thick, so they're best for heavy-weight woven garments, whereas 16 gauge needles are very thin, making them great for delicate, lightweight fabrics. Try dampening the tip of the thread by placing it on the tip of your tongue briefly if you're having trouble getting it through the needle hole.

Flip the shirt inside out to start your stitch. Poke the needle through the fabric at the top and to the right of the hole from the inside out. Weave through the fabric about .2 inches (0.51 cm) above the hole. If you’re any closer to the hole, the thread may pull out, and your stitch could fall apart. Keep pulling the needle up through the fabric until the knot you made at the end of the thread catches on the fabric.
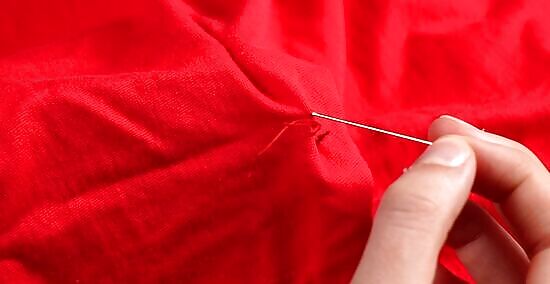
Push the needle down through the hole and back up through the fabric. Position the needle directly to the left of where you first poked the needle through. The closer you are to the previous stitch, the more secure the thread holding the hole together will be when you’re finished. This will allow you to pull the fabric on the left and right sides of the hole together. The goal is to make close stitches that pull the sides of the hole back together.
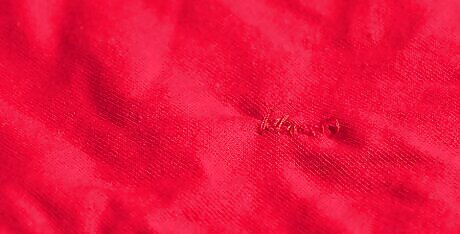
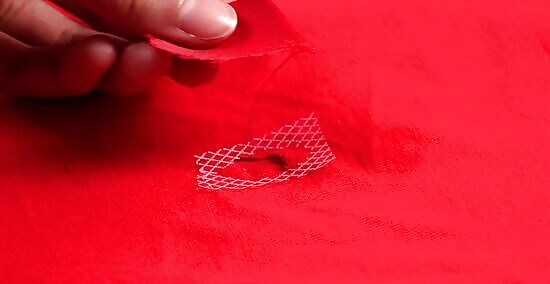
Continue alternating stitches between the left and right sides of the hole. Repeat your stitches back and forth across the hole. Bring the needle down through the hole in your shirt and poke it up through the fabric directly to the side of the first stitch you made. Make your way down the hole’s perimeter as you make the stitches. As you sew back and forth along the hole, the edges of the hole should get pulled together. Remember, after each stitch, keep pulling the needle up until the thread is tight. Stop sewing once you reach the bottom point of the hole, and it’s completely sewn together. Beaulieu advises to always backstitch before ending your repair so the thread is secure to the fabric.
Bring the needle inside your shirt and tie several knots with the thread. Tie the knots so they’re right up against the fabric inside your shirt. To tie the knots, hold the needle between 2 fingers. Wrap the part of the thread coming out of your shirt around the needle 3 times. Pull the needle up through the 3 loops and continue pulling until all the thread has been pulled through. Repeat to create more knots. Having multiple knots will ensure that the stitches stay in place.
Cut off any excess thread. Use scissors to cut off the leftover thread after the knot you tied. Then, examine the stitched hole to ensure it has been completely fixed. Beaulieu suggests cutting the thread close to the knot rather than the needle, so you won't have to worry about trimming the thread again.
Patching (No-Sew)

Find a fabric that matches your shirt to make a patch. If your shirt has a large hole that is 1–2 inches (2.5–5.1 cm) wide, you can fix it by putting a patch over it. If the shirt is a solid color, look for fabric in that color. If your shirt has a busy print, look for fabric that will blend in with the print. If you have to choose between a darker and lighter shade fabric, go with the darker shade. It will be less noticeable on your shirt. You can get fabric at your local fabric store or use fabric from an old garment you don’t wear anymore. If your shirt has a pocket, you can cut a piece inside the pocket that will perfectly match the shirt. However, you will then need to patch the inside of the pocket with another piece of fabric. Make sure the texture and weight of the fabric you use are similar to the fabric your shirt is made of.
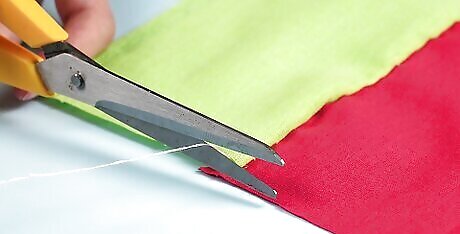
Cut out a patch of the fabric slightly larger than the hole. Try to make the patch around .5 inches (1.3 cm) greater than the hole on all sides. Measure the hole in your shirt with a ruler so you know how big a patch to cut out. Outline the patch on the fabric in pencil and cut it out with scissors. Kristin M. Roach Kristin M. Roach, Sewing and Mending Expert When patching a damaged shirt, carefully trim the hole's ragged edges so it lies flat. Cut a patch slightly larger than the hole from matching lightweight fabric. Align the patch behind the hole, pinning the edges smoothly. Use tiny stitches to hand-sew the patch in place, knotting threads inside for invisible mending. With skillful repairs, renew your wardrobe rather than costly replacement.
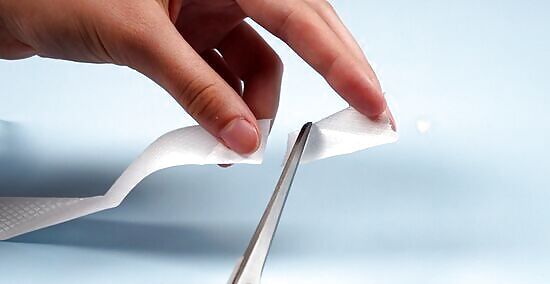
Cut out a piece of fusible bonding web the same size as the patch. A fusible bonding web is a thin, transparent adhesive sheet that will help the patch of fabric stick to the inside of your shirt. Place the patch of fabric you cut out over a sheet of fusible bonding web and trace the patch onto the bonding web with a pencil. Remove the patch of fabric and use scissors to cut out the shape you traced. You can find fusible bonding web online or at your local fabric store.
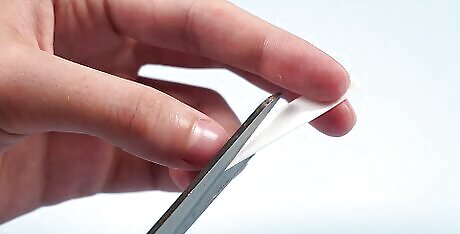
Cut out the center of the fusible webbing. You only want to have the webbing where the patch touches the fabric, not the area of the hole you cover. To do this, place the bonding web over the hole so the hole is centered. Trace the hole outline with a fabric pen or pencil onto the webbing. Then use scissors to cut out the outline. Keep the outer piece of webbing when you are done cutting. It should have at least .25 inches (0.64 cm) of bonding web on each side of the hole. The circle you cut out of the center can be thrown away or used for a future project.
Flip the shirt inside out and place the materials over the hole. Place the bonding web between the hole and the patch of fabric. Line it up over the hole over the shirt so it can’t be seen through. The side of the fabric you want to show through on the outside of your shirt should be facing down.
Iron the patch of fabric and bonding web onto your shirt. Press the iron down onto the patch and bonding web and hold it in place. Don’t iron back and forth; this can cause the patch and bonding web to shift. Hold the iron on the patch and bonding web for around 10 seconds. Read the instructions with your fusible bonding web for specific heating and timing instructions. In general, use a heat setting for bonding that is a little higher than the heat you would normally use for the fabric of your shirt. After ironing the patch and bonding web, turn your shirt right side out and the hole should be covered!
Creative Alternatives

Do a creative fix with embroidery or decorative patches. If you love a shirt with many holes, consider adding a unique flair to it by embellishing the hole with embroidering. The decorative stitches around the hole will stabilize the fabric and add a creative touch. You can also put an applique over the hole. Putting a decorative patch over the hole, instead of trying to match the existing fabric, can add a bit of fun to an otherwise subdued shirt.

Use glue to fix a hole that's not very visible for a no-sewing option. If you do not know how to sew or don't want to, there are still options for fixing your shirt. Various glue products are made to glue the fabric together, and these can be used on your shirt. In fact, if the hole in your shirt is on a seam or in a spot that is not visible, using fabric glue may be the quickest and easiest fix. Simply apply a thin bead of glue over the tear. Let it dry before wearing. Go to your local craft or sewing store and look for products to glue fabric to fabric. Depending on your product, it may discolor the area you are gluing. It may also make the area less soft and flexible. Follow the directions on the glue you buy when fixing your shirt. Different glues have different drying times and techniques for application, so it's important to follow your product's specific instructions.
Turn a shirt that is too far gone into a patchwork project. There may be a point when a shirt has too many holes to make it look presentable or functional. If your shirt is in tatters or has numerous holes, consider letting it go and turning it into a fun project. If you really love a shirt because of its fabric or because of sentimental reasons, consider using the shirt's fabric to make a quilt or other keepsake item. That way, the fabric can continue to be used in a different form.

Have your shirt fixed by a professional tailor if you can't fix it yourself. If your shirt has a large hole or you're worried about ruining it by attempting to fix it yourself, take it to a tailor to have it fixed. A professional tailor will likely be able to fix holes that are practically invisible to the eye. When you take your shirt in to be repaired, talk to the person about your expectations and ask them what they think they can do for you. Giving the tailor clear instructions and understanding what kind of fixes are possible will help you manage your expectations for the repair. A business that does tailoring or alteration should be able to help you. If you don't know of one in your area, do an internet search to find businesses near you.


Comments
0 comment