views
On Windows
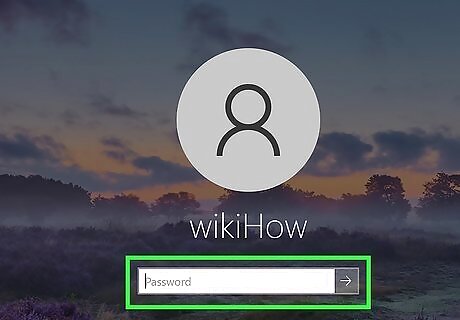
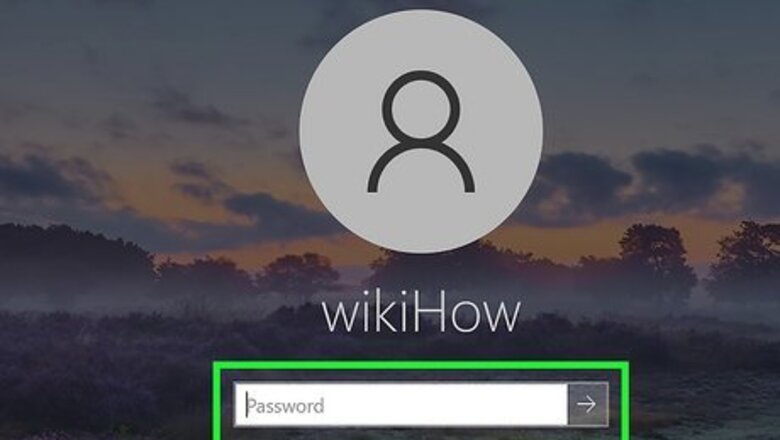
Log in to your PC with an Administrator account. You must be on an Administrator account to edit your McAfee settings, including disabling functions of the software.

Open Start Windows Start. Click the Windows logo in the bottom-left corner of the screen, or press ⊞ Win.
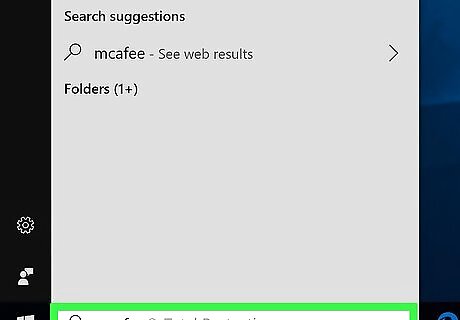
Type mcafee into Start. Doing so searches your computer for the McAfee program.
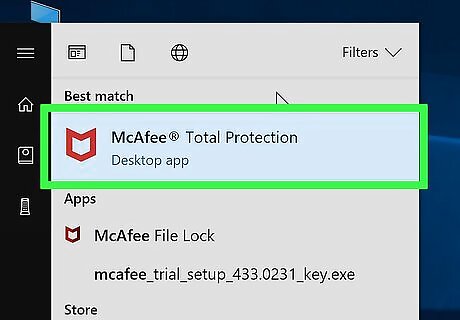
Open your McAfee product. You may have McAfee Live Safe or TotalProtection. The program should be at the top of the Start window, with the subheading "App" below its name. Doing so opens McAfee.
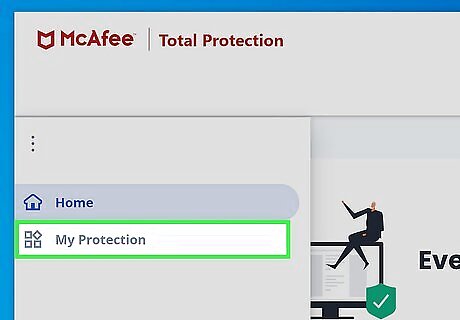
Click the My Protection tab. It's on the left-hand side, and the icon looks like 4 squares in a 2x2 grid. It's below the home button, which is a house icon.
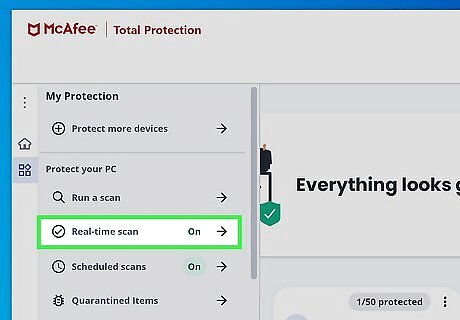
Click Real-Time Scanning. This tab is on the left side of the McAfee window and the icon is a shield with clock hands in it.
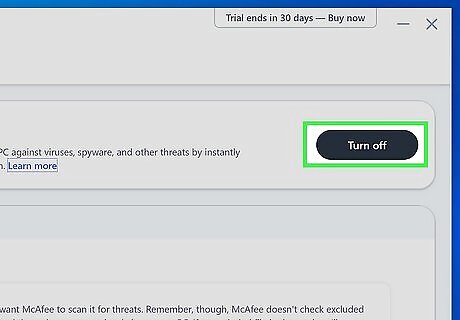
Click the blue Turn off button. It's in the upper-right side of the Real-Time Scanning page.
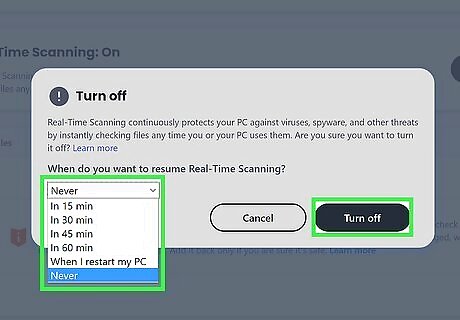
Select a time limit, then click Turn off. You can set a time for real-time scanning to reactivate in the "When do you want to resume Real-Time Scanning?" box. The default is 15 minutes. If you want to disable McAfee until you manually turn it back on, select Never for the time limit.
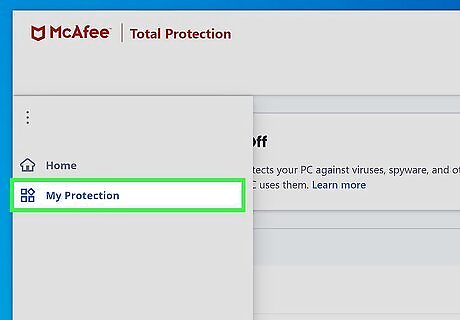
Click the My Protection tab again.
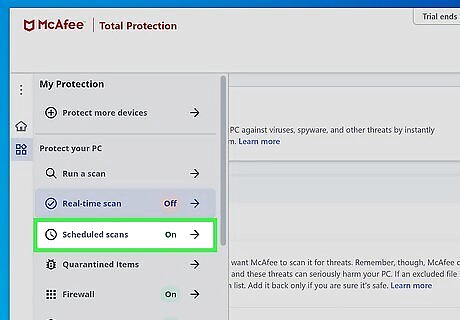
Click the Scheduled Scans tab. It's the option right below Real-Time Scanning.
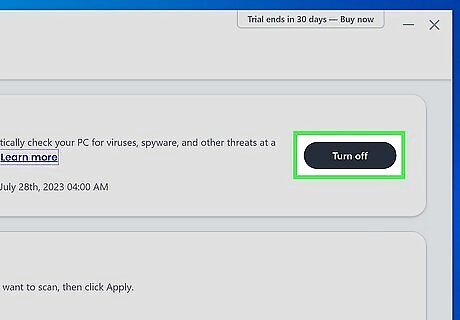
Select Turn off. It's on the right-hand side of the screen. This will turn off McAfee's future automated virus scans.
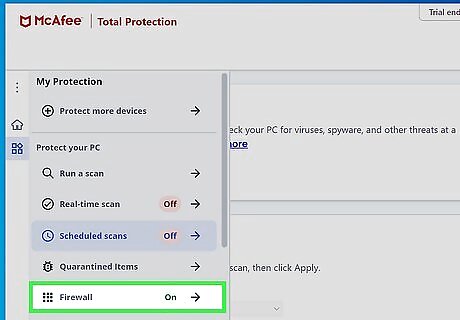
Click the Firewall tab. This option is 3 items below the Real-Time Scanning tab on the left side of the window.
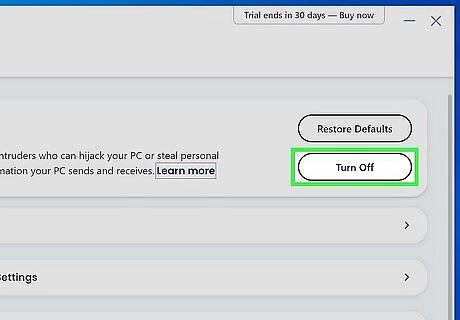
Click Turn off. It's in the upper-right side of the page. If your Firewall page has a black Turn on button instead of one that says Turn off, your Firewall is already disabled and you don't need to follow the next steps.
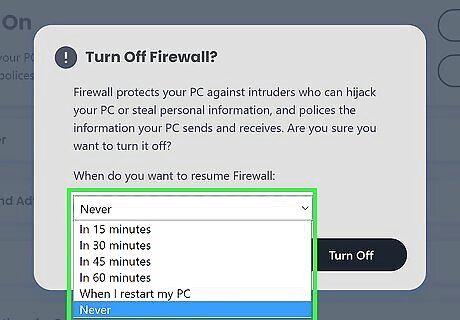
Select a time limit, then click Turn off. Doing so will disable the McAfee Firewall until the time limit expires.
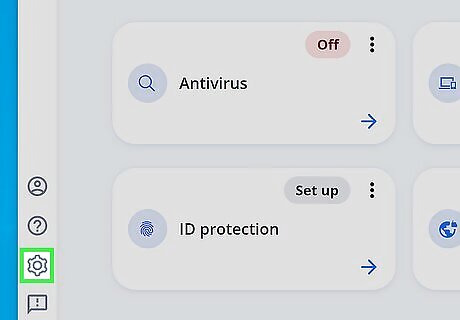
Click the gear in the bottom left corner. This will take you to settings.
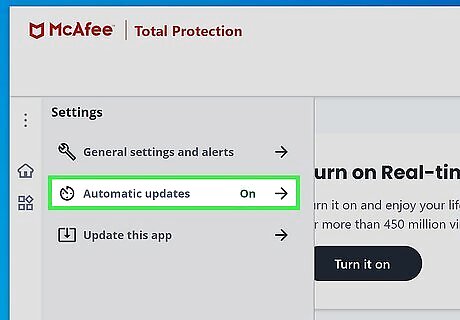
Select Automatic Updates.
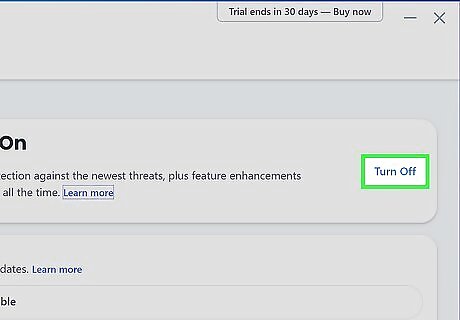
Click Turn off. This will disable automatic updates to the McAfee software until you decide to turn it back on.
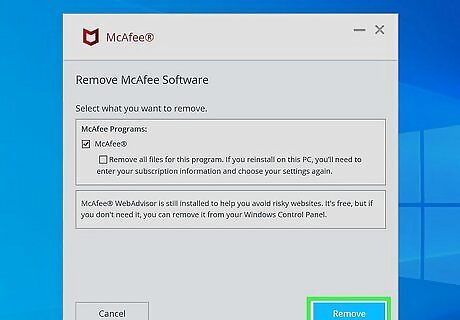
Remove McAfee from your PC. If all else fails, you can disable McAfee's presence on your computer by uninstalling it completely.
On Mac
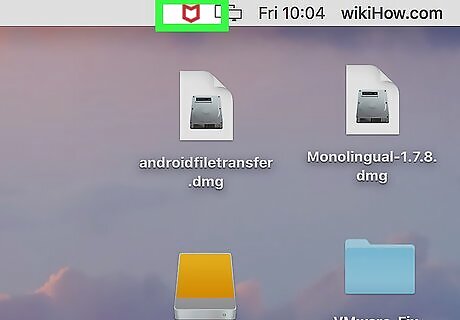
Click the McAfee icon. It's the white "M" on the red shield icon in the top-right side of your Mac's menu bar. If you don't see this icon, click the magnifying glass icon in the top-right corner, type in "McAfee", and click the Internet Security option.
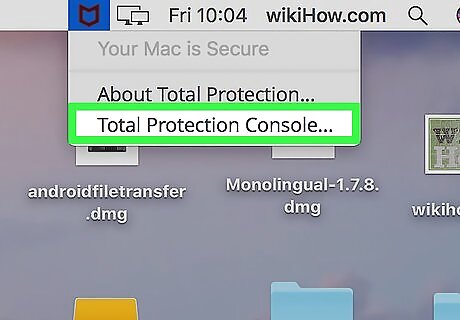
Click (Product Name) Console…. Your product name could be LiveSafe or Total Protection. This is near the bottom of the McAfee drop-down menu.
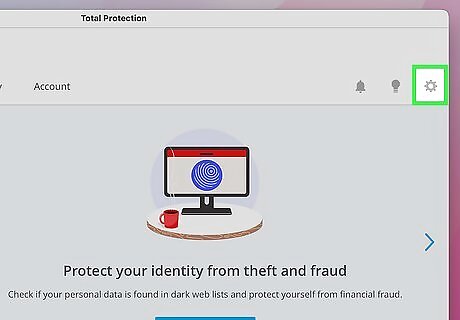
Click the gear in the upper-right corner. This will give you a dropdown menu of items to select from.
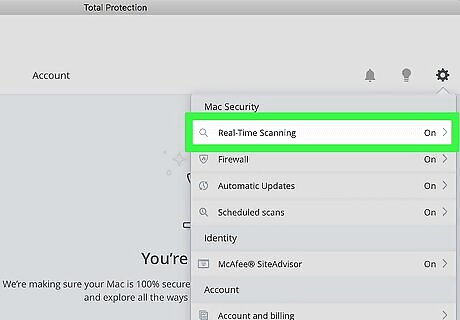
Click Real-Time Scanning. It's near the top of the gear drop-down menu. Doing so opens a window for Real-Time Scanning.
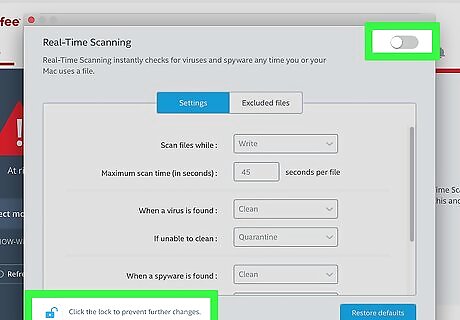
Disable Real-Time Scanning. To do so: Click the lock icon. Enter your administrator password and click OK. Click the Real-Time Scanning switch in the top-right corner. Close the Real-Time Scanning window.
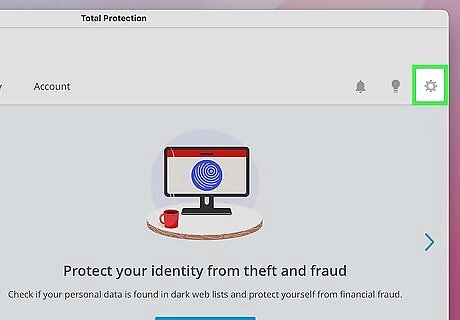
Click the gear icon again.
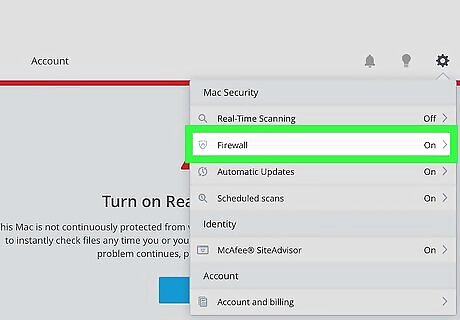
Click Firewall. The Firewall tab is just below the Real-Time Scanning option.
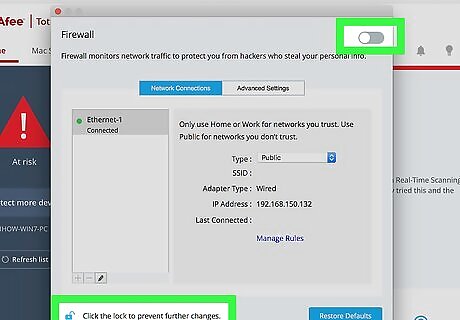
Disable McAfee's Firewall. You'll do this in the same way in which you disabled Real-Time Scanning.
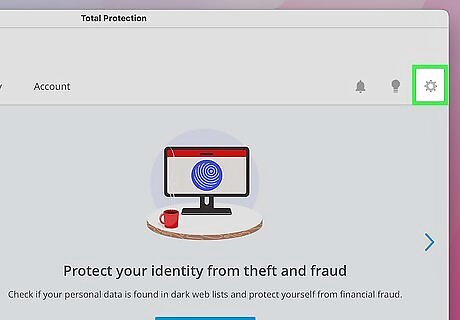
Click the gear icon again.
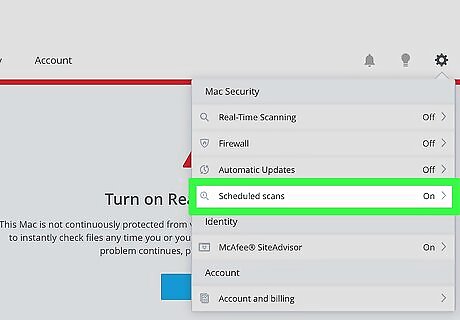
Click Scheduled scans.
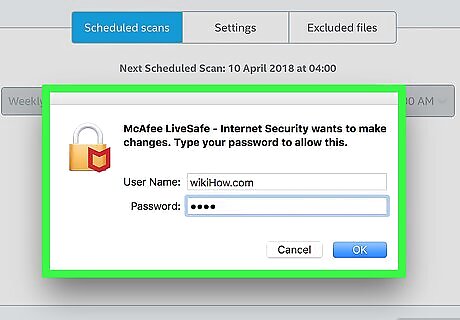
Unlock the Full and Custom Scan Settings page. Click the gear icon and enter your administrator password, then click OK.
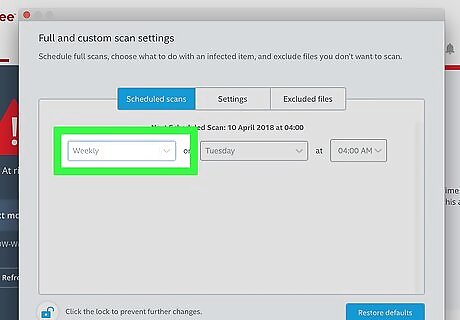
Click the Weekly drop-down box. It's on the far-left side of the "Scheduled scans" page. If you don't see this option, click the Scheduled scans tab near the top of the page.
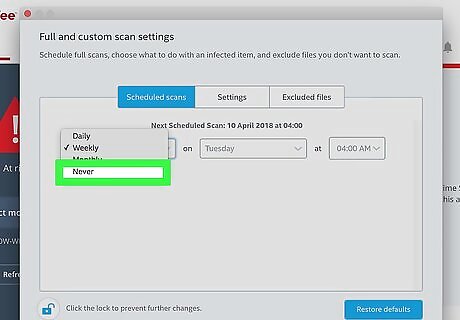
Click Never. Doing so prevents McAfee from re-activating itself to scan your computer.
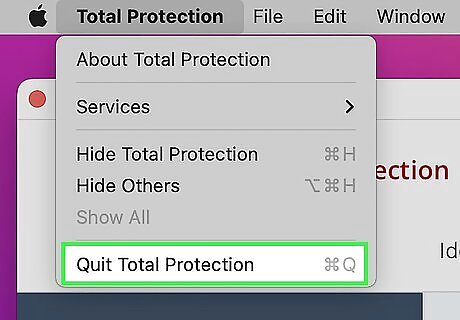
Close McAfee. Your Mac's McAfee program should now be completely disabled.
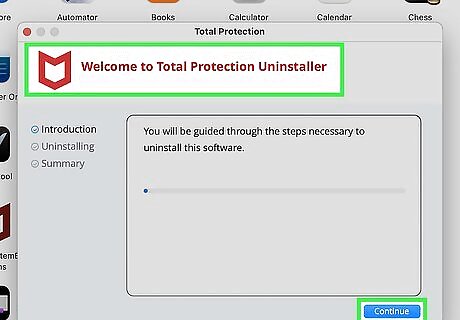
Remove McAfee from your Mac. If you want to completely remove McAfee's notifications, icons, and all other forms of its presence from your Mac, you'll have to uninstall McAfee itself. To do so: Open Mac Finder Finder. Click the Applications folder on the left side of Finder, or click Go and then click Applications in the drop-down menu. Find and double-click the McAfee® Total Protection Uninstaller app. Click Continue when prompted. Enter your administrator password when prompted, then click OK. Click Finish once McAfee finishes uninstalling.


Comments
0 comment