
This only applies to CRT type monitors: LCD and Plasma monitors never need to be degaussed, because they are not CRT based monitors.
Steps
Simply turn the monitor off and turn it back on. Most modern monitors degauss themselves automatically each time they are powered on. When the monitor is turned on, you should hear a distinctive "dwoing" sound. If you hear no sound when you turn the unit on, it may not degauss itself automatically. If that is the case, proceed to the next step.
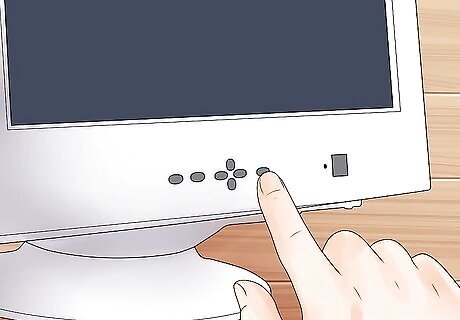
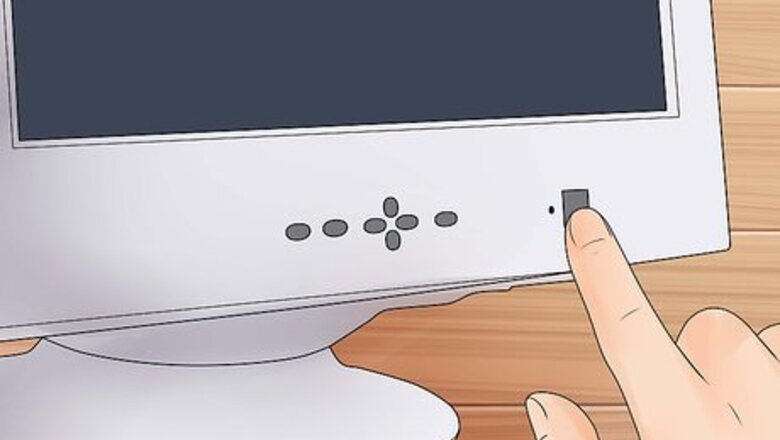
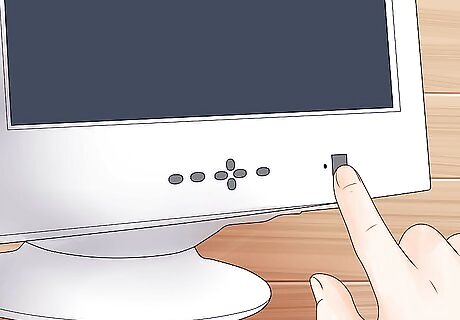
Look for a button labeled DEGAUSS. This may be combined on an EXIT button. Otherwise, locate the menu button on the front of the monitor.
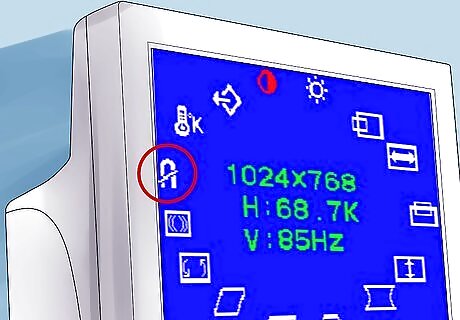
Bring up the on-screen menu, locate the degauss option (the ohm icon), and select it. You should now hear the degaussing noise, and the screen will probably display a brief burst of color.
Soldering Gun Method
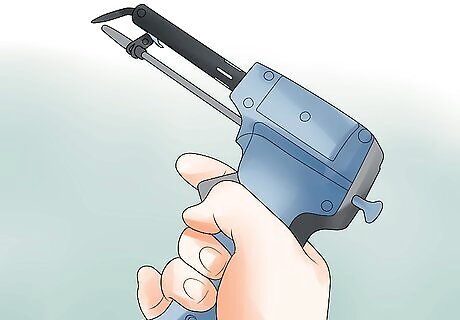
Note: You MUST use a soldering gun, not a soldering iron!
Hold the soldering gun so that the rear of the case is toward the screen (the tip is facing away from the screen at a 90 degree angle)

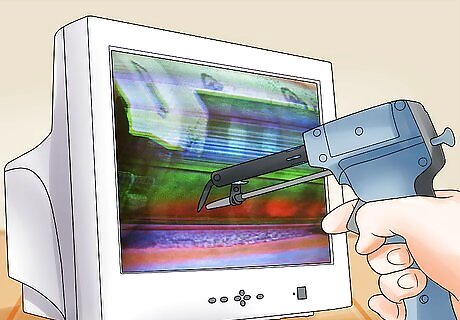
Place the gun in the center of the screen and turn it on, keeping it near but not touching the screen (to prevent scratching)
Slowly move it to the top edge (or any edge), then slowly around the outer part of the screen (but still in front of the glass) until you return to the top (or the edge you moved out to), again slowly return the gun to the center of the screen.

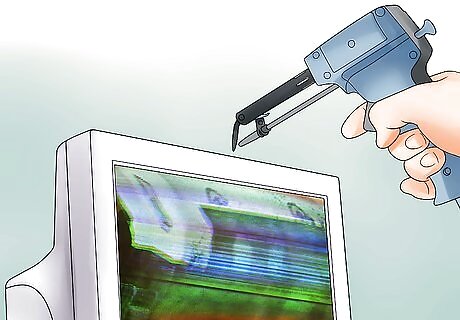
Keeping the gun on, slowly pull it straight away from the monitor until there is no more distortion visible (usually 3-4 feet), then turn the gun off (it is helpful to create a full-screen white image in MSPaint to display while doing this as it makes the discoloration very easy to see. Ctrl + F in MSPaint (which can be found in Accessories) displays the image in fullscreen mode.)
Rigged Drill Method
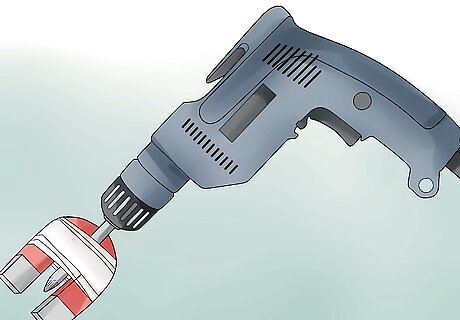
Get a magnet and tape it to the end of a high RPM drill and make sure it is held in place very tightly, use Duct or packing tape. You could also use a small electric fan. The motor creates the same magnetic field as the drill. When you turn on the fan hold the back of it onto the screen. From then you can go on from step 4.
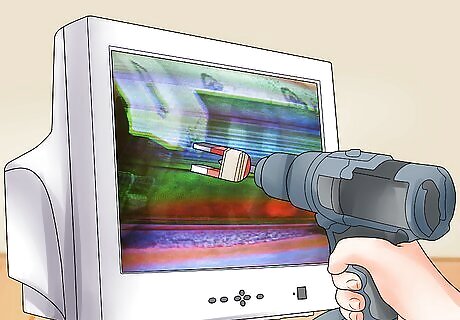
Hold the rigged drill next to the spot to be fixed, make sure it is about 2–3 centimeter (0.8–1.2 in) away from the screen.
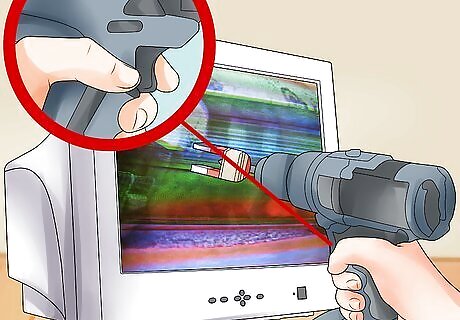
Now pull the trigger an you'll see the screen blur rapidly, this is normal so do not worry.
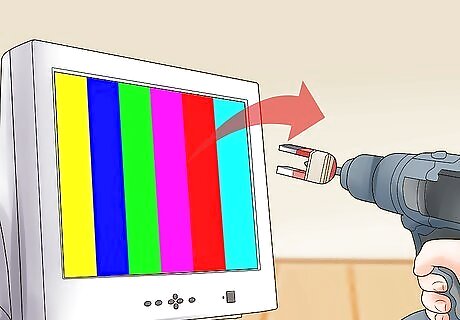
While the drill is running, slowly pull away from the screen and you may see it is fixed.
This process may need to be repeated due to magnet strength and drill speed but it will work.
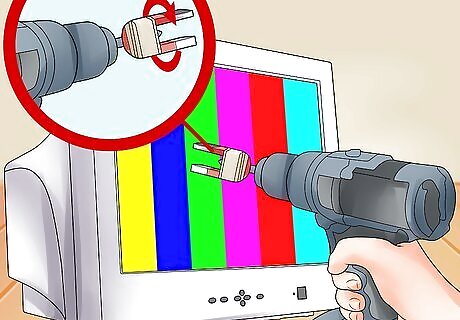
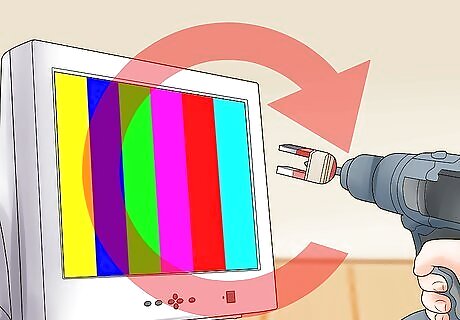
Due to physics the fast, random turning of the magnet/s will fix the screen's colors.


Comments
0 comment