views
Cleaning the Box Fan
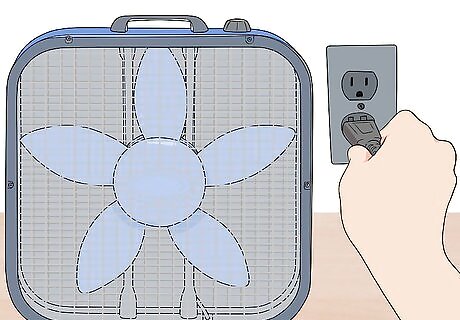
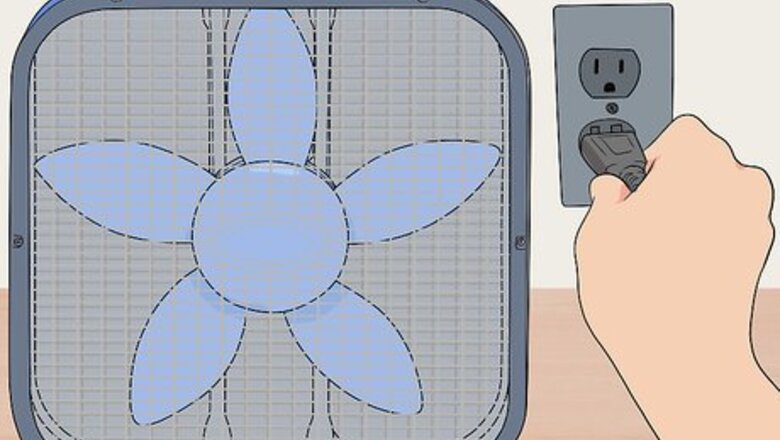
Unplug the box fan. Wipe down the power cord with a damp cloth. Make sure to dry it. Set the fan itself on a waist level work area, like a bench or a kitchen table.
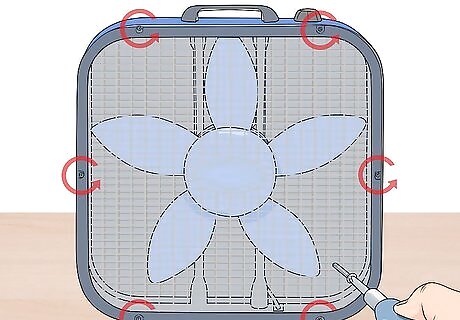
Remove the outer covers of the fan. Unscrew the screw securing both grilles to the metal box frame and remove them. Place the screws in a plastic baggie for later to ensure the screws don’t get lost.
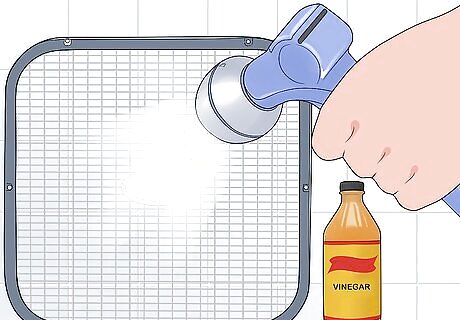
Clean the outer covers of the fan. Use your bathtub as a method to clean the covers. Plug the drain to your tub and add enough water to soak them in. When the dust and dirt comes off easily with a rinse, the covers are finished soaking. An alternative method is dousing the covers down with some vinegar. If you have a hose outside, use that to hose off your covers. The dirt will come right off. It’s slightly harder to clean the covers by hand, but it can be done that way as well. Spray the covers with equal parts water and vinegar, and then wipe the dirt away with a towel.
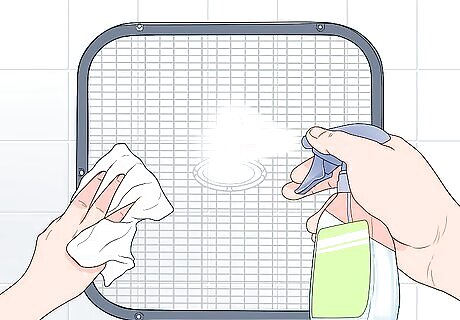
Spray and wipe down the blades to clean them. You can either use the towel you already dampened with vinegar and water, or apply vinegar and water to a dry towel. Be careful to avoid spraying directly onto the blades. Instead, apply it to the cloth and then wipe the blades with the dampened cloth. Apply pulling pressure to the blade set and remove it if needed. Use a vacuum with the hose attachment to vacuum out the motor vents. You can also use mild dish soap mixed with water and use a q-tip to help you clean out hard to reach areas. Take care not to get any water or cleaning agents in the motor, however, since this can cause damage. Gently wipe down all plastic parts, like the outside of the fan, its carrying handle, and its knobs, with a damp cloth.
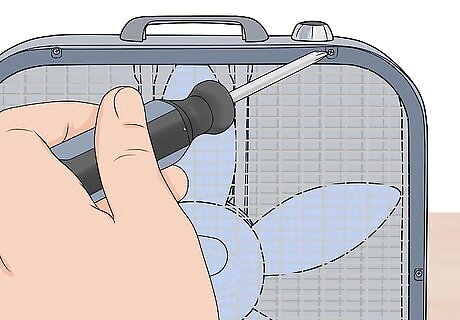
Reassemble the box fan. Be sure that all the parts are thoroughly dry before reassembling. Apply pushing pressure to the blade set and knock it back on gently with a hammer. Secure both plastic grilles and use the screws you removed earlier to screw it back into place. Put on the plastic speed control dial knob.
Maintaining the Box Fan
Buy an air filter for your fan. You can help prevent a buildup of dust and grime on your fan by attaching an air filter to it. Look for a filter that is designed to fit the size and shape of your box fan online or in a home supply store. Make sure to attach the filter to the rear part of your fan, where the air is drawn in. If you like, you can also construct your own DIY filter and attach it to the front of your fan, allowing it to do double-duty as an air purifier. For example, if you have a 20 in (51 cm) box fan, purchase a 20 in (51 cm) by 20 in (51 cm) MERV 11 furnace filter and attach it to the front of your fan with some heavy-duty tape.
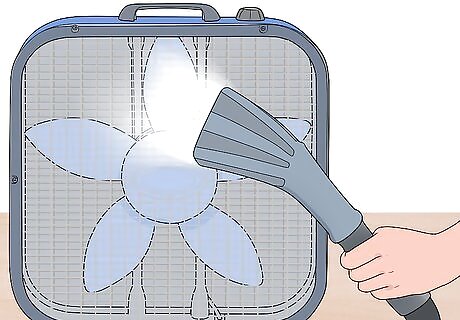
Clean fan blades of accumulated dirt regularly. Accrued dirt on fan blades cause bearings to become worn out, which creates a lot of noise from the fan. Every 2 weeks, you should vacuum the fan with the crevice-cleaning hose attachment. Wipe down the blades with a damp sponge twice a summer. In addition to causing damage to the fan, dust and dirt built up on the blades can blow into your home, reducing the air quality inside.
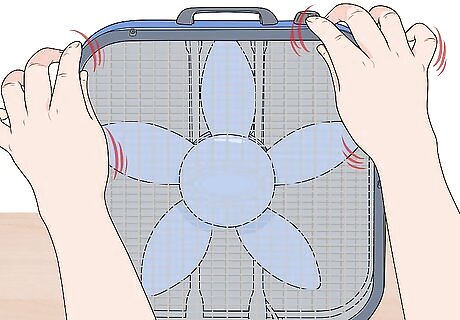
Inspect the box fan to make sure that there are no loose external parts. Box fans do an amazing job keeping the house cool, but oftentimes they also cause a lot of noise. Look for looseness in the fan’s housing and fan guards. Wedge a piece of cardboard between the edges of the blade guards if they are not firmly attached to the fan and their looseness is causing a rattle. Add a drop of silicone sealant to secure the decorative cap to the front guard of the fan if it is too noisy.
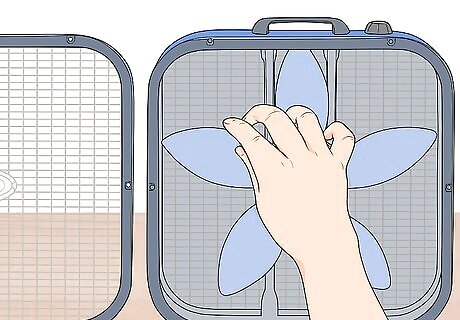
Disassemble the box fan to see if there are any loose internal fasteners if the problem persists. Inspect blades to make sure there aren’t any cracks, and replace them as necessary. Screw the spinner further into place and tighten it if it seems too loose. This will tighten the fan hub to the shaft and simultaneously secure the spinner into place.
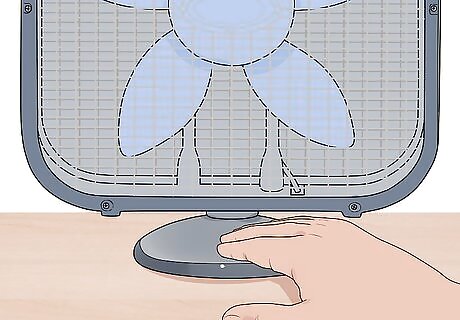
Quiet any rattling the box fan might make. If you notice that the box fan makes noise on level or smooth surfaces instead of on cushioned surfaces, it might be an issue with its base. Pads might be missing, so inspect the base of the fan and replace its pads as needed.
Storing the Box Fan
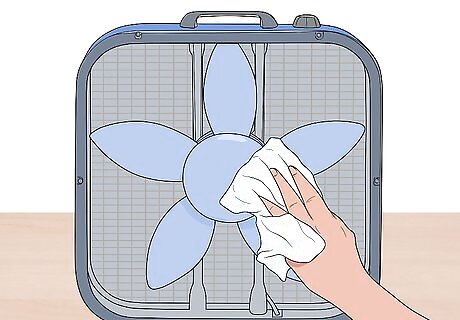
Give your fan a deep cleaning. During the spring and summer months, your home might need the extra coolness a box fan provides. At the change of the season, maintain the fan and prepare it properly by cleaning it before you store it. Disassemble it, soak it, wipe it down, and reassemble it.
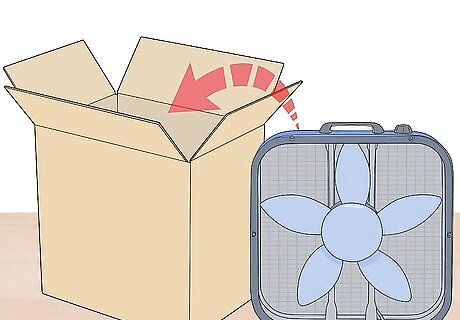
Prevent dust from settling on your fan by putting it in storage. Cover the box fan for the fall and/or winter season to keep it clean, pristine, and ready for use when the weather warms up again.
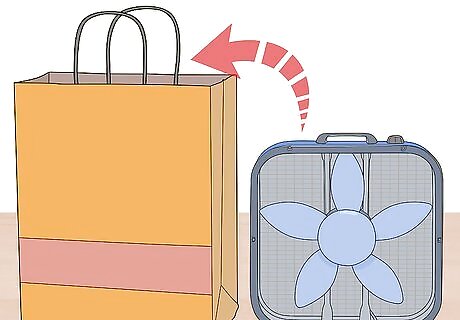
Use a brown bag or trash bag to store the box fan. Cut a shape that fits perfectly over the sides of the box fan covers to shield it from dust and dirt. Tape the bag into place over the fan or tie around it with a thin cord. Now put it away until spring.


Comments
0 comment