views
- Your computer will get dusty as time passes, so to prevent it from breaking down, use common household items like a microfiber cloth and canned air to clean it often.
- Dismantle the tower case so you can remove the dust that's built up inside your computer.
- Don't forget to clean your keyboard, mouse, and monitor as well as your computer tower!
Opening the Computer
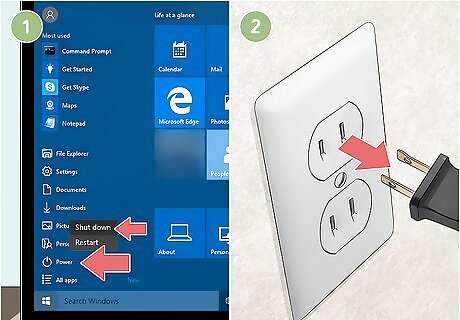
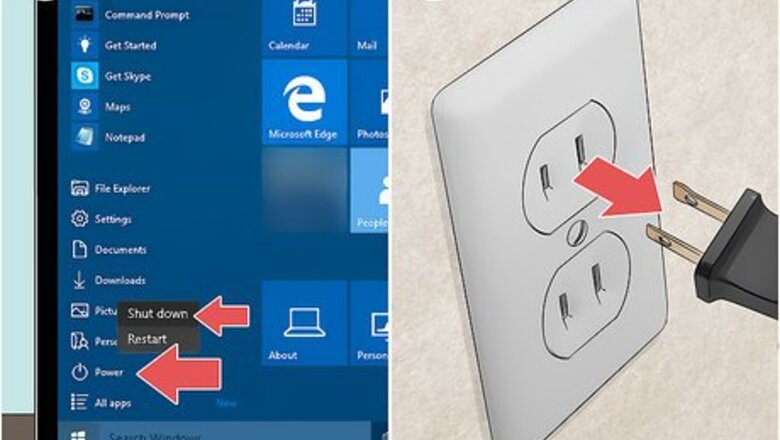
Shut down your computer and unplug it from its power source. Shut the computer down from the power control menu on your operating system. Then, unplug the computer from its power cord if it’s hooked up. Make sure you power off the computer all the way and don’t accidentally restart it or put it in “sleep” mode. If your computer is unresponsive, you can do a hard shutdown with the power button on the outside of the computer.
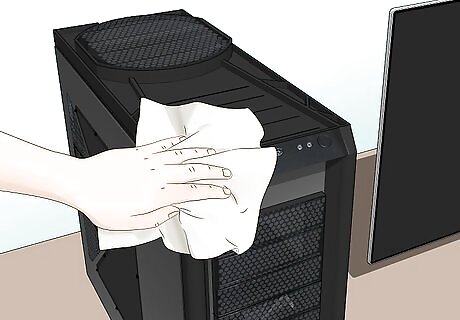
Dust the computer’s casing with a damp cloth or paper towel. If you are cleaning a desktop, the outside of the case is probably covered in dust. Unlike the sensitive inside, you can just use some slightly damp paper towels or cloths to wipe down the outside. Dust every side of the computer to make sure it’s all clean. Try not to accidentally brush dust into any of the ports.
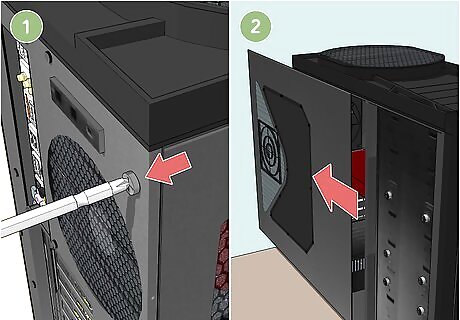
Unscrew the side panel to access the inside of a desktop computer. Typically, one side of a desktop computer is designated to be opened, allowing easy access to the interior hardware. Take a screwdriver that fits the screws and turn them counterclockwise to loosen them. Some computers have a different mechanism from screws. Consult your computer’s user manual if you are unsure how to open it up.
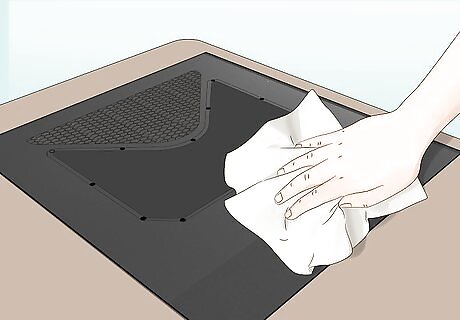
Use a damp cloth or paper towel to wipe down the access panel. Once you’ve removed the side panel, or whichever component of the casing allows you to access the inside, you’ll want to give it a quick clean. Just like the exterior parts, it's okay to take a slightly damp cloth or paper towel and wipe down the inside of this panel after taking it off.
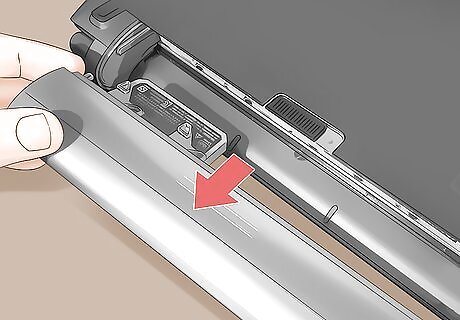
Take out the battery to clean out a laptop. To clean out a dusty laptop, you’ll have to remove the battery so that you can blow out the dust from inside the tightly-packed equipment inside. Unscrew the screws holding the battery under the casing, or slide the battery out on its own if your battery casing has no screws. If your laptop is overheating, there’s a good chance it’s dusty on the inside. Some laptops, including most MacBooks made after 2012, make it difficult or impossible to open the backing without violating the warranty. You may have to take these in for a professional cleaning.
Dusting Internal Components
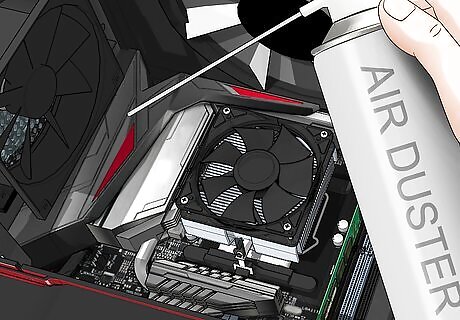
Aim the canned air into the computer. Whether you are cleaning out a desktop or a laptop, you can simply point the long, thin nozzle at whatever area you want to clean out and pull on the small trigger to release the air. Be aware that some cans of air have a button on top to release the air, rather than a trigger. If your can doesn’t have a long nozzle, you won’t be able to be as precise, but you can still use it to clean the computer with extra caution. Always wear a dust mask and work in a ventilated area when you are using pressurized air to blow out dust.Tip: Before using the canned air to clean dust out of your computer, aim the can away from the computer and press down. To avoid any built-up humidity or moisture in the can from getting into your computer, it’s helpful to aim the first puff of air from the dusting can away from the hardware. Don't blow dust back into your case. Make sure you're aiming the canister of air away/at an angle from the inside of your computer case.
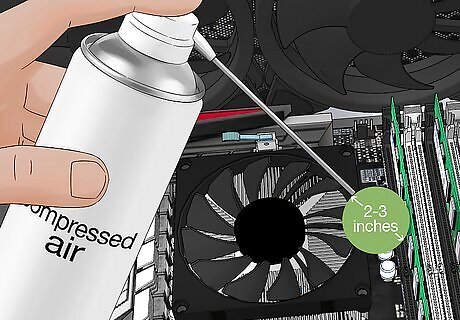
Blow off sensitive parts from 2 inches (5.1 cm) to 3 inches (7.6 cm) away. The compressed air in a dusting can comes out at high speeds that can cause damage to your computer’s sensitive hardware. When you are aiming at the motherboard, processor, or any visible memory chips.
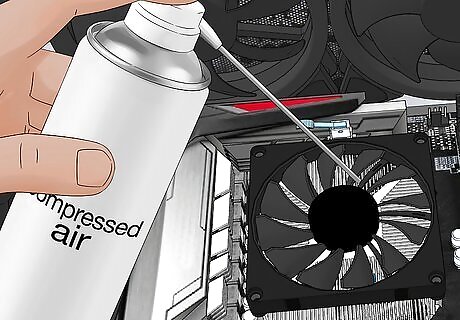
Remove dust from the heatsink vent filters with air or a cloth. On the inside of the large air intake vent on your computer, there is a round wheel-shaped part called a “heatsink.” It has a number of mesh filters that are probably covered in dust. Use your can of air or a microfiber cloth to gently remove the dust. Some computers have other air filters that will need to be dusted, too. Check the user’s guide to see what filters are listed.
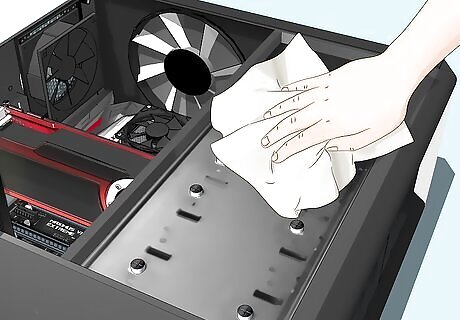
Use the microfiber cloth to wipe down the metal casing. Once you’ve blown out the computer and loosened the dust, you can use the fabric to wipe everything down and remove the loosened dust. Don’t use the cloth on any of the actual hardware components. Just wipe down the metal frame that holds it all together. You can simply pull out large dust bunnies and clumps rather than wiping them away.
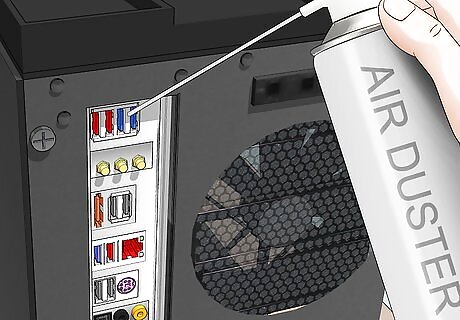
Blow out your computer’s ports to get rid of any blockages. Find the USB, HDMI, power, and other ports on your computer. Use the canned air nozzle to blow out any dust or debris that is blocking the ports. If your computer is charging slowly or saying that a USB isn’t connected after being inserted, dust may be to blame. If your computer has a DVD or CD drive, use extra caution when using canned air.
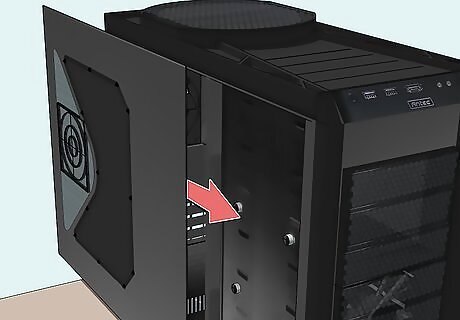
Re-attach the side panel unless you see caked-on dust or grease. After you are satisfied with the cleanliness of the inside of the computer, screw the side or bottom panel back on. Use the same screwdriver you used before to turn the screws clockwise. Leaving your computer open will only expose it to more dust and filth.
Deep Cleaning

Wet the microfiber cloth with rubbing alcohol. An easy way to do this is to cover the opening of the alcohol bottle with the cloth and turn the bottle slowly, allowing the alcohol to seep into the cloth for a few seconds. You can also tilt the bottle slightly down with the microfiber cloth underneath to pour 3 or 4 drops onto the cloth. Wear an anti-static wristband. Any time you're working with delicate electronics, you want to prevent static shock. You can get an anti-static wristband almost anywhere, like Walmart or Amazon, and it will help prevent you from generating static shocks to your computer's components, which can damage it. Use 99% isopropyl alcohol, or else the solution could leave behind a slight residue.Tip: You can also use a coffee filter instead of a microfiber cloth as you wipe off grease and other hard-to-clean grime from your computer. The tightly knit fibers of the filter work in almost the same way as microfiber!
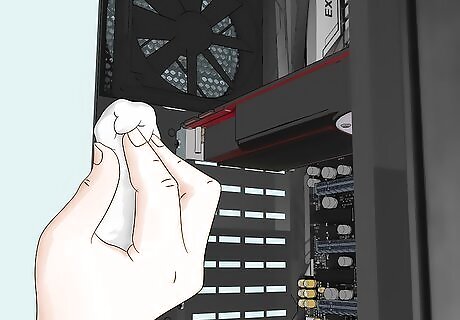
Wipe down spots that look dark and greasy. Look around for any spots that are stained with a dark, greasy liquid. Use the wet cloth to wipe up the grease anywhere that you see it, except on sensitive hardware. If you see grease on the motherboard or processor, you will need to see a professional cleaner. Some grease is actually a “paste” important for cooling the computer. You should only wipe away grease that appears in patches or splatters. The heat sink and processor are surrounded by “thermal paste” that needs to be replaced once in a while.
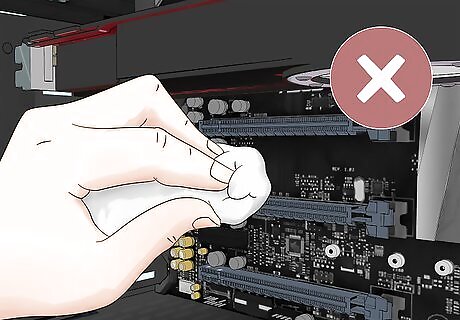
Avoid sensitive components when using rubbing alcohol. The hard drive and the processor are especially sensitive to liquid, and using rubbing alcohol on either of them could cause permanent damage to your computer. The motherboard is more liquid-tolerant, but you should still avoid it while using rubbing alcohol.
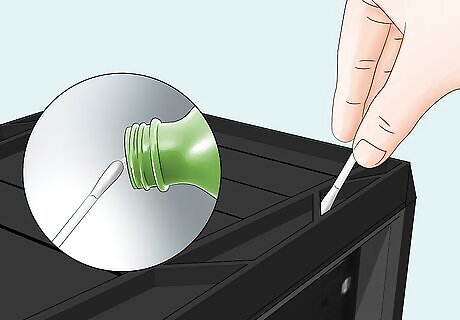
Use cotton swabs dipped in alcohol to get into tight spots. If there are nooks and crannies that still have dust, you can dab cotton swabs in alcohol and rub them on the hardware to remove the dust. This is a good way to get in between components.
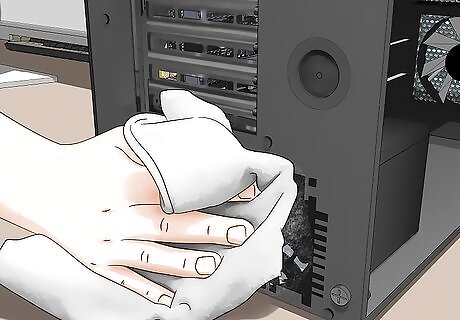
Wipe down caked-on dust with a damp cloth. If the dry cloth wipe-down didn’t capture all of the dust in your computer, you can always go over it one more time with the wet cloth to give your computer’s hardware a satisfying, clean-looking shine. As always, carefully avoid any sensitive hardware. Be sure to dry off any spots that got wet from the alcohol with the cloth so there are no blotches.
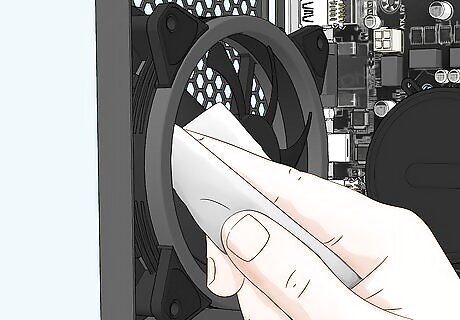
Clean your fan blades. Each blade most likely has accrued dust, so wipe each blade individually with a damp cloth. You can also use your can of air to clean your fan blades. Don't let the fan blade spin a lot. Use your finger to prevent the blades from going around since that can generate electricity and damage your computer's components.
Dusting the Keyboard and Monitor
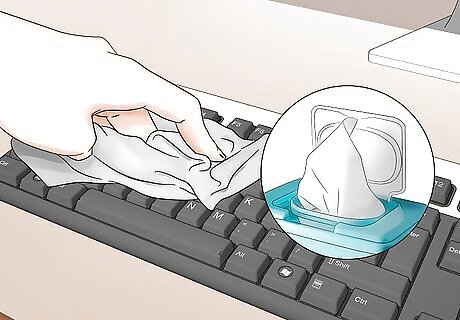
Wipe the keys with moist sanitizing wipes. Drag the wipe across the keys to pick up any dust on top of the keyboard. Don’t forget to wipe the edges of the keyboard, as well as the underside. So long as the power to the computer is off, you don’t need to worry about getting the keyboard a little bit wet. Paper towels sprayed with a sanitizing product make a good alternative to moist wipes.
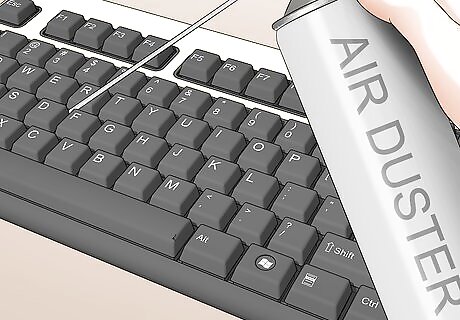
Use compressed air to clean between the keys. So long as your keyboard isn’t completely covered in dust and debris, you should be able to clean it up well by aiming compressed air between the keys. You can use the nozzle to really blow dust that’s deep below the keys up to the surface. If the air just spread the dust around on top of the keyboard, you can use your vacuum’s upholstery attachment to suck up the loose dust from the keyboard.
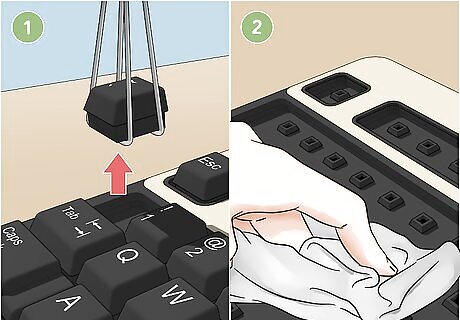
Pop the keys off the keyboard and wipe the area beneath them for a deep clean. If your keyboard has gunk deep inside that compressed air can’t blow out, you can still get in and pull it out. Pull each key off carefully so that the keys don’t break. Then you can just use another sanitizing wipe or wet paper towel to clean out the area beneath the keys. It’s best to do this in sections of 3-4 keys at a time, putting the keys back on after finishing a section, so you don’t have to reassemble the whole thing after.
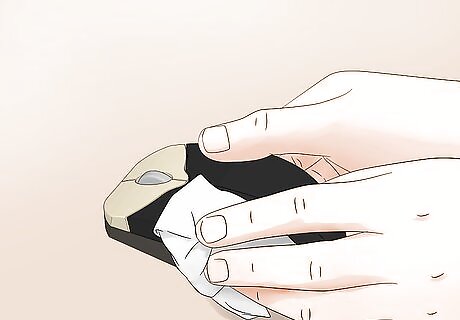
Clean the surface of your computer mouse with sanitizing wipes. Like your keyboard, your computer’s mouse sees a lot of germs on a daily basis, in addition to dust. Wipe down the whole surface of the mouse, including the pads on the bottom.
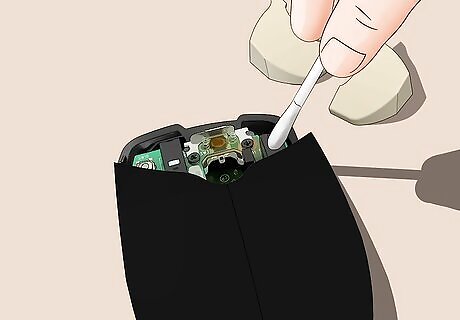
Pop the buttons off the mouse like the keys of a keyboard. You should be able to pry the clicking buttons of a mouse so long as you do it carefully, just like you would with keyboard keys. This will give you access to the underside of the buttons, as well as the space between them. This area can fill up with dust as a result of the gaps all around the buttons.
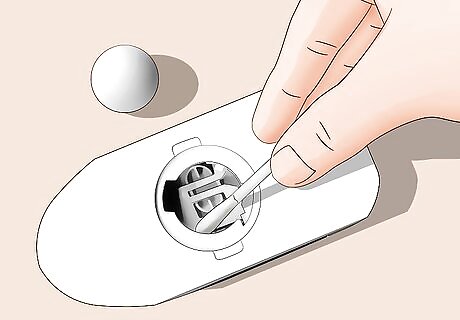
Remove the mouse ball if your mouse has one. Computer mice with a tracking ball are prone to slowing down and lagging thanks to dust. The little cover on the underside of your mouse gives you access to the ball and then you can wipe it all down with a moist paper towel. It’s a small area, so just one wipe should be enough to get rid of dust.
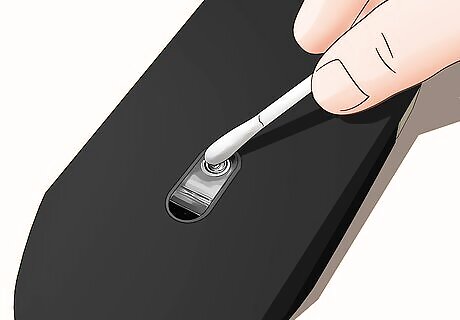
Use a dry cotton swab to brush off the LED on an optical mouse. If your optical tracking mouse, the more common kind of computer mouse these days, is lagging, it could be thanks to some dust on the LED bulb itself. You can just wipe it off with a cotton swab and the dust that blocks its view should come right off without a problem.
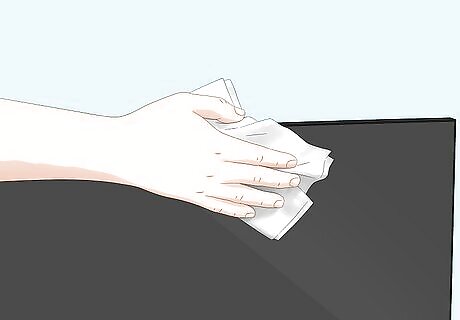
Gently wipe off the dust from your monitor with a dry microfiber towel. Other products, like paper towels or toilet paper, will leave lint behind and may end up scratching your monitor. If you don't have a microfiber cloth, you can use alternatives like a dry dusting cloth, a Swiffer dusting cloth, or monitor/electronics wipes. Don't press hard on your monitor or you can scratch or break it, but use gentle motions to clean your monitor. After you've done that, you'll want to keep dust out of your computer as much as you can. This means you'll need to take some extra prevention steps like elevating your tower, cleaning your floors and your computer's environment thoroughly, and relocating your computer away from doors and windows.


Comments
0 comment