
Ensuring the Tape will Stick
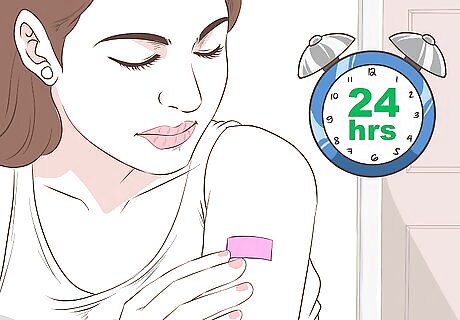
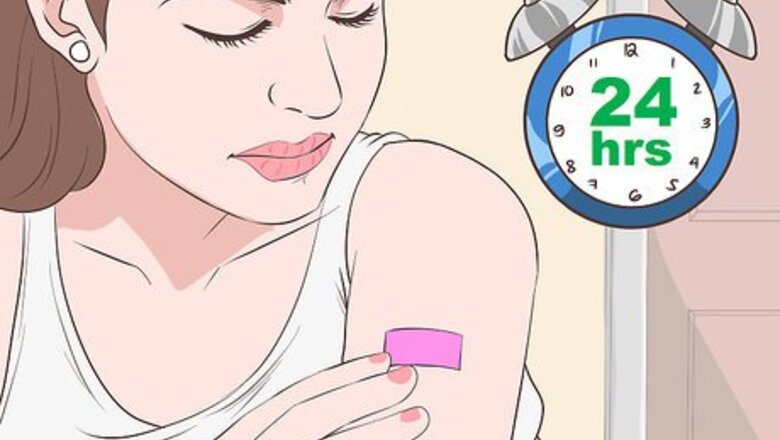
Apply a test strip. Some people may experience an allergic reaction to kinesiology tape. As a result, you should apply a small test strip for up to 24 hours before fully applying the tape. If skin irritation like redness occurs, remove the tape immediately.
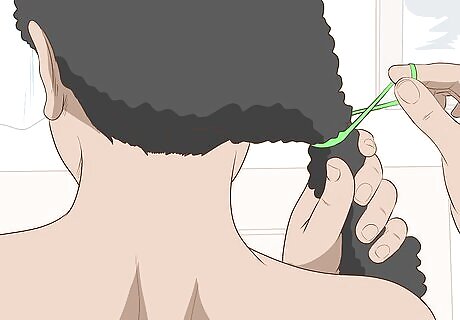
Remove excess hair from the skin. Small amounts of body hair should not affect the adhesion of the tape. That being said, excessive amounts of hair may make it difficult for the tape to stick to the skin. Clip excessive hair so that it is close to the body. This will also make the removal less painful.
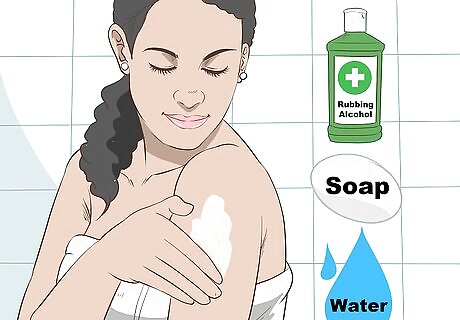
Clean the skin before taping. Before you apply kinesiology tape to the skin, you need to make sure that the area is clean and free of any oils or lotions. Wash your skin with soap and water or rubbing alcohol prior to applying the tape.
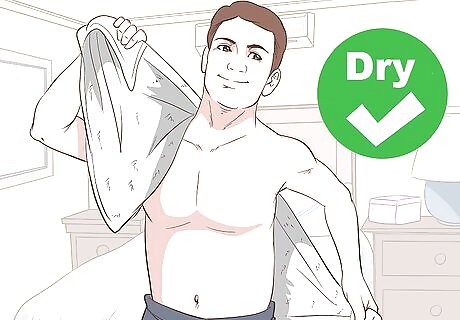
Allow the area to completely dry. Once the skin has been cleaned, make sure that it is completely dry before applying the tape. Moisture can impact the adhesion of the tape. If you are applying kinesiology tape following exercise, make sure that your body is no longer perspiring. You can pat the skin dry using a clean towel.

Apply tape one hour before athletic activity. Kinesiology tape needs time to stick to the skin. As a result, you should wait at least one hour after you tape your skin before engaging in a physical activity that may cause perspiration. Similarly, you should avoid swimming and showering within the first hour of applying the tape. Kinesio tape can be helpful when you're trying to get a muscle to activate better during a certain motion, like walking, throwing, or hitting. You can also inhibit a muscle from activating if it's too tight or stop it from engaging when it shouldn't.
Applying Kinesiology Tape

Tape the area as instructed by your physiotherapist. There are a number of different ways to apply kinesiology tape, and these typically depend on the size of the affected muscle and the results that are trying to be achieved. You should visit a medical professional, such as a physiotherapist or physical therapist, to learn the proper tension and alignment that should be used for taping your particular muscle. As a general rule: Y tape applied in the shape of a Y over the target muscle. This is used to surround the target muscle and can either inhibit or facilitate muscle stimuli. The tape should be slightly longer than the target muscle. I tape application is used for acute injuries and helps with alignment corrections. In this case, you place a single strip of tape along the target muscle in a straight line. X tape application is when the tape forms an X shape across the affected muscle. This is used when the origin and alignment of the muscle changes with movement. The tape will move with the muscle providing continued support. For example, it can be used on the rhomboids (upper back and shoulder). Fan/web tape application is used in a similar way to the X tape; however, the one end remains intact while the other end spreads out in a fan-shape across the muscle.
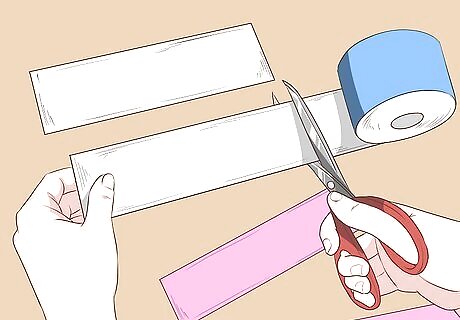
Cut the amount of tape needed. Kinesiology tape can come in a continuous roll or precut strips. If you are using a roll of kinesiology tape, unwind and cut off the amount of tape you need. Then, round the ends of the tape by cutting the corners with scissors. This will help prevent the tape from fraying and unpeeling at the ends. If you are using precut strips, tear the strips along the serrated edge.
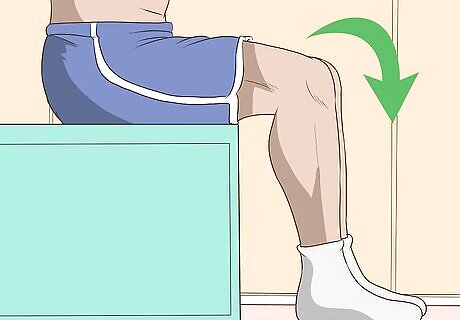
Bend all joints before applying tape. If you are applying kinesiology tape to a joint, such as the knee or elbow, you should always begin with the joint in a bent position. If the tape is applied to a knee or elbow in an extended position, the tape will pull off once you begin to move.
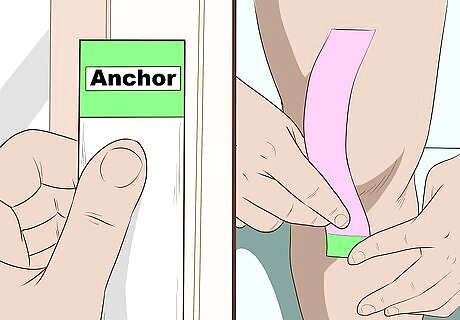
Apply an anchor to the skin. Tear the backing 2-3 inches (5-7.5 cm) from the end of the tape to create an anchor. This part will be applied directly to the skin. It is important that you do not stretch this section of the tape. If you stretch the anchor section of tape, it may cause the tape to peel off and the application will be less effective.
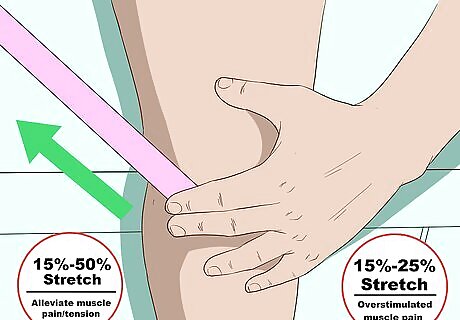
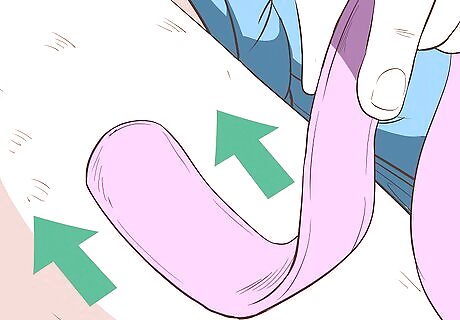
Stretch the tape across the skin. After you have anchored the tape to the skin, you can begin to stretch the tape across the desired muscle. The amount of stretch you use will depend upon the type of treatment. For example, if you want to stimulate a muscle that is struggling to perform, you should use 15%-50% stretch. This will alleviate muscle pain and tension. Alternatively, if you want to relieve pain from a muscle that is overstimulated, you should use 15%-25% stretch.
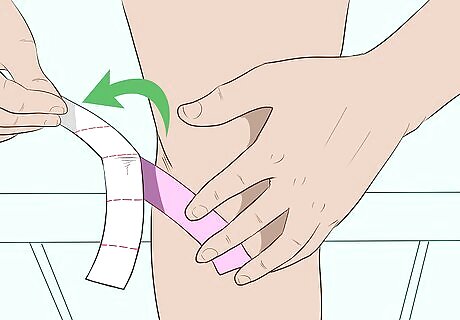
Peel the backing from the tape in small segments. This can be done by holding the tape in the middle and gently tearing and pulling at the paper backing. If you peel off all of the backing at once, the tape may stick to itself and ruin the application. Avoid touching the adhesive. This can impact the stickiness of the tape and may cause the tape to peel off the skin.
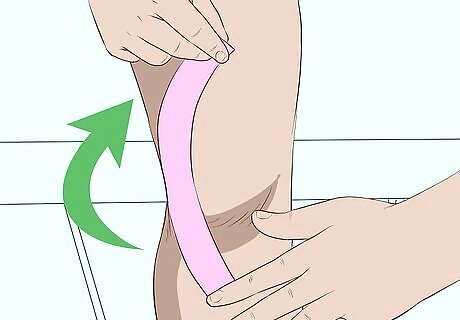
Anchor the end of the tape to the skin. The last 2-3 inches (5-7.5 cm) of tape should be anchored to the skin without stretching the tape. Avoid sticking tape to another piece of tape. This will not hold and may cause the ends to roll up.
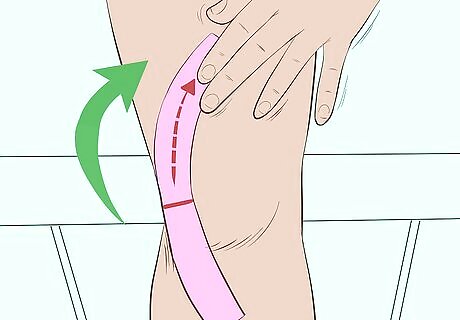
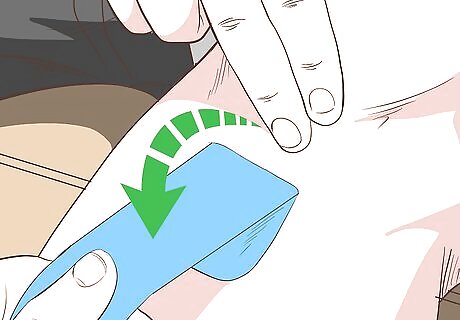
Rub the tape from the center to the ends. Once the tape has been applied to the skin, you want to activate the tape and ensure that it will not peel off the skin. Use your hands to rub the tape from the center towards the ends. This will help stick the tape to the skin.
Wearing Kinesiology Tape

Prevent clothing and equipment from rubbing the ends. Clothing or equipment that rubs the ends of the tape can cause the ends to peel. To prevent this, wear clothing styles that do not interfere with the ends of the tape. If this is not possible, you could try taping your clothing to your skin in certain areas so that they do not come in contact with the tape. For example, you could tape your sleeves back if you are wearing kinesiology tape on your shoulders.
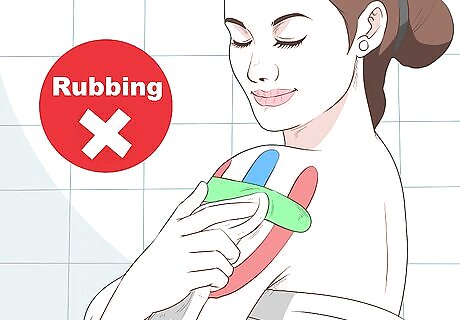
Pat tape with a towel to dry. Kinesiology tape can be worn for three to five days and you will likely get the tape wet at some point during that period. To dry the tape, simply pat it dry with a clean towel. Do not rub the tape, because this may cause the ends to peel.
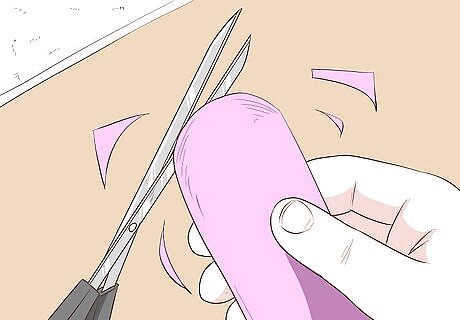
Trim peeling ends with scissors. If at some point the ends of the tape begin to peel, you can simply trim off the peeling piece using a pair of scissors. Press down the remaining ends of the tape so that more peeling does not occur.
Removing Kinesiology Tape
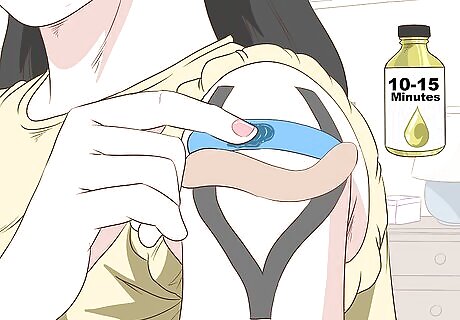
Wet the tape with baby or vegetable oil for 5-10 minutes. Prior to removing the tape from your skin, you can loosen it by dampening the tape with baby oil or vegetable oil. Brush the oil onto the tape and then let it sit for 5-10 minutes. This will help to loosen the adhesive and will make the tape removal easier.
Remove tape in the direction of hair growth. To make tape removal less painful, peel the tape away from the skin in the same direction as your hair grows. As a general rule, this is away from the center of the body on the trunk and in a downward direction on the arms and legs.
Press skin at the end of the tape. Use one hand to tack the skin down near the end of the tape, then gently pull the skin away from the tape. Then, use your other hand to slowly pull up the tape. This should ease any pain associated with removing kinesiology tape. Do not rip off the tape in a quick motion. This could tear the skin and cause irritation.


Comments
0 comment