
Downloading and Installing Blender
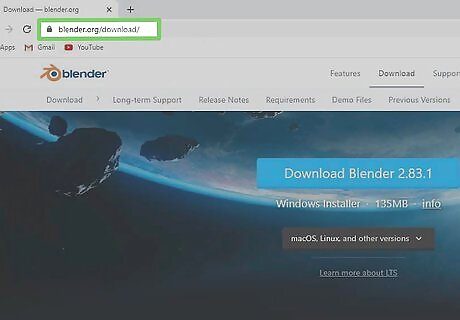
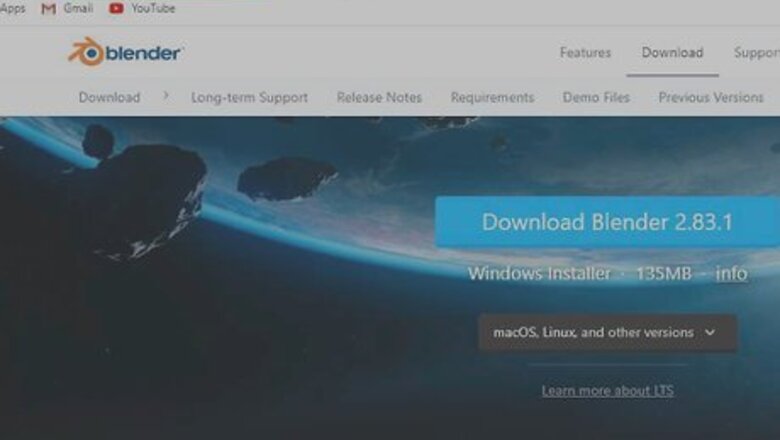
Go to https://www.blender.org/download/ in a web browser. This is the download page for Blender
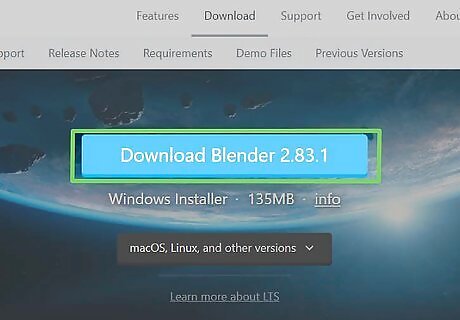
Click Download Blender. It's the blue button in the center of the screen. This downloads the latest version of Blender 3D.
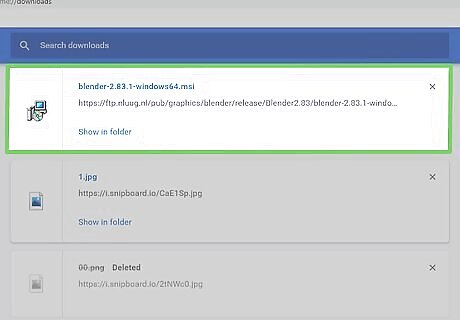
Open the Bender install file. You can open the install file in your web browser, or in your Downloads folder.
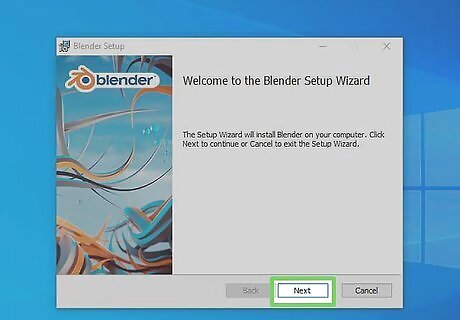
Click Next. When you see the Welcome screen on the Windows installer, click Next to continue. On Mac, when you see the Blender icon with an arrow pointing to the Applications folder, click and drag the Blender icon to the Applications folder as indicated to copy the app to your Applications folder.
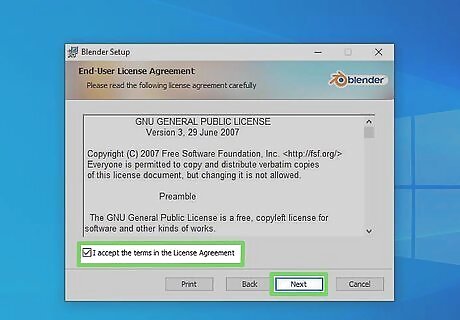
Click the checkbox next to "I agree to the terms and License Agreement" and click Next. It's at the bottom of the Window. You can read the license agreement in the text box in the window. When you are finished, click the checkbox at the bottom and click Next to continue.
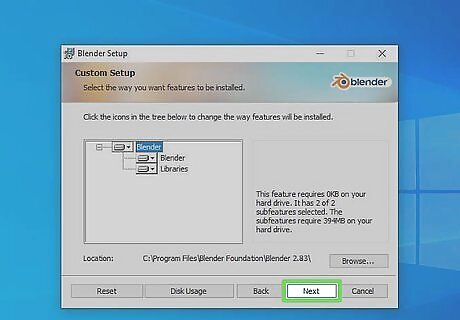
Select an install location and click Next. By default, Blender will install to your Program Files folder on your C: drive. If you would rather choose another location, click Browse and select a folder you want to install Blender to. Click Next when you are finished.
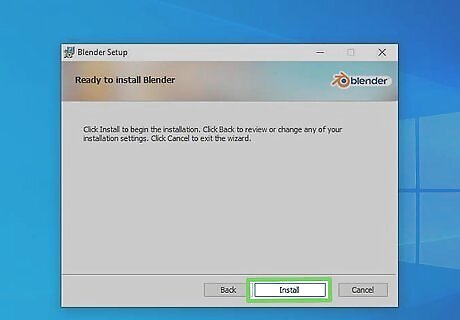
Click Install. This installs Blender 3D at your chosen location.
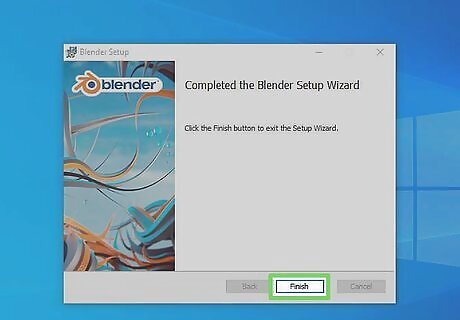
Click Finish. When the installation is complete, click Finish to close the installer.
Navigating the 3D Environment
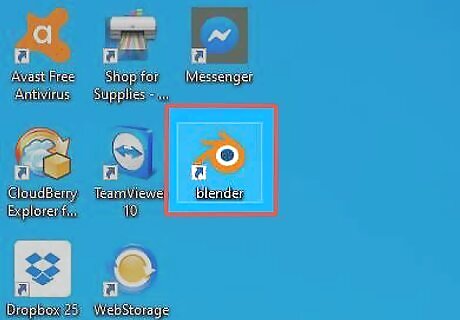
Open Blender. Blender has an orange icon that resembles a circle with lines coming off the top. Click the icon in your Windows Start menu or Applications folder to open Blender 3D.
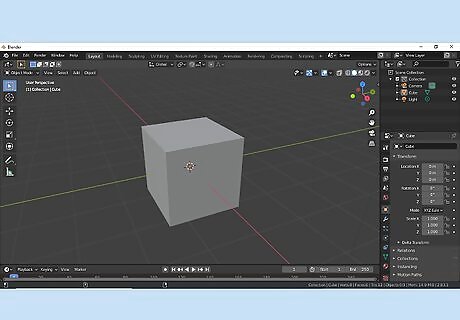
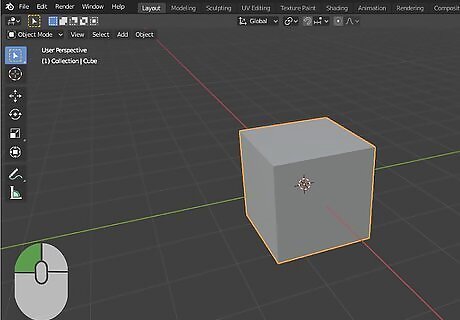
Click outside the title screen. When you first open Blender 3D, you will see a title screen. Click outside the title screen to close it. You will see the 3D viewport with a basic scene, consisting of a cube, light, and a camera. Use this basic scene to practice navigating the 3D viewport. Blender 3D's user interface is largely dependant on keyboard shortcuts. It's recommended you use a full keyboard with a number pad and a mouse with a mouse wheel when using Blender 3D.
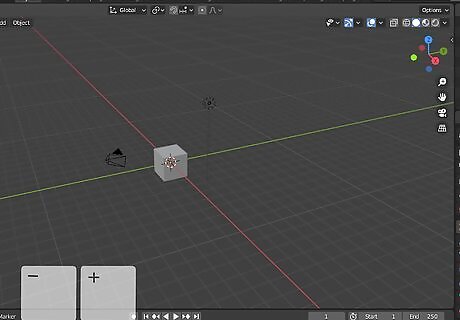
Roll the mouse wheel to zoom in and out. Use the mouse wheel to zoom in and out on an object. Alternatively, you can press "+" or "-" on your number pad to zoom in and out.
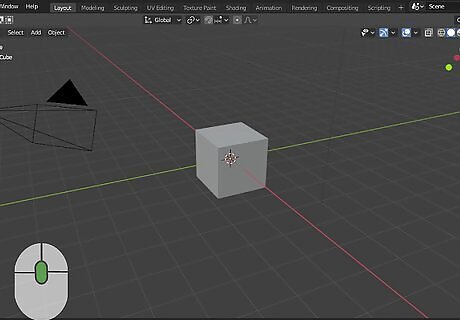
Press and hold the mouse wheel to rotate your view. To rotate your view, press the mouse wheel and drag the mouse.
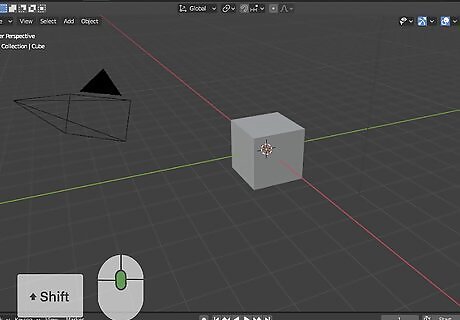
Hold ⇧ Shift and press the mouse wheel to pan your view. To move your view from side to side, press and hold "Shift" and click the mouse wheel and drag the mouse in the direction you want to change your view.
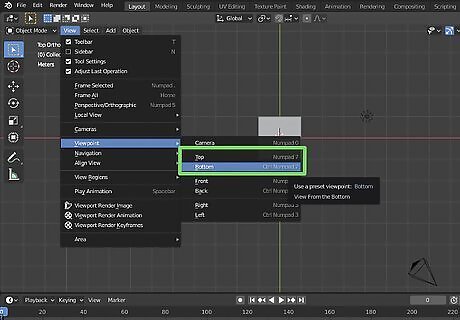
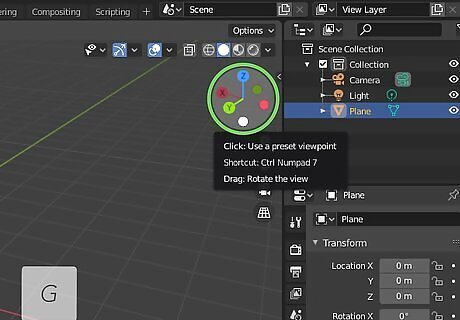
Press 7 on the number pad view from the top. Use the keys on your number pad to change the 3D viewport view. Press "7" will change your to directly above. Press "Ctrl + 7" or "Command + 7" to view from the bottom. Alternatively, you can change your view by click View at the top, then selecting Viewpoint. Then select a view.
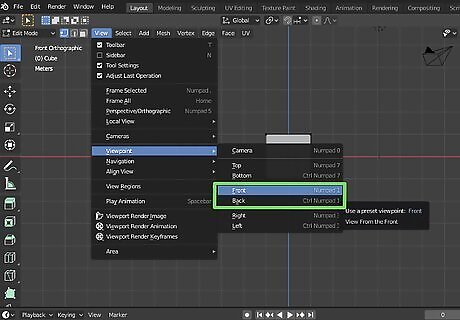
Press 1 on the number pad view from the front. This changes your view to the front. Press "Ctrl + 1" or "Command + 1" to view from the back.
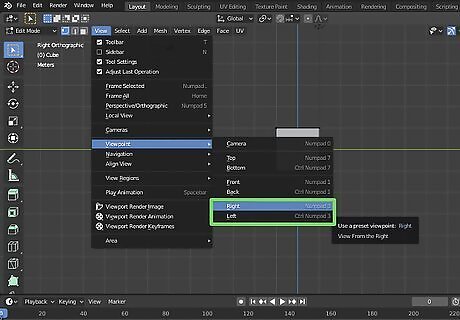
Press 3 on the number pad view from the right. This changes your view to the front. Press "Ctrl + 3" or "Command + 3" to view from the left.
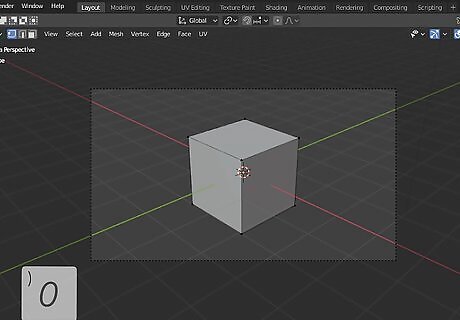
Press "0" on the number pad to switch to camera view. This allows you to view the scene through the camera.
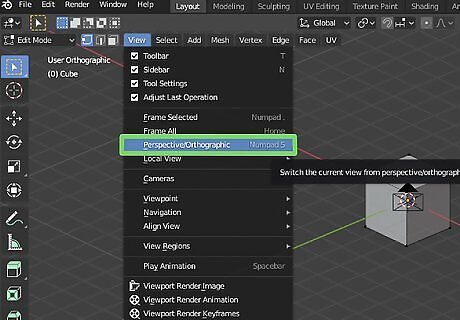
Press 5 on the number pad to toggle orthoscopic view on and off. Orthoscopic view removes perspective from the viewport. Objects appear the same size no matter how far off in the distance they are. This is useful when modeling complex shapes.
Toggle X-ray on and off. The X-Ray button has an icon that resembles a square with a faint square behind it. It's in the upper-right corner of the viewport. Turning X-Ray on makes objects transparent so you can see objects behind other objects.
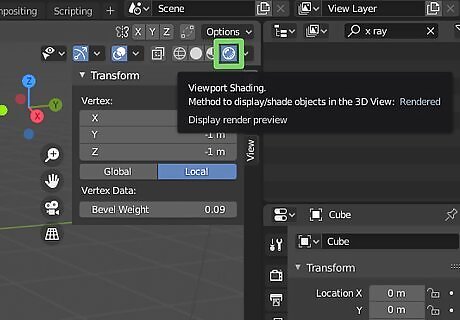
Change the viewport shading options. The shading options are the sphere icons in the upper-right corner of the 3D viewport. These options are as follows: Wireframe: Click the icon that resembles a wireframe sphere to turn on wireframe mode. This mode displays 3D objects as wireframes with no surfaces. Solid: Click the icon that resembles a solid white circle to switch to solid shading mode. This mode displays object surfaces with no texture detail. Material: Click the icon that resembles a badly shaded sphere to switch to material mode. This displays objects with their surfaces and material textures, but with minimal lighting. Rendered: Click the icon that resembles a sphere to switch to rendered mode. This mode approximates what the scene will look like fully rendered with object surfaces, textures, and lighting. This is the most resources intensive mode in Blender 3D.
Adding and Moving Objects
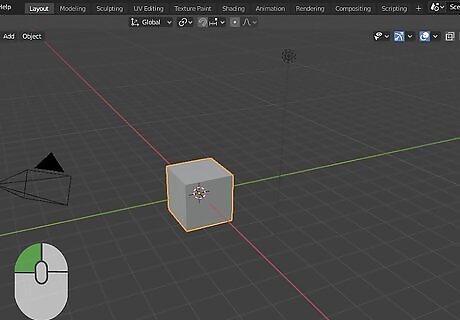
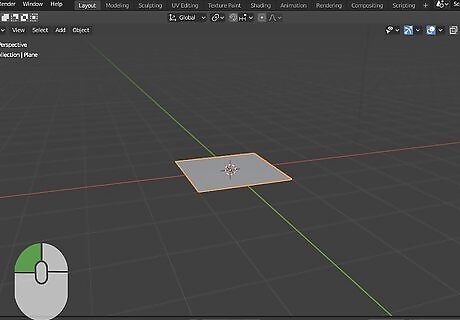
Click an object to select it. A selected object will be highlighted in orange. Try clicking the cube in the center to select it.
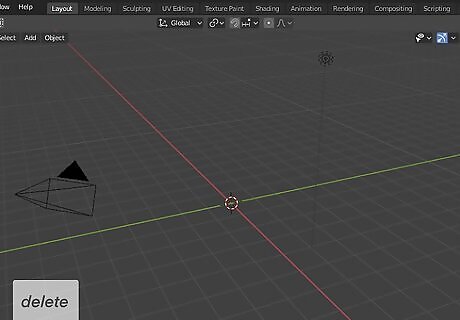
Press Delete to delete a selected object. To remove an object, click it to select it, then press the "Delete" key to remove it.
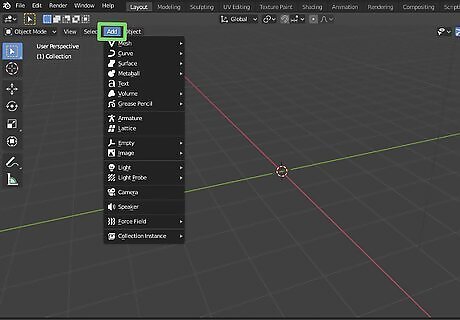
Locate the "Add" menu. The "Add" menu is at the top of the viewport. This displays a list of sub menus with objects you can add. Some of the submenus are as follows: Mesh: This menu contains basic geometric 3D shapes you can add. Surface: This menu contains a few basic shapes with surfaces that have been smoothed using curved lines. Metaball: This menu contain metaball shapes. These shapes blend together when added to each other. Light: This menu contains a variety of lights you can add to a scene. Camera: This option adds a camera to the scene.
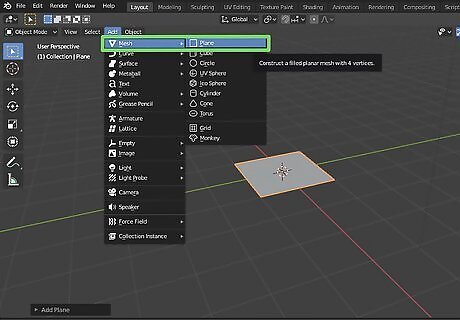
Add a new mesh to the scene. Use the following steps to add a new mesh to the scene: Click Add. Click Mesh. Click a shape you want to add.
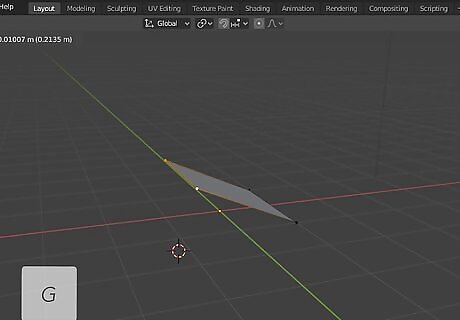
Click an object and press G to move it. To move an object, click it to select it, and press "G" to grab it and drag the object. Click to stop moving the object. Alternatively, you can click the icon that resembles a cross-arrow to the left and click and drag an object. You an also press "X", "Y", or "Z" on the keyboard to restrict the axis you move the object along.
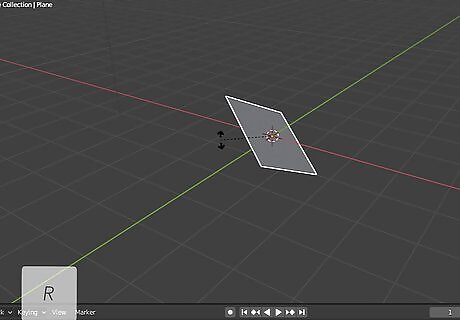
Press R to rotate a selected object. To rotate a selected object, click it to select it and press "R" and drag the mouse to rotate it. Alternatively, you can click the icon with curved arrows around a point and then click and drag one of the three colored bands around the object. You an also type the degrees you want to rotate an object after you press "R".
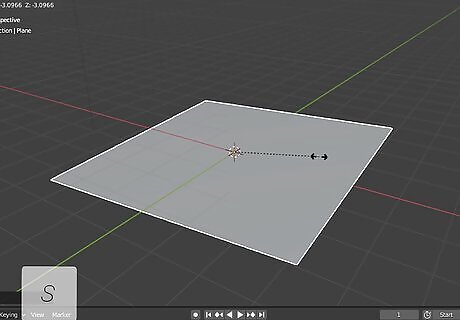
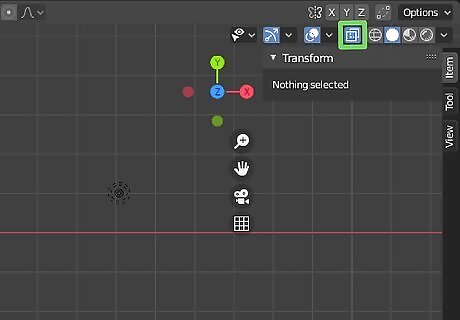
Press S to change the size of a selected object. To change the size of a selected object, click it and press "S". The drag to scale the object size up or down. Alternatively, you can click the icon that resembles an enlarging square to the right and click and drag an object to scale it.
Editing an Object
Click an object you want to edit. A selected object will be highlighted in orange. Click an object you want to edit.

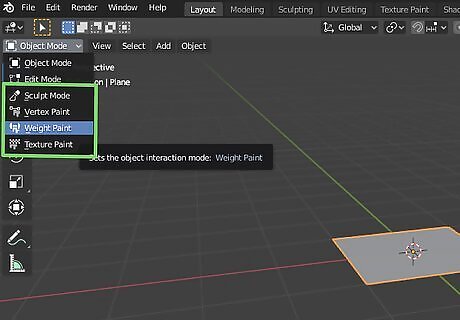
Switch to Edit mode. To switch to Edit mode, click the drop-down menu that says "Object mode" in the upper-right corner and select "Edit Mode".
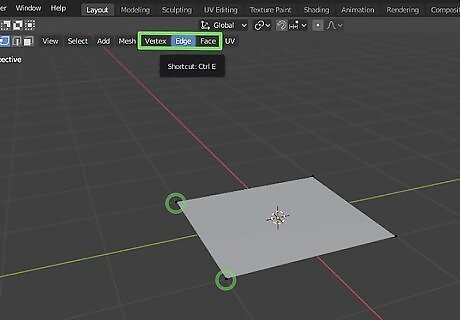
Pick a selection mode. There are three selection modes in Edit Mode. They are in the upper-left corner right next to the "Edit mode" drop-down menu. The selection modes are as follows: Vertex Select: This is the icon that resembles a box with a single white point. This mode allows you to select individual points (vertices) of a mesh. Edge Select: This is the icon that resembles a box with a solid white line. This mode allows you to select the lines between points in a mesh. Face Select: This is the icon that resembles a box with a solid white side. This mode allows you to select the surface in between the lines on a mesh.
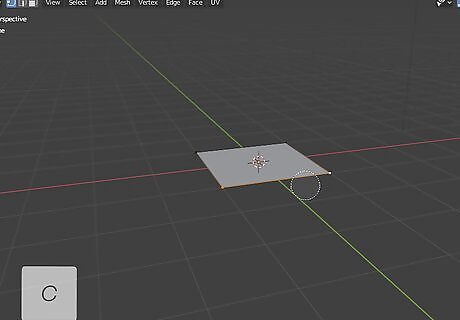
Press B for box select or C for circle select. You can select parts of an object using the Box select or circle select. To use Box select mode, press B and click and drag a box around the areas you want to select. To use circle select, press "C" and click and drag the circle icon Press "A" to select everything. To deselect everything, press "Ctrl + A". Be mindful of X-Ray mode when selecting edges, vertices, or faces of an object. With X-Ray mode on, you will be able to select vertices, edges, and faces in front and back of the object. With X-Ray mode off, you will only be able to select edges, vertices, or faces in front of the object.
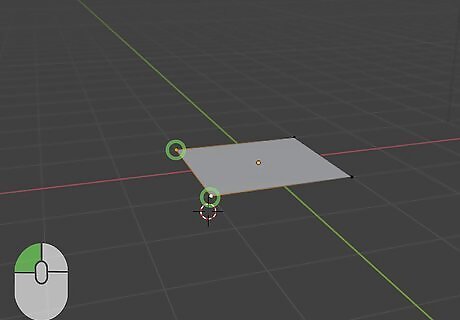
Select a point, line, or face. Use one of the Selection modes and select a line, vertex, or face of an object.
Press G to grab and move the selected point, line, or face. You can sheer and distort the shape of an object just by selecting, lines, points, and faces and moving them around. You can also press "S" to change the size of a selected line or face.
Select a face of an object. To select a face, you can either use Vertex Select mode and select all the points around a face, use Edge Select mode and select the lines around a face, or use Face Select mode and select the face directly.
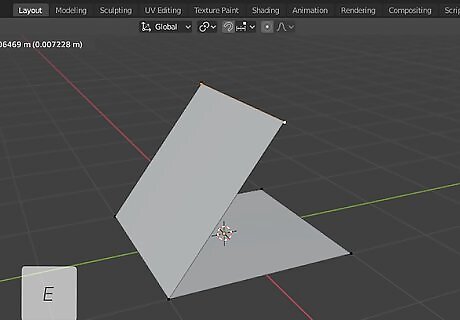
Press E and drag to extrude a selected face of an object. This extends the face away from the object and creates new faces along the lines. To create a beveled look, extrude the face of an object, and then press "S" to shrink the face.

Use the Knife tool to cut extra edges in a face. Press "K" to select the Knife tool or click the icon that resembles a box with a jagged line cut through it. Click and drag to create a line through a face on an object. Press "Enter" to finalize the line cut.
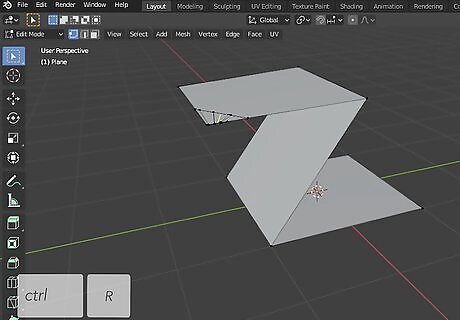
Use the Loop Cut tool to cut extra faces in an object. Press "Ctrl + R" to select the Loop Cut tool. Hover the mouse over an object to see a yellow line surround the object. Move the mouse cursor to adjust the line. Click to cut a loop across the entire object.
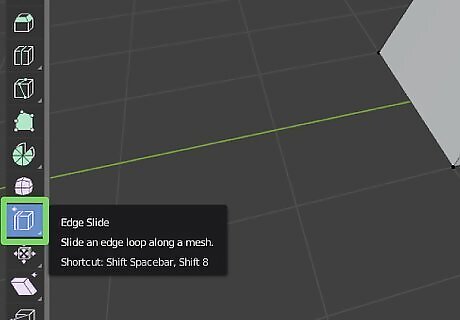
Use the Edge Slide tool to move lines along an object. Click the icon that resembles a box with a purple line cut through the side in the toolbar to the left. Then click a line you want to move in the mesh. Click and drag the yellow ball extending from the edge to move it along the shape.
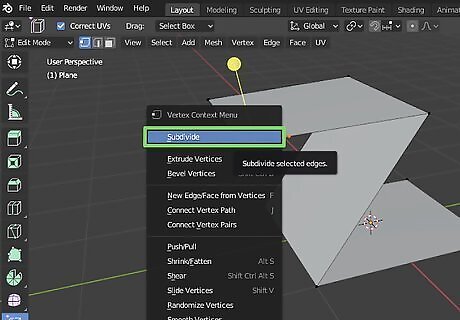
Subdivide a selected face. Subdivide cuts multiple lines through a face and adds more geometry for you to play with using the following steps to subdivide a face. Select a face(s) of a mesh. Right-click the face. Click Subdivide at the top of the menu. Click Unsubdivide in the menu to undo a subdivide.
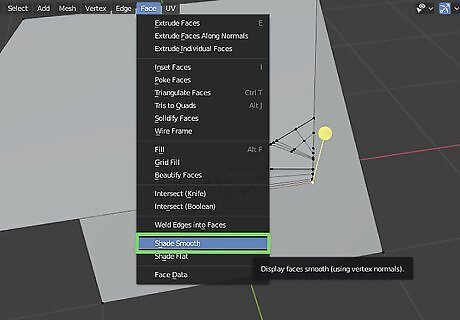
Smooth an object. Initially, rounded objects in Blender appear as though they are made of flat faces. To smooth out these faces and make an object look round, use the following steps: Select an object or an area you want to smooth. Click Face at the top. Click Shade smooth.
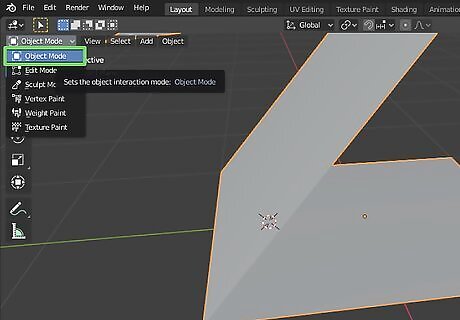
Switch back to object mode. When you are finished editing an object. click the drop-down menu in the upper-right corner and switch back to Object mode.
Changing the Color and Texture of An Object
Select an Object. Click any object you to select it.
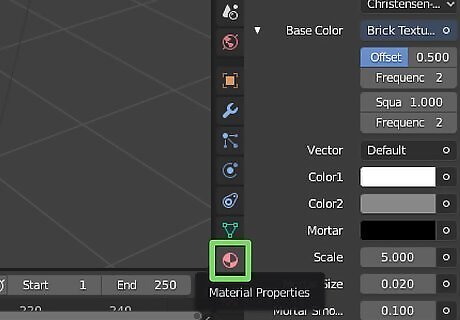
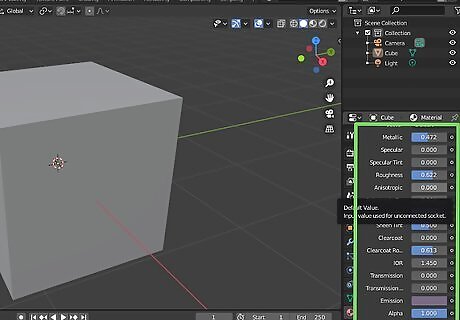
Click the icon that resembles a red sphere to the right. This is the Material Properties menu. This icon allows you to change the color and material properties of an object.
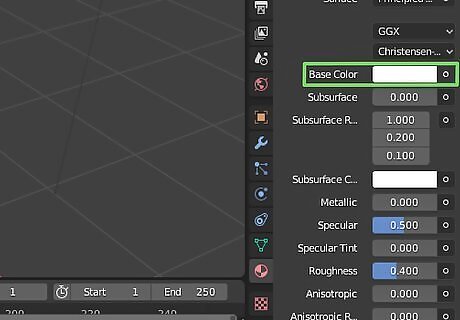
Change the color of an object. To change the color of an object, click the colored square that says "Base color" in the Material Properties menu. Then select a color from the color wheel. Ensure that you have principled BSDF selected under the "Surface" menu.
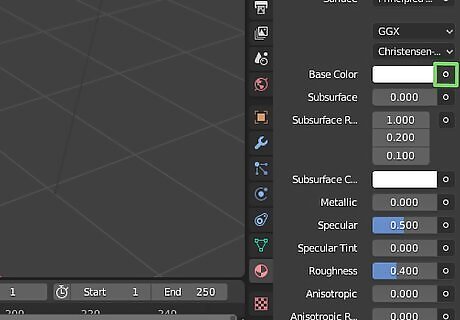
Click the circle icon next to "Base Color". This displays a pop-out menu with textures you can select.
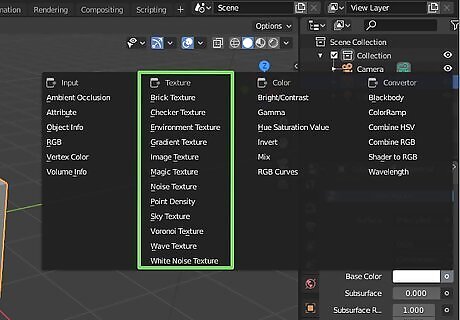
Select a texture for the material. There are a few basic textures you can add to a material in Blender 3D. You can select Brick, Checker, Gradient, Noise, Wave, and an Image to select an image to use for your texture. Each texture has it's own slider bars you can use to adjust the size and detail of the texture.
Use the slider bars to adjust the texture. There are a few options for selecting adjust the material properties in the menu. Some of the slider bars you can use to adjust the material properties are as follows: Metallic: Use this slider bar to make an object look more metallic. Sliding it to the left makes an object look more plastic. Specular: Use this slider bar to change how much light reflects off an object. Roughness: Use this slider bar to change how much light scatters when it reflects off an object. Emission: This bar allows you to make an object glow. Use this color box to select a color you want the object to glow. Select black to turn emission off.
Animating an Object
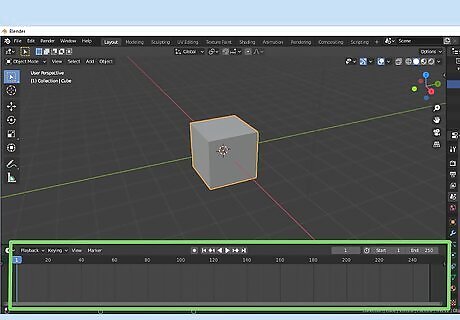
Locate the timeline. By default, the timeline is at the bottom of the screen in Blender.
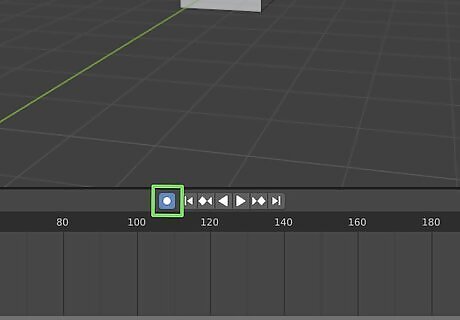
Click the record button. The record button is the circle button above the timeline in Blender 3D. This turns automatic keying on.
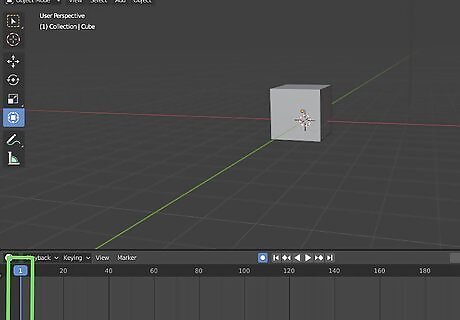
Place the playhead on the frame you want the object to start on. The playhead is the blue line in the timeline. Click and drag it to move it in the timeline. Place it at the starting point of your animation.
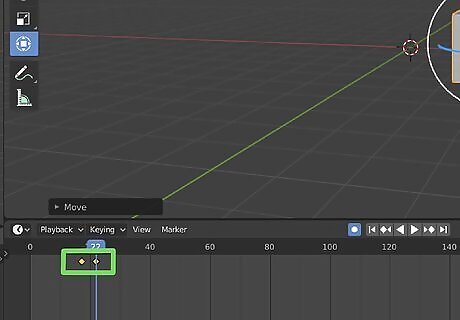
Place an object where you want it at the start of your animation. You should see an orange triangle dot appear on the timeline. This is a keyframe. Keyframes indicate where animations start, stop, and change direction. If you don't see an orange keyframe appear on the timeline, you may need to pick up an object and put it back down using the "G" key.
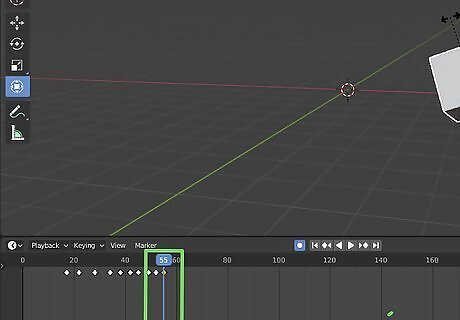
Move the playhead to where you want the animation to change or end. Just click and drag the blue line in the timeline to reposition it in the timeline. By default, Blender renders at 24 frames per second.

Move the object where you want it at the end of the animation. This will automatically create a new keyframe in the timeline. To move an object, click it to select it and then press the "G" key to pick it up and move it. You can also press "R" to rotate an object, or "S" to change the size of an object. You can add as many keyframes to the animation as you want. You can also animate multiple objects independently.
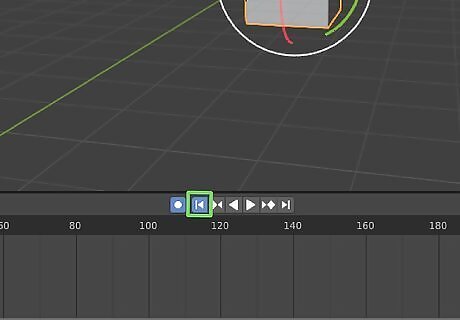
Click Android 7 Previous. It's the icon with a triangle pointing left to a bar above the timeline. This skips the playhead back to the beginning of the timeline.
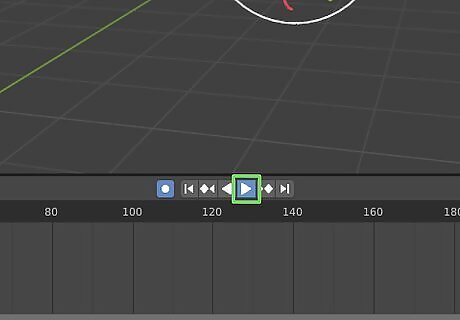
Click Android 7 Play. It's the play triangle pointing right at the top of the timeline. This plays your animation. Your object will move from the starting point at the first keyframe to the end point at the second keyframe.


Comments
0 comment