views
Uploading WAV Files to Facebook using SoundCloud app
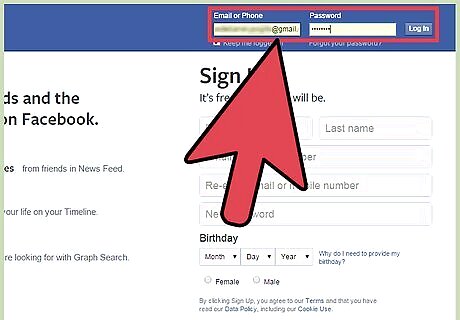
Log into your Facebook account. Open any web browser on your computer, and visit the Facebook home page. Enter your registered email address and password in the boxes at the top right side of the page, and click “Log in” to proceed.
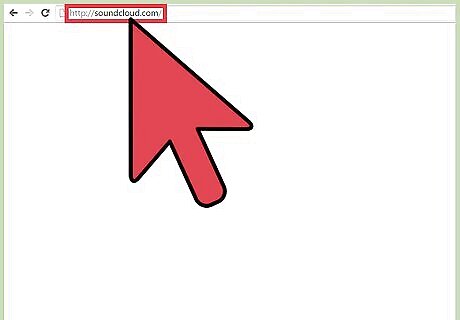
Visit SoundCloud using a new window or tab. Open a new window or tab in your browser and visit the SoundCloud website.

Sign up on SoundCloud with Facebook. Click “Create account” button at the top right, and a pop-up will appear. Here, click the “Sign in with Facebook” button at the top. Enter your Facebook login details into the fields, and click “Log in.” Allow SoundCloud access to your Facebook account by clicking “OK” in the next pop-up. You’ll then be asked to accept SoundCloud’s terms and conditions. Click the “I agree” checkbox, and then click “Create Account.” If you already have a SoundCloud account, instead of clicking “Create account,” click “Sign in.” Enter your login details in the pop-up box, and click “Sign in” to continue.
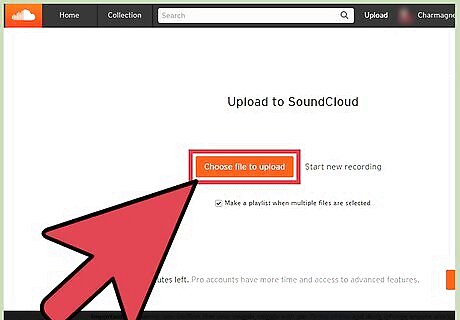
Upload the WAV file to SoundCloud. Click the “Upload” button at the top, next to the search field and click “Choose a file to upload.” A file explorer will open; use it to navigate your folders, and click the WAV file you want to share on Facebook. Click “Open” to upload the file to SoundCloud.
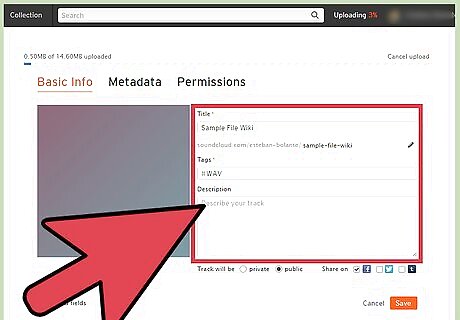
Enter the details of your file. Once uploaded, you can enter the details of the file. Fill up the Title and Artist name, and add Tags for the WAV file before saving.
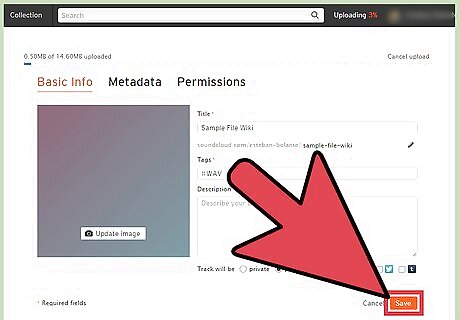
Click the “Save” button to finalize the upload. It may take a few seconds to upload your file, depending on the size of your file. It will be saved in your SoundCloud Account.
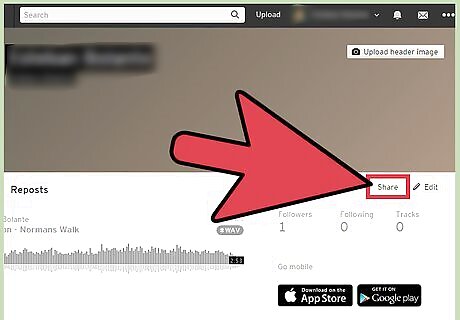
Share your WAV file on Facebook. Click the WAV file in your account, and then the “Share” button. Select “Facebook” from the options, and a Facebook status box will appear.
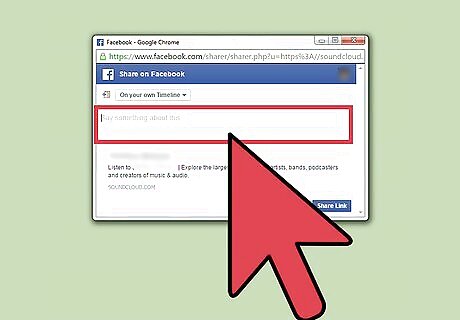
Add a message (optional). Click the “Say something about this” text field, and type in a short message that you want to include with the post.
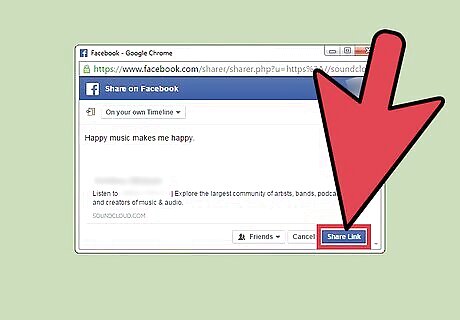
Upload to Facebook. Click on the “Post” button on the status box, and the WAV file will be posted to your Facebook profile. To play the WAV file, access your Facebook account, and click on the post.
Using the Cloud App
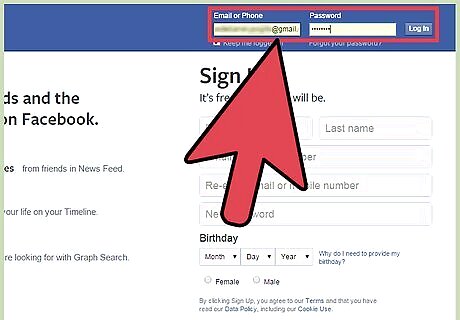
Log into your Facebook account. Open any web browser on your computer, and visit the Facebook home page. Enter your registered email address and password in the boxes at the top right side of the page, and click “Log in” to proceed.
Visit CloudApp using a new browser window or tab. Open a new window or tab in your browser and go to the CloudApp website in the URL. It will take you to the CloudApp home page.
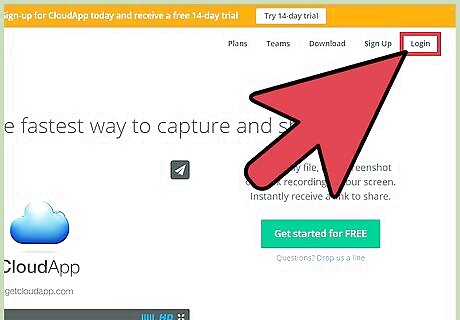
Log in or sign up. Log into CloudApp by clicking “Login” at the top right corner of the site. Enter your login details into the given fields, and click “Sign in” to proceed. If you don’t have CloudApp account yet, click “Get Started For Free” to the middle right of the page. In the pop-up provide your email address and password, and click “Create account.” You can also sign up with your Google account if you want by clicking “Sign in with Google.”
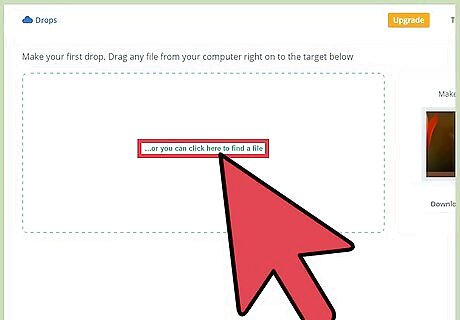
Upload the WAV file to CloudApp. Once you are logged in on CloudApp, Click the “Choose or drop a file from your computer” button. It’s a wide blue-green button found at the top of the page. Clicking it will cause a file browser to pop-up. Use this to navigate through your computer’s folders and locate the WAV file. Double-click the file once you find it. Once the file is uploaded, it will appear on the CloudApp screen.

Play the WAV file. Click on the file, and it will open in another tab and begin playing.
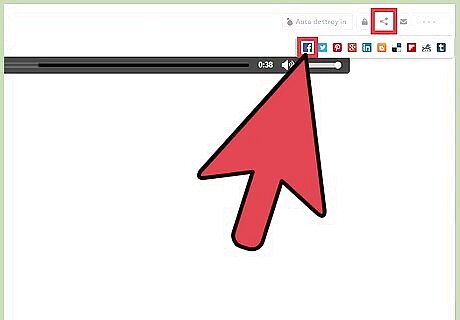
Share the WAV file to Facebook. To the upper right of the tab that’s playing the WAV file are a couple of links. One of them has the share icon; click this and a few share options will appear below the icon. Select “Facebook” from the options, and a Facebook status box will appear with the WAV file attached. Enter a message if you want in the “Say something about this” text field, then share it to your Facebook friends by clicking “Post.” To play the WAV file on Facebook, just visit your account and click on the WAV file post.


Comments
0 comment