
views
Using Microsoft Excel

Open the workbook with a protected sheet in Microsoft Excel. You can usually do this by double-clicking the file's name on your computer.
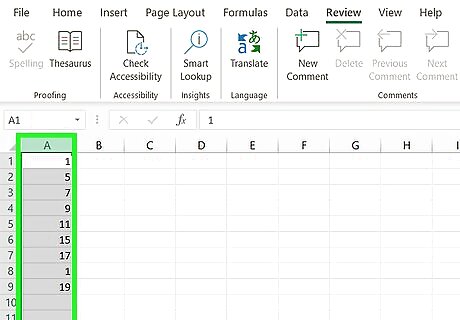
Right-click the tab for the protected sheet. Each sheet's tab appears along the bottom of Excel. The protected sheet often has a padlock icon in some versions of Excel. Right-click the tab (or the lock icon) to open the context menu. If multiple sheets are protected, you'll need to remove protection on each sheet separately.
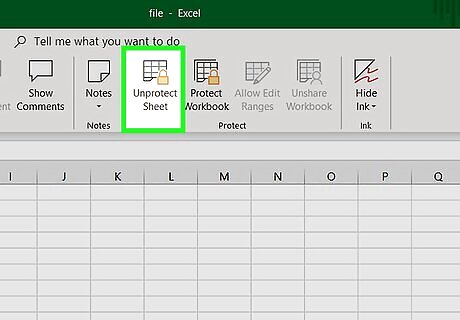
Click Unprotect Sheet. If the sheet is not password-protected, it will unlock immediately. If not, you'll be prompted to enter a password into a pop-up window.
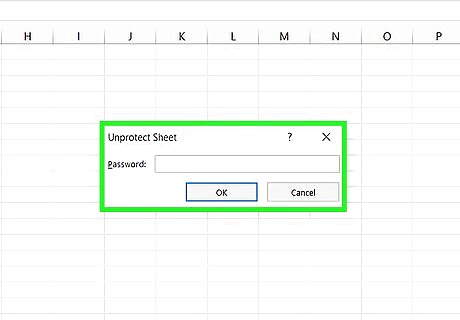
Enter the password and click OK. If the password is correct, the sheet will become unprotected. If you don't know the password, see the Using Google Sheets method. This method lets you upload the file to Google Sheets, which removes all protections added in Excel. If you're using Excel 2010 or earlier and prefer not to upload to Google Sheets, see the Using VBA Code in Excel 2010 and Earlier method.
Uploading to Google Sheets
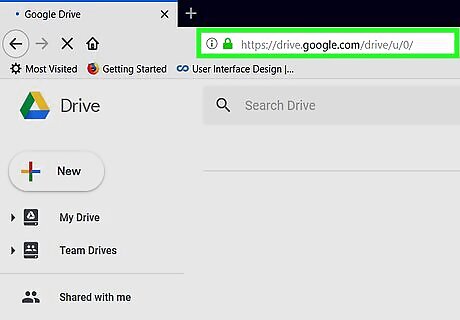
Go to https://drive.google.com in a web browser. If you have a Google account, you can use Google Sheets (a free online app that's similar to Excel) to remove protection from all sheets in a workbook—even if you don't know the password. If you're not already signed into your Google account, follow the on-screen instructions to sign in now. If you don't have a Google account, see How to Make a Google Account.
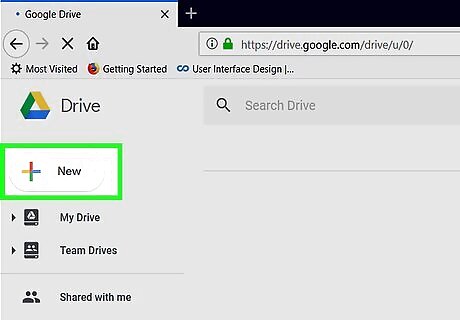
Click + New. It's at the top-left corner of the page.
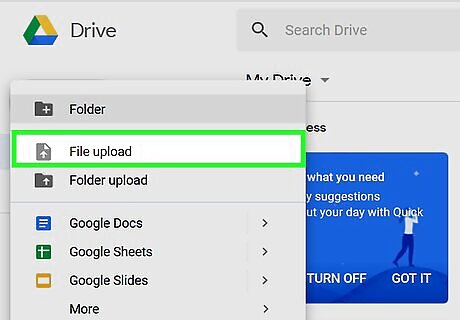
Click File Upload. This opens your computer's Open panel.
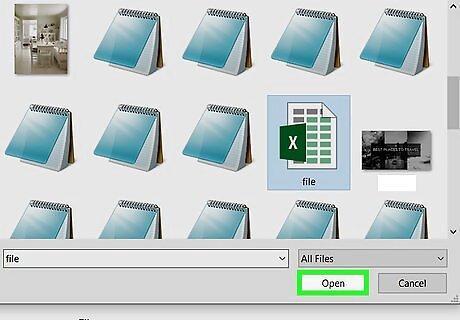
Select the Excel file you want to edit and click Open. This uploads the file to your Google Drive.
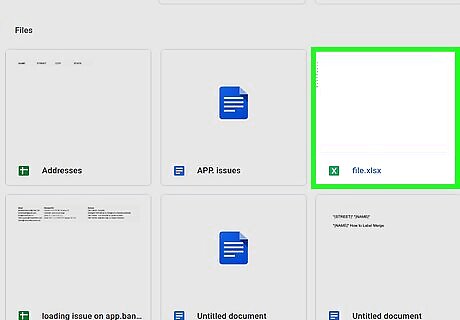
Double-click the Excel file in your Google Drive. You'll probably have to scroll down to find it. This opens a preview of the file.
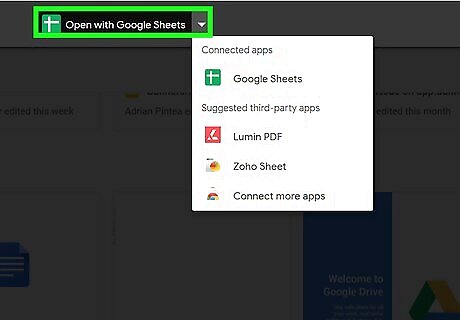
Click the Open with menu. It's at the top of the preview. A menu will expand.
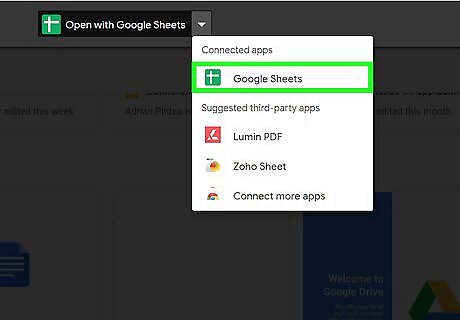
Click Google Sheets. Now that the file is open for editing in Google Sheets, any sheet protections added in Excel have been removed.
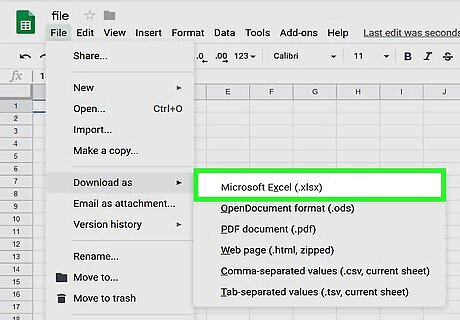
Re-download the file to your computer. If you want to keep working on the file in Microsoft Excel rather than Google Sheets, you can download this newly-unprotected version of your workbook using the following steps: Click the File menu at the top-left corner of your sheet. Click Download As. Click Microsoft Excel (.xlsx) . Select a folder to save the file. If you want to keep the original version of the file (the one with a protected sheet) intact, type a new name for the file as well. Click Save to download the file.
Using an Online Service
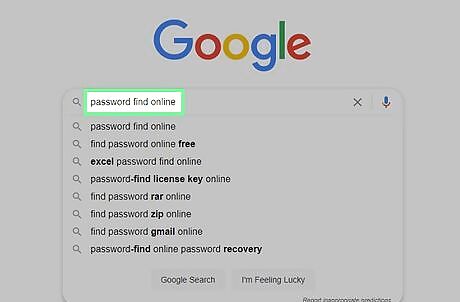
Search "password find online" and find an online password removal service.

Click "Unprotect your file".
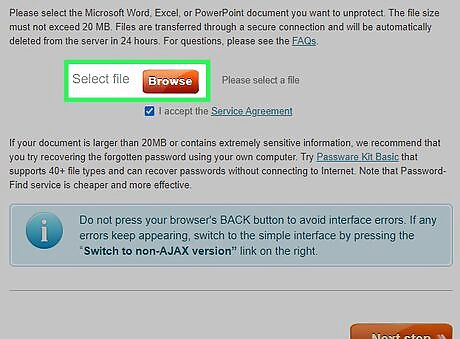
Click "Browse" and choose the protected file.
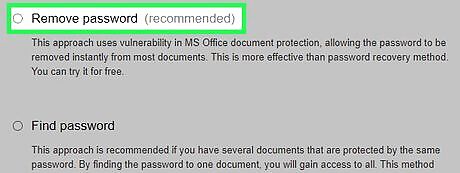
Choose "Remove password" radio button.

Wait while the service removes your password.

Download the unprotected file, if your file is small.
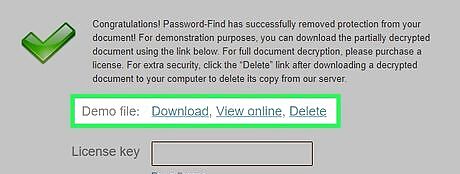
Download a demo-file if your file is big. To get the whole file, you'll need to enter a license key.
Using VBA Code in Excel 2010 and Earlier

Open the workbook that has a protected sheet in Excel. You can usually do this by double-clicking the file's name on your computer. Excel files usually end with the file extension .xls or .xlsx. Use this method if you have already tried unlocking a sheet but found that it's password-protected (and you don't know the password). This method will not work in Excel 2013 or later.
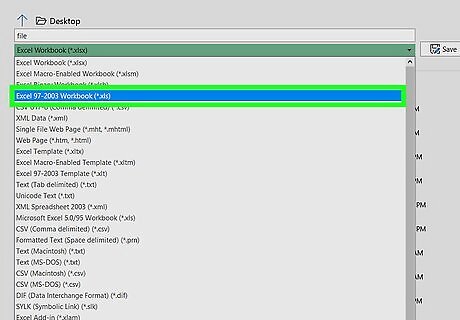
Re-save the file in the xls format. If the file you're working on has the ".xlsx" extension (common if it was created or edited in newer versions of Excel), you'll only be able to use this method if you first convert it to the Excel 97-2003 (.xls) format. Here's how to do this: Click the File menu at the top-right corner. Click Save As. Go to the folder in which you want to save the file. Select Excel 97-2003 (.xls) from the "Save as type" or "File Format" menu. Click Save. Follow the on-screen prompts to make any necessary conversions.
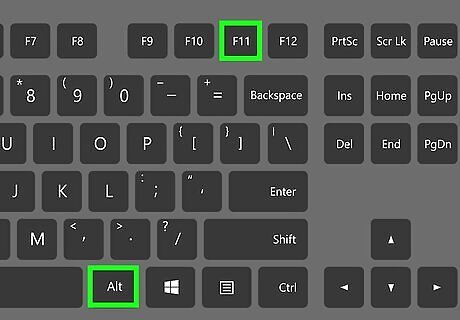
Press Alt+F11 to open the Visual Basic Editor.
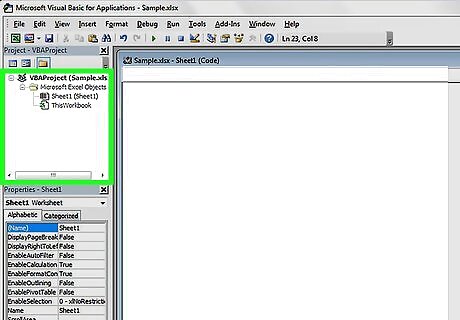
Right-click the workbook's file name in the "Project - VBAProject" panel. It's at the top of the left panel. Make sure you right-click the option that contains the file's name (ends with ".xls"), which should be at the top. A menu will expand.
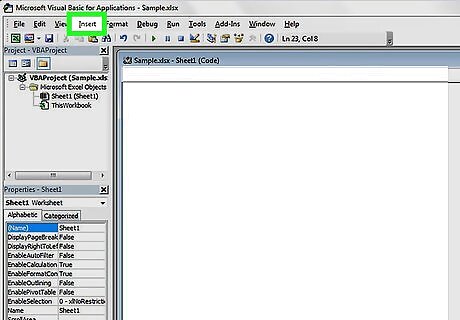
Click Insert on the menu. Another menu will expand.
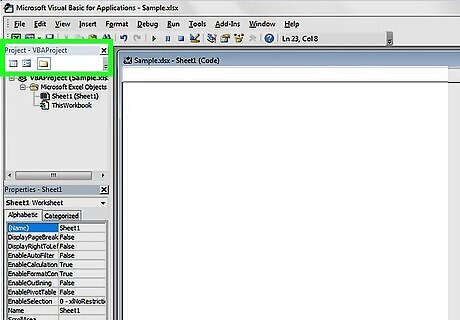
Click Module. This inserts a new module in which you'll paste some code.
Copy the code. Highlight the code that follows this text, then press Ctrl+C (PC) or ⌘ Command+C to copy it: Sub PasswordBreaker() 'Breaks worksheet password protection. Dim i As Integer, j As Integer, k As Integer Dim l As Integer, m As Integer, n As Integer Dim i1 As Integer, i2 As Integer, i3 As Integer Dim i4 As Integer, i5 As Integer, i6 As Integer On Error Resume Next For i = 65 To 66: For j = 65 To 66: For k = 65 To 66 For l = 65 To 66: For m = 65 To 66: For i1 = 65 To 66 For i2 = 65 To 66: For i3 = 65 To 66: For i4 = 65 To 66 For i5 = 65 To 66: For i6 = 65 To 66: For n = 32 To 126 ActiveSheet.Unprotect Chr(i) & Chr(j) & Chr(k) & _ Chr(l) & Chr(m) & Chr(i1) & Chr(i2) & Chr(i3) & _ Chr(i4) & Chr(i5) & Chr(i6) & Chr(n) If ActiveSheet.ProtectContents = False Then MsgBox "Password is " & Chr(i) & Chr(j) & _ Chr(k) & Chr(l) & Chr(m) & Chr(i1) & Chr(i2) & _ Chr(i3) & Chr(i4) & Chr(i5) & Chr(i6) & Chr(n) Exit Sub End If Next: Next: Next: Next: Next: Next Next: Next: Next: Next: Next: Next End Sub
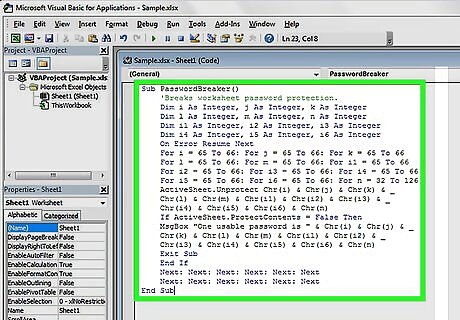
Right-click the new module and select Paste. The copied code now appears in the module window.
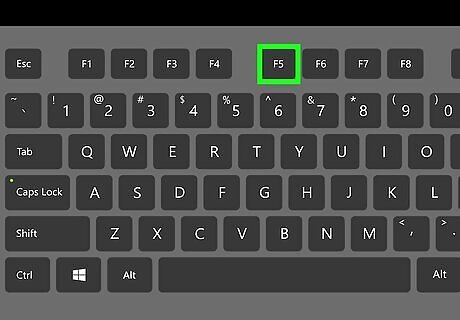
Press F5 to run the code. Excel will now run the code, which can take several minutes. Once the code is finished running, a new password will appear on a pop-up window. The new password will be a random number of "As" rather than the original password.
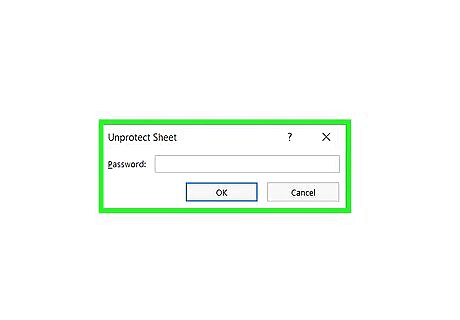
Click OK on the Password pop-up. A new password will appear but you won't need to write it down. Clicking OK will remove sheet protection automatically. If you had to convert the file to an earlier format, you can now save the workbook again as an .xlsx file.





Comments
0 comment