views
When should I test a popcorn ceiling for asbestos?
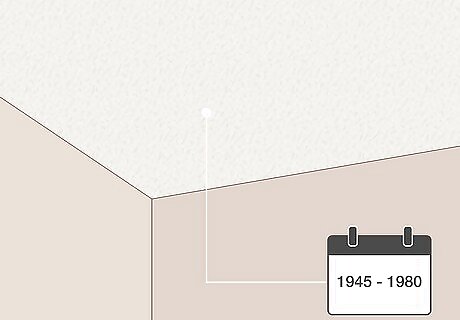
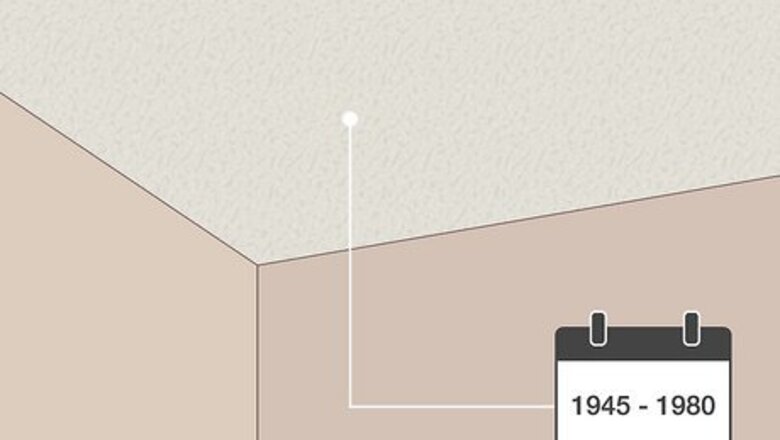
Test a popcorn ceiling if your home was built between 1945 and 1980. Before 1980, asbestos was an extremely common material. Since asbestos was cheap and easy to apply to ceilings by spraying it on, it was popular for construction. By 1978, spray-on asbestos was banned, so homes built after this law were made using different methods. If your home was built after 1980 and your ceiling is in good shape, it's better if you don't test it. If asbestos wasn't sprayed on, then your ceiling is unlikely to pose a health risk. Removing a sample might release asbestos, though.
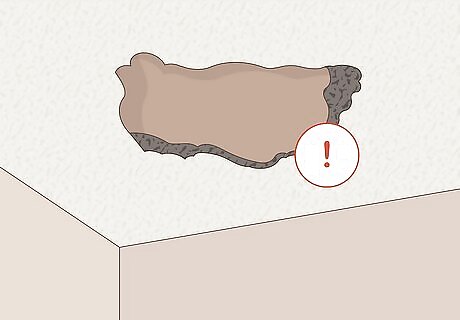
Check for asbestos if your ceiling is damaged or you’re renovating. Once your popcorn ceiling is falling apart, it might release airborne particles of asbestos. If you’re remodeling, your projects will probably shake your ceiling. When that happens, your ceiling may release asbestos dust. It's safest to test for asbestos before you start renovations. Test a damaged ceiling even if it was constructed after 1980—it might be made with asbestos-containing material that wasn't sprayed on.
What testing methods are available?
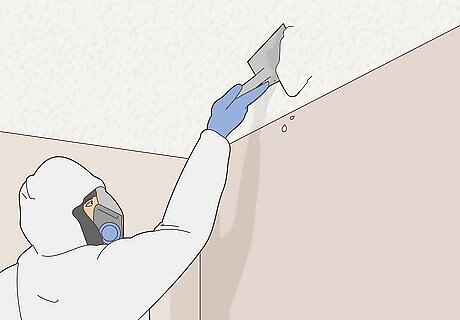
A professional can test for asbestos, which the EPA recommends. The EPA strongly encourages homeowners to hire certified professionals because they're trained to remove asbestos. When you have them take a sample from your popcorn ceiling, they'll use extreme caution and safety protocols so no one is exposed to asbestos.
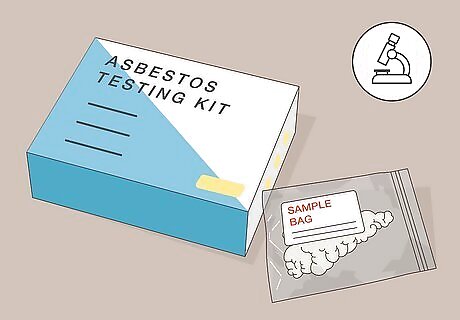
You can also use a home testing kit and send it to a lab. Buy an asbestos sampling kit at a hardware store or online. If you do choose to use it yourself, make sure to follow all the kit's instructions to be as safe as possible. If you purchase a sampling kit, you can still hire a professional to use it for you. That way, you can keep the costs of materials down.
Taking a Sample with a Home Testing Kit
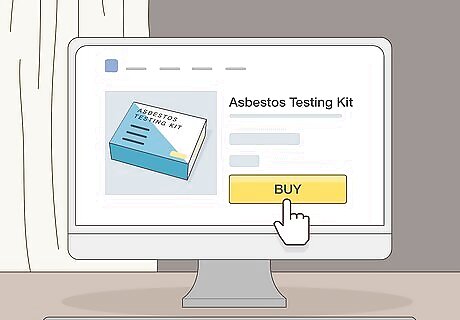
Purchase an asbestos sampling kit. You can get an asbestos sampling kit online or from your local hardware store. This kit will contain everything you’ll need to safely remove the sample and contain it for shipping. Then, contact a certified asbestos-testing lab and ask about their sampling requirements. An asbestos kit contains a face mask, disposable coveralls, gloves, wipes, sample bags, shipping materials, and sample submission documents. Ask for instructions about how the lab wants the sample collected and sent to them. They may also have specific requirements for the size of the sample. As an extra safety precaution, hire a professional to use your asbestos sampling kit.
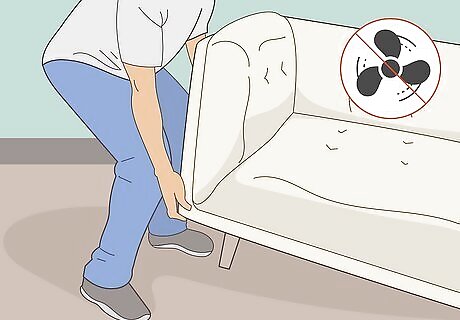
Move your furniture out of the room and turn off any ventilation. Before you take your sample, empty out the room. If you can’t do that, then move the furniture and everything else far away from the sampling area and cover it all with plastic drop cloths. Then, shut any windows or doors and turn off your healing or cooling system, as well as any fans. Since even a small speck of asbestos can cause health problems, it’s a good idea to completely clear out the room where you’ll be taking a sample from. Shutting off the ventilation prevents asbestos particles from becoming airborne.
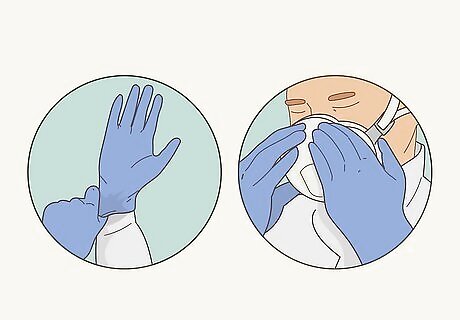
Put on your safety gear. Wear disposable coveralls to protect your body from harmful chemicals. Put on thick disposable gloves, a respirator, and goggles. It's hazardous if asbestos touches your skin, so keep yourself totally covered. To protect yourself from asbestos, wear a mask with HEPA filtered cartridges or an N-100, P-100 or R-100 NIOSH rating are specially designed to filter out asbestos particles. Remember that you’ll need to toss everything that you’ve worn as outer protection, including goggles and gloves. Try to buy cheap items made to be disposable. While you are taking the sample and before you’ve fully cleaned up, don’t allow anyone else in the room.
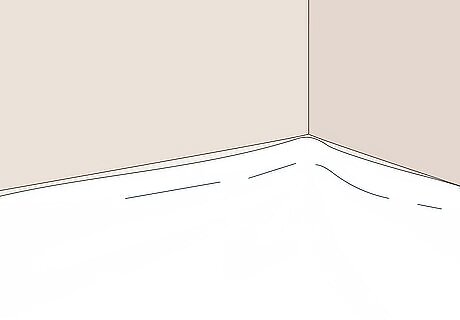
Lay plastic drop cloths on the floor. Get industrial plastic sheeting from your hardware store. To contain dust from any possible asbestos, place this sheeting on the floor directly underneath the part of the ceiling where you’ll take the sample. Use duct tape to secure the sheeting to the floor so that it won’t shift around. Set your ladder directly on top of the sheeting and beneath where you’ll take the sample.
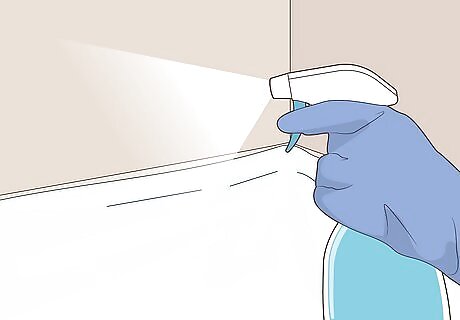
Use a spray bottle filled with water to mist the room. When you’ve finished placing the plastic drop cloth in the right spot, get a spray bottle and mist the whole space with water. This helps to keep any dust particles from floating around. It’s not necessary to douse any surfaces—just a quick spraying is fine.
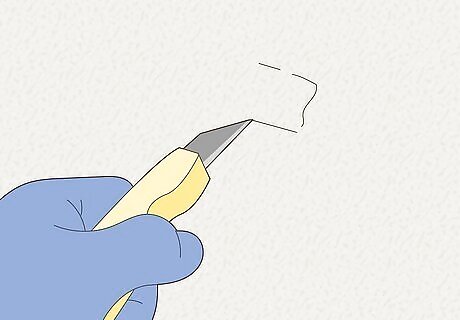
Loosen a sample with a utility knife or a chisel. Carefully press your chosen tool against an inconspicuous part of the ceiling, like one of its corners. Use the tip of your utility knife or chisel to form an outline around the area that you wish to remove. Don’t fully remove the piece of ceiling—instead, loosen it up. Check with with the EPA, your chosen testing company, or your sample kit to determine how big of a piece you’ll need. Some samples can be relatively small while other labs might need a larger piece. If the piece begins to fall out when you try to loosen it, skip ahead to the step where you'll put the sample in plastic baggies.
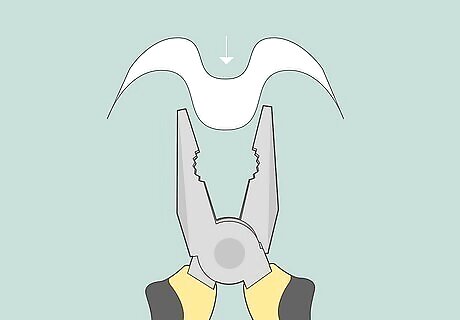
Fold a damp paper towel into the mouth of your pliers. Pick up your pliers. Open the mouth and place the damp paper towel inside. Then, close the mouth. When you use a damp paper towel, you prevent asbestos fibers from sticking to your pliers.
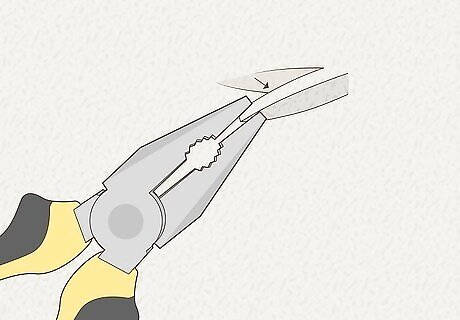
Pull the sample away from the ceiling with your pliers. Open the mouth of the pliers. Place the tips of the pliers against the ceiling so they grasp the edges of the piece you've chosen for your sample. Push the plier tips deeper into the ceiling material and gently squeeze them. Slowly pull your pliers away from the ceiling, taking the sample with you. If the sample is stuck in the ceiling, you may need to rock it back and forth a bit, but do this very gently so you don't loosen any potential asbestos dust. Take your time when pulling out the sample from the ceiling. If you move too fast, you risk breaking up extra popcorn and creating additional dust.
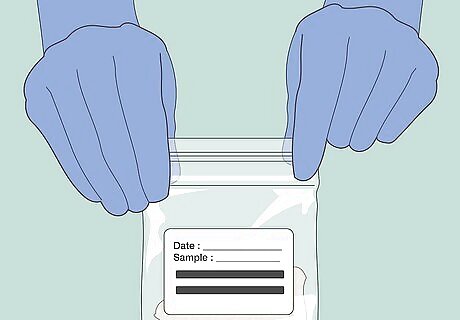
Drop the sample into a labeled plastic bag. Grab the plastic baggie that came with your kit or a sealable freezer baggie. Open it up and drop the sample inside. Take out the wipe from the mouth of the pliers and put it in the bag as well. Run your fingers across the top seal until it's fully secure. Follow the kit's directions to mail the sample to their lab for testing. For extra security, place this original bag in another one and seal that, too. Use a permanent marker to write your name, your city, and the date on the bag. Some sampling kits provide additional instructions regarding labeling the bag, such as using a particular stick-on label.
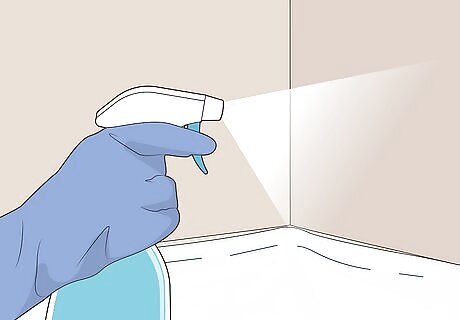
Perform another round of water misting. Set the sample to the side of the room. Then, get a spray bottle of water and mist down the entire area. Spray everything in the room, even the plastic sheeting on the floor. This helps any stray asbestos particles fall down so they're not airborne.
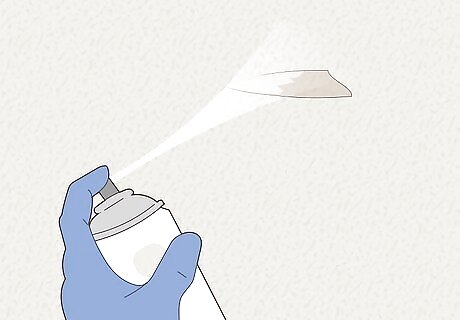
Paint the sampled area. Get any type of latex spray paint that matches your ceiling. Spritz the spot where you took the sample to coat and cover it. This will keep the opened sample area from releasing any potentially dangerous dust over time. Throw the brush and paint away after use. If you took a large sample, then add some drywall paste to the area before painting. Dip your drywall knife into a container of compound paste. Then, apply the compound paste to the wall. Use your drywall knife to smooth over the area. This will make your sample spot less noticeable.
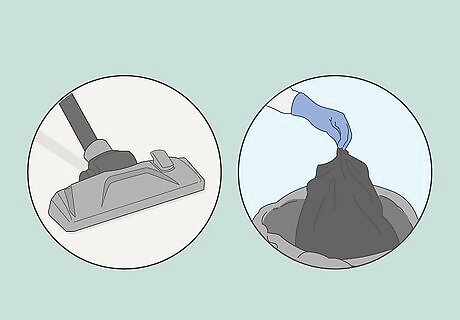
Vacuum the space, then dispose of all your materials. Roll up the plastic flooring from one end to the other, place it in a large garbage bag, and seal it up. Thoroughly vacuum the entire room. When you're finished, take out the vacuum bag and throw it away. Once you’re done with your asbestos-containment project, carefully remove your overalls, gloves, and mask. If you have a bagless vacuum, wipe down the inside of the canister with a damp paper towel. Throw the used towels away. Seal all garbage bags from the top to prevent any fibers from escaping into the air.
What do I do if the ceiling tests positive for asbestos?
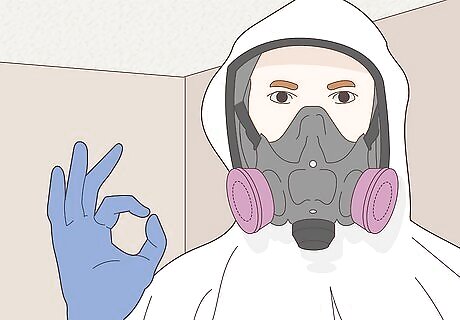
Hire a certified professional to safely contain or remove the asbestos. Handling all the asbestos instead of just taking out one sample requires extreme caution. If you've confirmed that your ceiling contains asbestos, reach out to an asbestos professional right away. They're trained to work near hazardous materials and follow strict safety protocols. They might "encapsulate" asbestos by using a sealant so it stays in place. They may "enclose" asbestos by covering it with a protective barrier. They could remove asbestos and replace it with a non-toxic alternative.





Comments
0 comment