
- To use voice chat during an Overwatch 2 match, go to the social menu and click the headphone icon next to the channel you'd like to join.
- You can adjust your input and output volume for voice chat via the Sounds settings menu.
- If you set your channels to Auto Join, you'll join them as soon as you are able to without having to manually select them.
Open your Overwatch 2 settings. You can do this by hitting the Esc button on PC or buy clicking the start button on your controller.
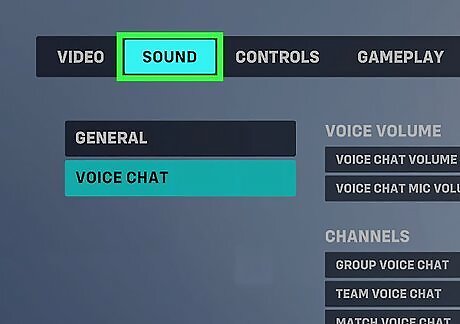
Scroll over to or click the Sound tab. A number of options will appear on the screen, and there will be some options on the sidebar.
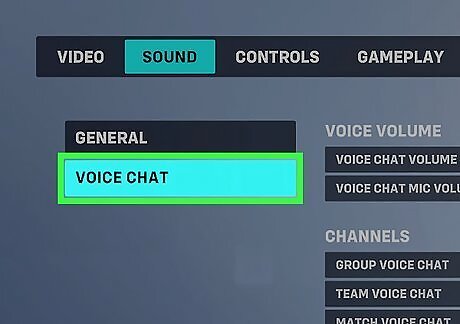
Scroll down to or click Voice Chat. By default, voice chat is turned on in Overwatch 2 until you go into the settings to turn it off.
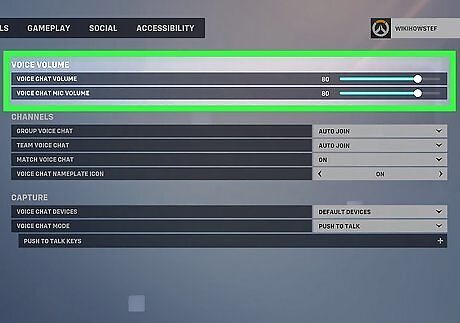
Adjust your voice chat volume with the sliders at the top. The top slider controls voice chat volume (or how loud you hear the voice chat through your speakers or headphones) and the bottom slider controls voice chat microphone volume (how loud you sound to others).

Select your voice chat behavior per channel. There are three voice chat channels, and each one can be set to On, Off, or Auto Join. On means you can connect to that voice chat channel, and Off means you cannot. Auto Join means you'll automatically join that channel as soon as you're able to, so you won't have to manually click to enter voice chat. The voice chat channels are as follows: Group Voice Chat: Allows you to talk to the players in your group before a match, if you are grouped up Team Voice Chat: Allows you to talk to your entire team Match Voice Chat: Allows you to talk to everyone in the game if you're in a Custom Game The final option in this section is not a voice chat channel, but is an on/off toggle for if you want to see voice chat nameplate icons when someone is talking.
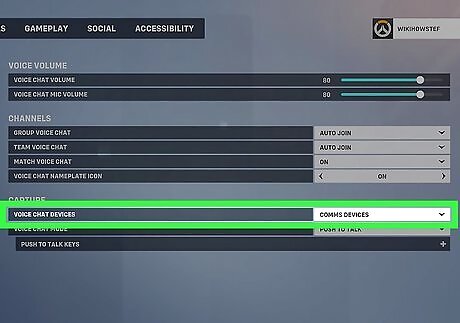
Set your voice chat devices. Most users can leave this on Default Devices, but you can switch it to Comms Devices if your voice chat sound is not working properly. Note that you must have the appropriate input device (microphone) and output device (headphones/speakers) set to Default to use the Default Devices option.

Pick a voice chat mode for PC. PC users have the option of Push to Talk mode or Free Mic mode. Free Mic mode means you can just freely speak into your microphone and whatever you say will be relayed over voice chat. Push to Talk mode means that you must push and hold a button on your keyboard to allow your microphone to pick up your voice, and if that button is not pressed, the other people in voice chat won't be able to hear you. Push to Talk is turned on by default, so you'll have to change it to Free Mic if you don't want to do Push to Talk. If you want to adjust which key is your Push to Talk key, click the Push to Talk Keys button under the Voice Chat Mode option.

Exit your settings and enter any game mode. If you set your channels to Auto Join you will join the voice chat immediately.
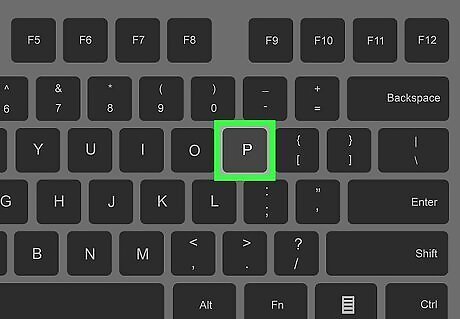
Press the P button on PC or the start button on your controller. On PC, pressing P will bring you directly to the Social menu. On console, you must enter the Pause menu first then scroll down and select Social.
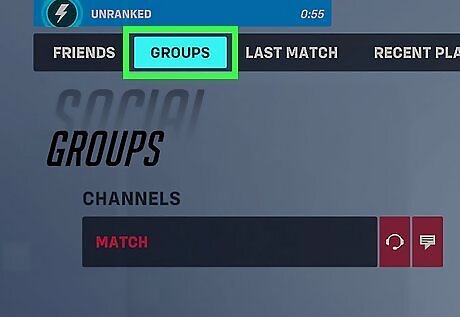
Scroll over to or select Groups. On the left-hand side of this screen you will see the three voice channels: Group (green), Team (blue), and Match (orange). If you're not in a match or in a pre-match Skirmish, the Groups tab will be empty and you won't be able to swap between voice channels.
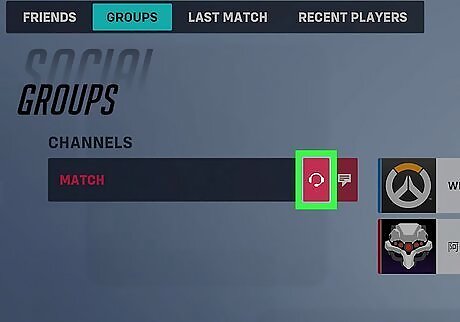
Select the headphone icon for the voice chat you want to join. You can swap between these channels at any time, though the Match channel can only be used in Custom Games. You can also mute other players on this menu. Simply scroll over to the person you want to mute and hit the orange mute icon next to their name. If you have Team Voice Chat enabled, you can easily swap to it by clicking the blue Join Team Chat button on the hero select menu.


Comments
0 comment