views
Setting the Gain Audibly
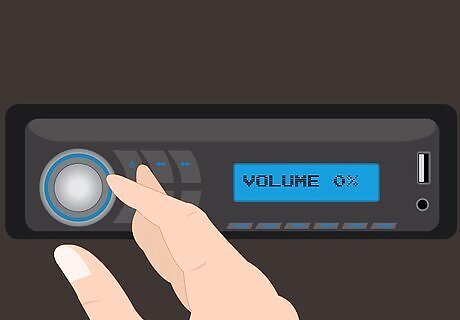
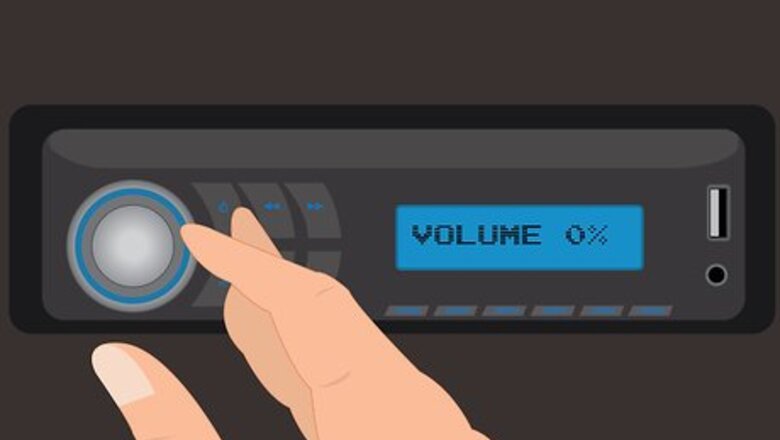
Set the volume to zero on your car stereo. You want to be sure that you are starting with no sound distortions.
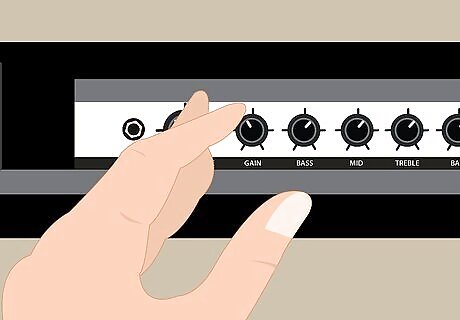
Turn the gain on your amplifier all the way down. The amplifier is usually an aftermarket part that is installed trunk of a car or the rear of a truck. There will be a knob that labeled "gain." Turning down the gain means that the amplifier is not amplifying the signal coming in from the stereo head (the part mounted to your dash).
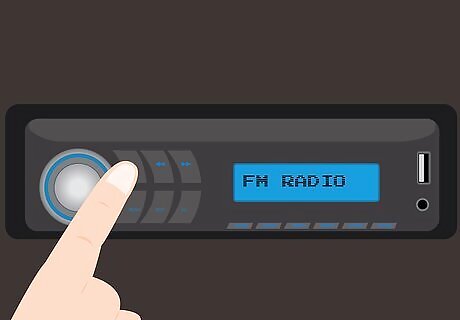
Power up your stereo and either play a CD or a radio station. You will not be able to hear anything yet, since your volume is set to zero.
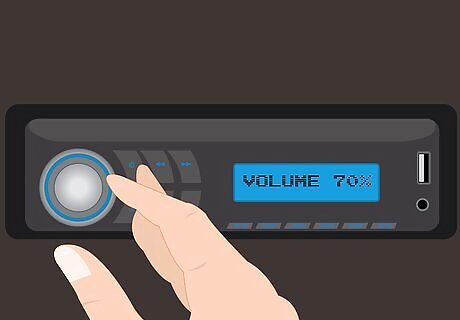
Turn the stereo up to 2/3 the max volume. This is the best range to use when setting gain because you avoid overworking the stereo head. If you overwork the stereo head you could end up sending distorted sounds to your amplifier. Digital displays make it easy to tell when you are at 2/3 volume, but if you do not have one you can turn the volume all the way up (counting the number of turns) and then turn it back 1/3 of the way. For example, if you turn the volume knob 3 times to get to max volume, you would turn it back down 1 full turn to get to 2/3 volume.
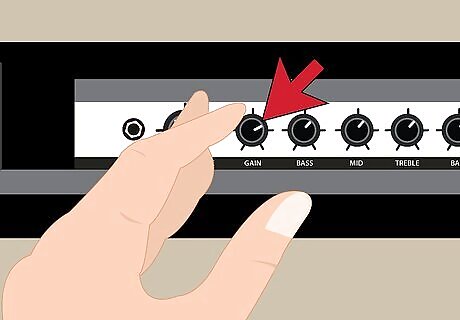
Twist the gain dial on your amplifier. Turn it up (clockwise) until the sound (music, talking, test tone, etc.) is as loud as you might ever want to listen to it, so long as you do not hear any sound distortion or overload your speakers. If you do hear a distortion, turn the gain back down until the distortion is gone. Some amplifiers will have a knob that can be turned by hand, but others may require the use of a screwdriver to adjust the gain.
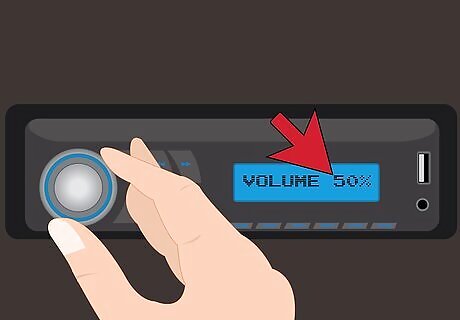
Adjust your volume to a normal level. Now that your gain is set, you can go back to the driver’s seat and enjoy the music.
Setting the Gain with a Multi-meter
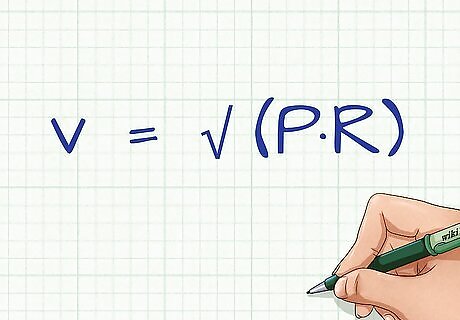
Calculate your target output voltage. You will need to use a variation of Ohm’s Law, v=√(P∙R), to calculate your target voltage. To see the math behind this you can look at an electrical engineering formula wheel. If you do not want to do the math, you can use an online converter to plug in the wattage of your amplifier and the resistance of your speakers to get your target output voltage.

Recognize that the way you wire your speakers affects resistance. This can dramatically change the voltage reading you get and is worth knowing. Speakers wired in series are all connected in a chain and increase the resistance of your system. This decreases the amount of power received by each speaker. Each speaker added will also raise the resistance of the system. The formula for finding total resistance for speakers wired in series is Z1 + Z2 + Z3 …. = Ztotal. Where Z is the resistance of a given speaker. For example, if you have three speakers with resistance values of 4 Ohms, 6 Ohms, and 8 Ohms your total resistance wired in series would be 18 Ohms (4+6+8=18). Speakers wired in parallel are all connected to the amp directly. This decreases the resistance of your system. This means more power will go to each speaker because adding speakers to the circuit will lower the resistance of the system. Do not decrease resistance too much or you will damage your amp. The formula for finding total resistance of speakers wired in parallel is a little trickier. It is (Z1 x Z2 x Z3… ) / (Z1 + Z2 + Z3…) =Ztotal. So say you have two speakers with resistances of 6 Ohms and 8 Ohms. This time it would look like this: 1) Multiply the values. 6 x 8 = 48 Ohms 2) Add the values. 6 + 8 = 14 Ohms 3) Divide the top by the bottom to find your total resistance. 48/14 = 3.43 Ohms (rounded)
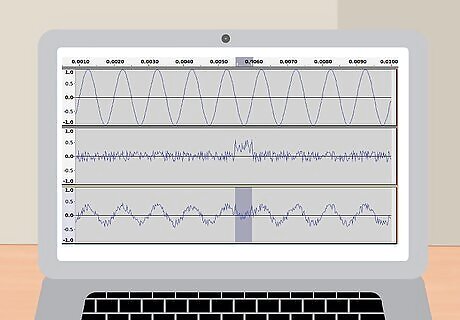
Create a test tone. You will need to create a tone that will allow you to test your system. This can be done using a program such as audacity, or downloading the appropriate tone from the internet. You should use a sine wave that is 50-60 Hz to test a woofer or subwoofer amplifier and use a sine wave that is in the range of 1,000 Hz to test a mid-range amplifier.

Download the tone to an external media. You will need to play this tone through your car’s stereo system, so it will need to be put on a CD or MP3 player.

Unplug additional accessories. Any speakers, additional amplifiers, etc. should be unplugged from the back of the amplifier you are testing. This should leave only the stereo head (the piece mounted in your dash) and the amplifier hooked up.
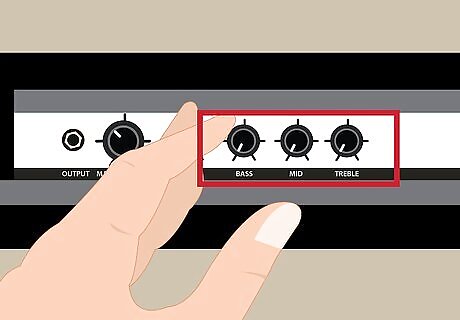
Turn off all equalizer settings on the amplifier. Your amplifier has the ability to filter out certain bandwidths of sound. To set the gain you want the maximum range of bandwidth, so you should turn the equalizer settings off or set them to zero. This prevents the filtering of any sound waves.
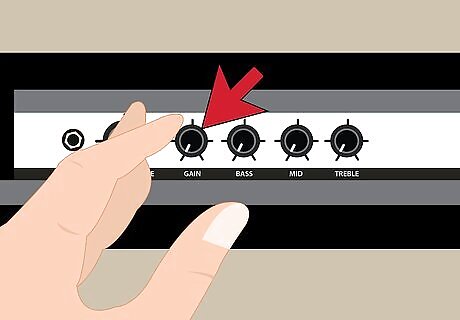
Turn the gain to zero. This usually means turning the dial counter-clockwise as far as it will go.
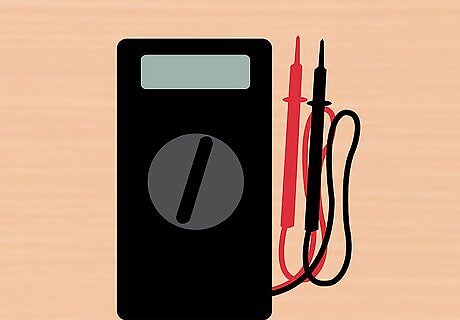
Set your multi-meter to read A/C volts. If your multi-meter has multiple settings for A/C volts, make sure you choose the range in which your target voltage resides.

Play the test tone through your stereo. Put in the CD or connect the MP3 player that holds your test tone. Turn the stereo on. Remember that the volume and gain are set to zero, so you will not hear your test tone yet.
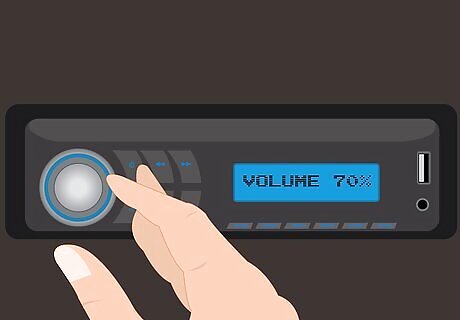
Turn your stereo up to 2/3 of its maximum volume. This will prevent the stereo head from sending distorted sounds to the amplifier, and allow you to adjust your amplifier to a crisp clean sound.
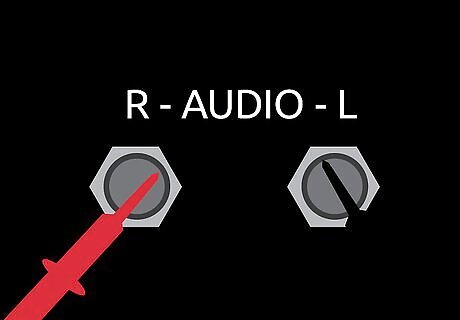
Put the leads of the multi-meter in the output ports of your amplifier. This will allow you to measure the voltage coming out of the amplifier.
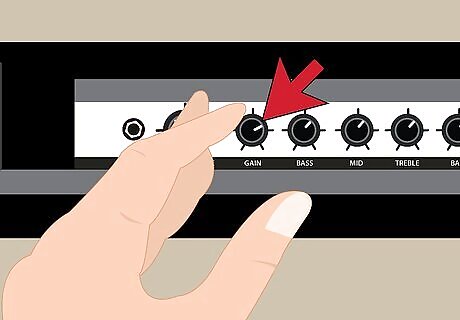
Turn up the gain to reach your target voltage. Turn the gain dial clockwise until your multi-meter reads your target voltage. Once you reach the target voltage, the gain is set on your amplifier.
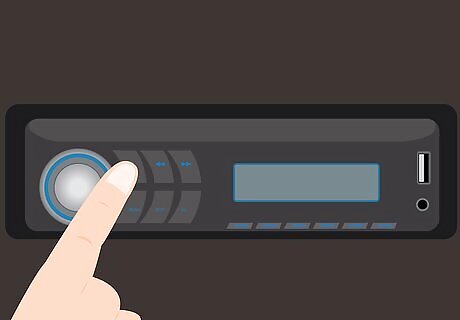
Turn off the stereo. You no longer need the test tone. You can save it for another time.
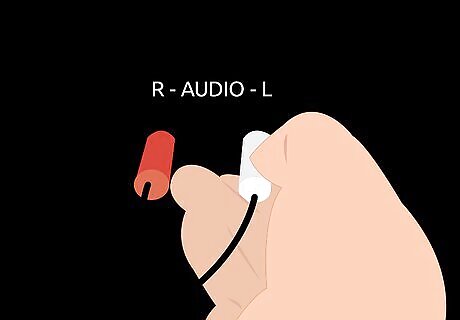
Plug any accessories back in. Anything that you removed prior to setting your gain (speakers, amplifiers, etc.) should be plugged back in.

Enjoy music. This is why you purchased your amplifier in the first place right? Now you can enjoy it!





Comments
0 comment