
Scanning the QR Code to An Amiibo
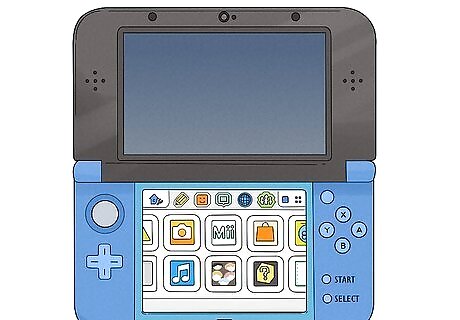
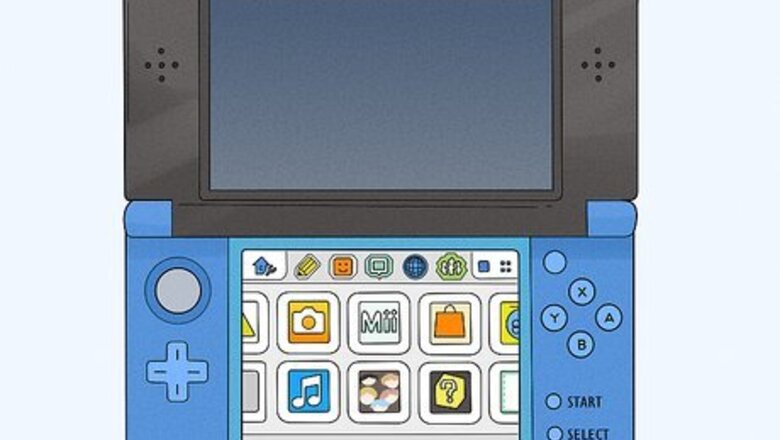
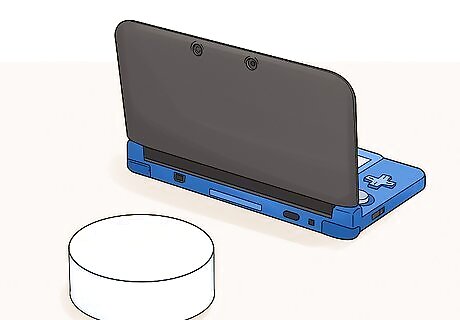
Turn on your Nintendo 3DS. You can use any Nintendo console including the WiiU. If you have a New Nintendo 3DS, New Nintendo 3DS XL, or New Nintendo 2DS XL, you do not need a separate NFC Reader/Writer. If you are using a different Nintendo than a New console, you'll set up the NFC Reader/Writer according to the manual.

Select Mii. Your screen should be a touch screen that will allow you to press the menu options directly on the screen without the need for pressing buttons. Mii Maker Nintendo will pop up when you select Mii. If you don't see this menu option, press the Home button that's below your display. If you have a Nintendo 3DS, 3DS XL, or 2DS, you'll need to set up the NFC Reader/Writer. If you're using the New Nintendo 3DS, the New 3DS XL, or the New 2DS, you won't need the scanner.
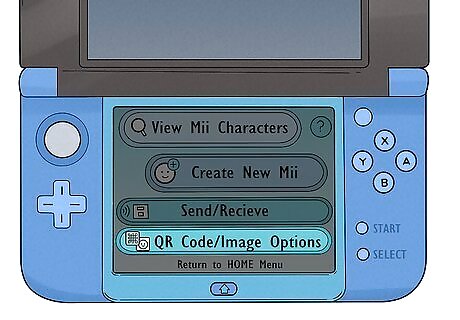
Select QR Code/Image Options. This is usually the last menu option.
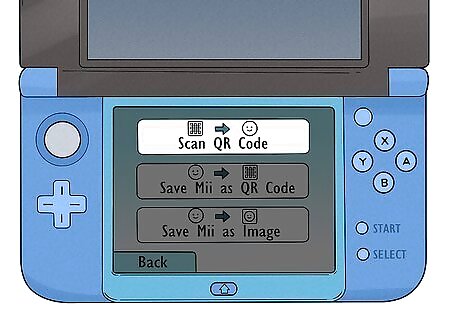
Select Scan QR Code. The camera on the front of the top wing of the 3DS will activate and you'll see the capture window on the top display.
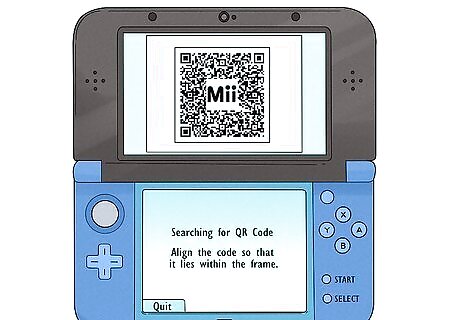
Align the QR code so that it fits in the frame. The camera will automatically pick up the code as it is in the frame. You'll see the Mii character shown in the display where the QR code scanner was.
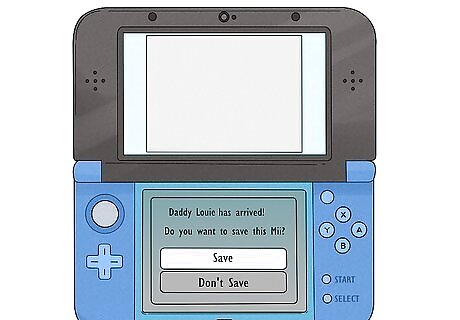
Select Save and OK. You'll see this option pop up on the bottom screen.
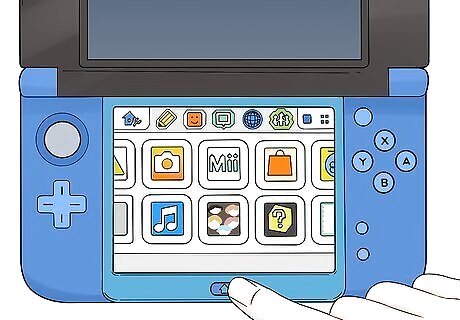
Press the HOME button. You'll find this button centered below your bottom display and you'll be taken back to the Home menu.
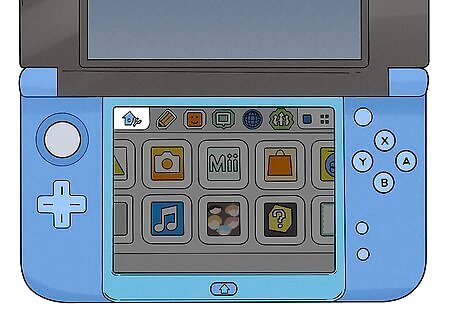
Select the wrench icon. This should be in the top-left corner of your screen.
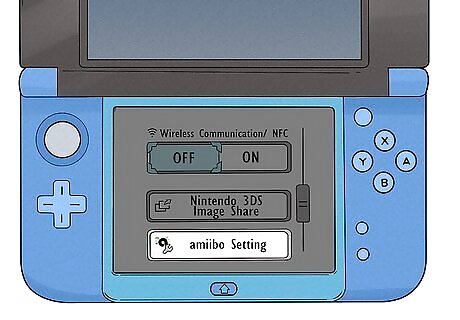
Select amiibo Settings. You might have to scroll down the menu to find this.
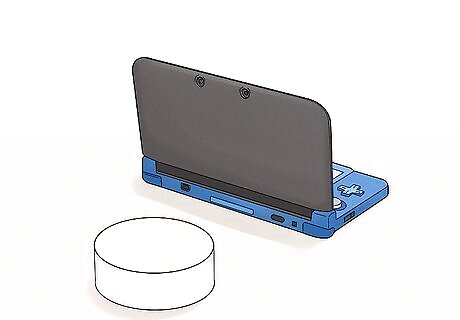
Place the amiibo on the scanner or your screen. You'll be prompted to set the amiibo you want to use as the Mii that you scanned via QR code on your scanner or screen (New Nintendo models).
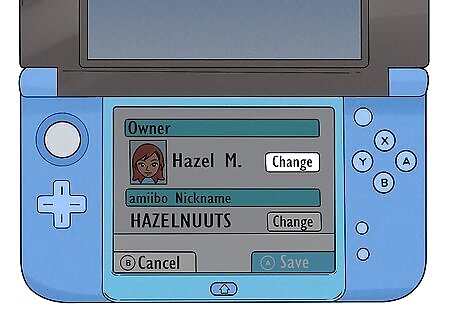
Select Change next to the Owner. This will open a list of all the Mii characters you have saved.
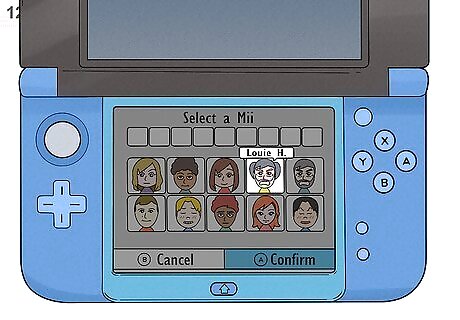
Select the Mii you scanned from the QR code. This is most likely the last Mii character in the list.

Select Change in the "Nickname" header (if you want to change it). You'll be able to erase and type in a new nickname if you want to.
Place the amiibo back on the scanner or your screen. This will save your changes and you'll see a message on your screen when the changes have been saved successfully. You can turn off your 3DS.
Using Switch to Scan the Amiibo
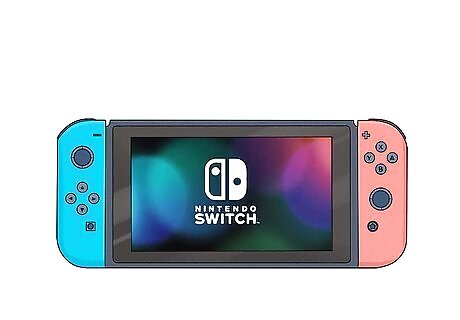
Turn on your Nintendo Switch. The power button is on the top of the unit.
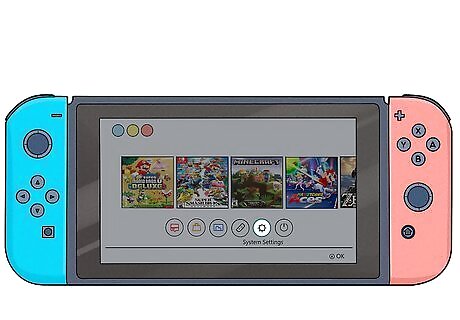
Select the Settings icon Android 7 Settings and press A. You'll see this icon on the Home screen of your Switch when you turn it on. Unlike the 3DS and similar systems, the Switch is not a touch-screen, so you'll use the buttons on the left and right paddles to make your selections.

Select Mii and press A. You'll need to scroll down the list in the menu on the left side of the screen to find this menu option.

Select Create/Edit a Mii and press A. This is usually the only option on the menu.

Select Copy Mii from amiibo and press A. This is usually the last item on the menu.
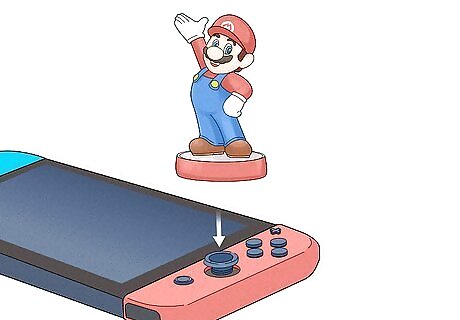
Set the amiibo over the right joystick. If it doesn't read immediately, try repositioning the amiibo or clearing dust from under it. You should see a "Copied Mii" message on your Switch before it loads your Mii list.


Comments
0 comment