
Complete Restoring the Board
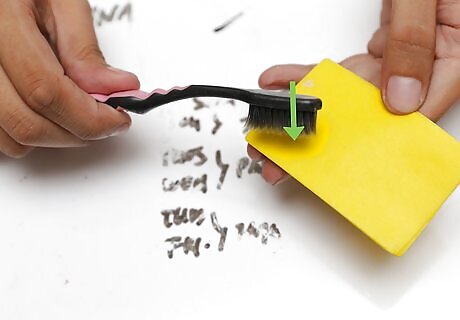
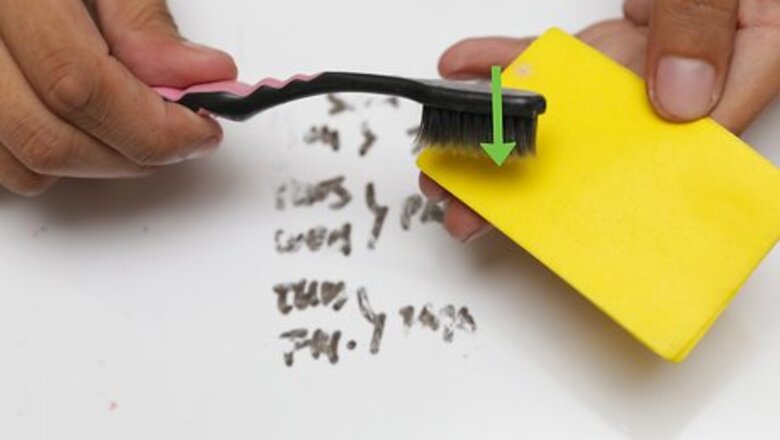
Clean you erasers of as much marker dust as possible by brushing, beating, and vacuuming. A lot of cleaning problems actually start with a dirty eraser. Be sure to beat them out, and take a vacuum hose to it as well to get as much dust out as possible. Your eraser will suddenly be much more effective.
Erase the whiteboard with your dry eraser. Get off as much as you can using this method, but don't sweat it if there are still marks. You simply want to get as much off as possible.

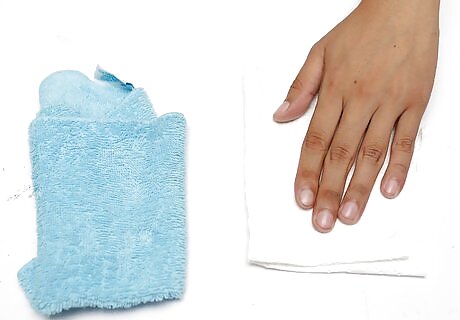
Clean the whiteboard with a whiteboard cleaner and paper towel. If you can't get ahold of whiteboard cleaner, just use a damp cloth. Don't substitute in other cleaners, as many of them will simply strip off more of the essential coating that allows you to erase the markers. Keep wiping down the board with your clean towel until it no longer picks up dirt and dust. Always use gentle, soft towels or paper towels. Never use abrasive pads or scrubbers!
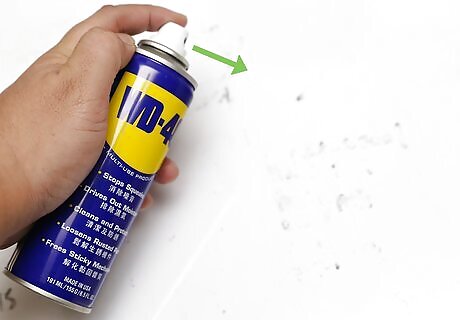
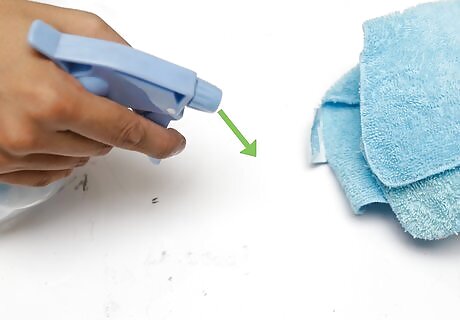
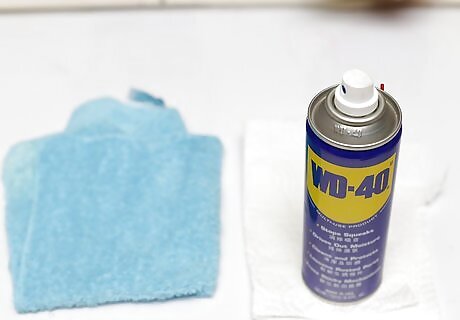
Spray the whiteboard with WD-40, using a light misting over the whole board. WD-40 is a light oil that will keep the board slick. This allows you to write on it without the ink drying into the board and leaving permanent marks. While it may make the board a bit slippery, it will be usable. Revive a neglected board. "After years of ghost marks, my classroom whiteboard was a mess. Following the cleaning steps here involving baking soda, alcohol, and elbow grease, I revived it beautifully. The process took effort, but the sparkling results were worth it!" - Thisya Shashidhara (wikiHow Community Member) Try manufacturer-approved solutions with confidence. "I was wary of "quick fix" internet tips. But learning the WD-40 method was actually recommended by whiteboard makers reassured me. Now, I could revive my board without worries about causing harm long-term." - Jain N. Make old boards work like new ones. "My classroom's worn whiteboards were discolored and ghosting badly. The tips here on deep cleaning and applying WD-40 made them work like new! I never considered WD-40 before — it was a game-changer." - Ken M. Restore a well-worn board. "At work, our shared whiteboard was ghosting and stained from years of use. Following this advice brought it back to life! The step-by-step instructions gave me the confidence to tackle even a very worn board. Our board looks fresh again." - Rebecca W. Did you know that wikiHow has collected over 365,000 reader stories since it started in 2005? We’d love to hear from you! Share your story here.
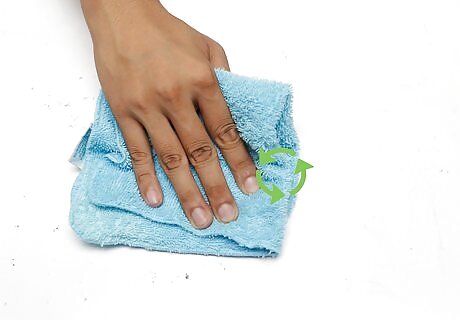
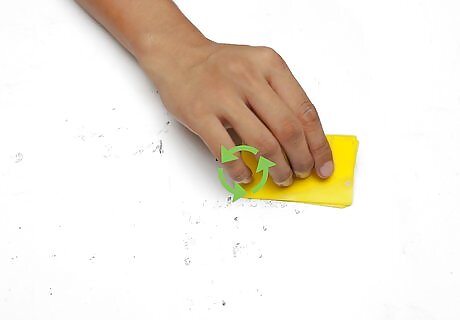
Wipe the WD-40 clean with a fresh rag, spreading across the entire surface. When done, dry everything with a paper towel. The board should feel a little slick with the oil, but it should not be pooling up anywhere or visible. Wipe in a circular motion to ensure the whole board is evenly coated.
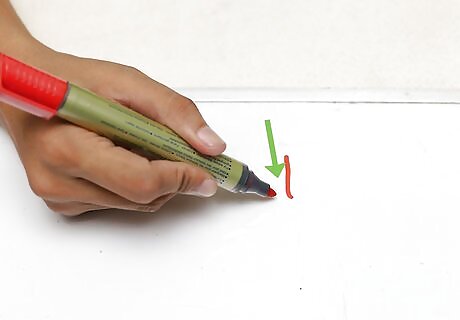
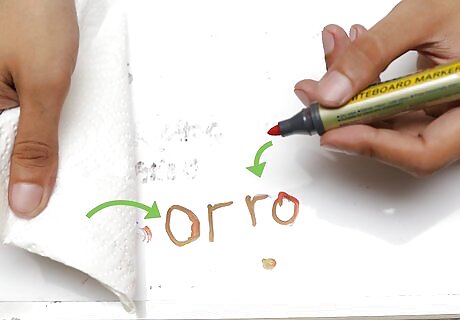
Test the marker on a small corner of the board. Make a few marks with a dry erase maker, then wait 10-15 minutes before trying to erase. If you did it all successfully, and the board isn't beyond repair, the marker should wipe off easily even after all of this time to dry.
Keeping the Board Clean
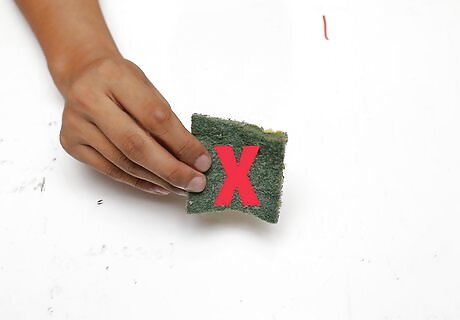
Never use abrasive or scratching motions to clean a whiteboard. The non-porousness of the board is what allows the ink to come off easily, as a clean, Teflon-like coating protects the board from letting ink set in. But scratches and "tears" in this coating will allow the ink to seep through, ruining your board permanently. Always use soft, clean towels and rags. Adhesives like tape and glue will also rip up the coating when removed.
Use whiteboard cleaner and a dry towel at the end of every week to keep the board clean. Regular cleanings will be essential to prevent the need to restore the board in the first place. A light spray of cleaner and a towel will remove marks before the set in, keeping your board beautiful for years to come. Any marker left on for more than 24 hours is at risk to leave "ghost" marks. Very stubborn stains can be removed with a little propyl alcohol. Or, you can prepare a mixture that is 50 percent tap water and 50 percent isopropyl rubbing alcohol. Wipe the whiteboard, then dry it off with a clean cloth to remove alcohol remnants—don't let alcohol dry on the board.
Remove "ghost marks" or permanent marker by completely covering the board in black dry-erase marker, then erasing it quickly The wet marker actually has chemicals that keep the ink fluid, which will temporarily loosen the ghost marks or permanent marker. Work quickly, then erase with a dry, clean eraser to get most of these marks off. Note, if you work too slowly you may dry the black marker on there, completely defeating the purpose! You can also use this method to spot clean certain marks. Just make sure they are completely covered with ink before erasing.
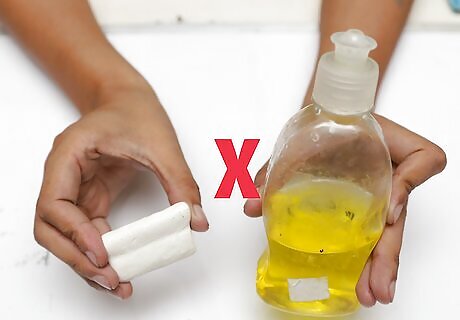
Never use degreasers, soap, or cleaners not specifically formulated for dry-erase boards. Most soaps break up oils and sheens that are not water-soluble, helping cut through tough stains and chemicals. But the sheen on a whiteboard is there on purpose, allowing the markers to write without ever truly drying out. Never use a cleaner that isn't made to specifically work with your white board. In a pinch, denatured alcohol can work as a more powerful cleaner than water, and it shouldn't harm whatever original finish you have left.
Always dry off a board after wiping it clean with a wet rag. Don't let the board air dry. If you're wiping the board down at the end of the day, take a paper towel and clean rag and dry it as well. This will help protect the longevity of the board.
Clean the dry eraser regularly to prevent build up of dust and marker residue. Blot it on a kitchen towel. If you need to wash it, dampen a soft cloth and run over it to remove traces of ink, but do not wet it. You want to start with as little dust and debris as possible to keep the board clean and smooth.
Know that restoration will only work so many times before you need a new board. If someone has ruined the finish with a heavy cleaner, or you find that you have to add WD-40 more and more frequently, you'll likely hit the end of the line with your board. While you can try to resurface it again, you'll likely be best off with a new, factory sprayed finish. WD-40 will make the board usable again, but it may also lead to slightly streaky writing. It is nothing that makes the board unusable, but it should be noted.


Comments
0 comment