
X
Research source
Even if you have a desktop PC, the motherboard uses a battery to power the Complementary Metal Oxide Semiconductor (CMOS) memory that contains the BIOS settings as well as the date and time. Sometimes this battery needs to be replaced too. This wikiHow teaches you how to replace the battery on your laptop and desktop PC.
Changing a Removable Laptop Battery
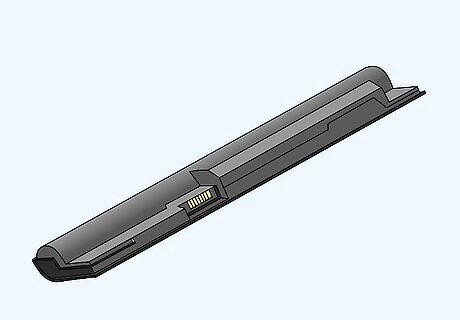
Purchase a replacement battery. You'll need to know the make and model of your laptop to purchase the correct battery. You may even want to remove the battery and check to see if it has a model and/or part number written on the battery. Warning: If you are able to do so, you should purchase a replacement battery from your laptop manufacturer. You can also purchase a replacement battery from a third-party online or from a battery shop. Make sure you purchase the battery from a reputable source. Some third-party laptop batteries are made cheaply and not last as long, and may also be unsafe to use.
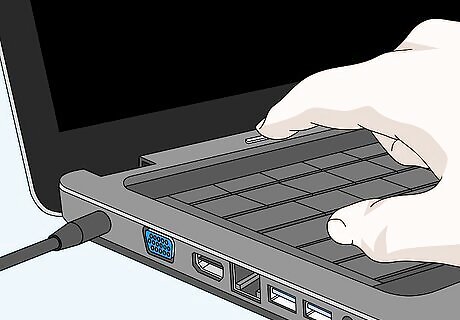
Power off your Laptop Windows Power. You can either press and hold the power button on your laptop or use the following steps to shut down your laptop: Click the Windows Start menu or the Apple icon on your desktop. Click the power icon which resembles a circle with a line through the top (Windows only.) Click Shut Down.
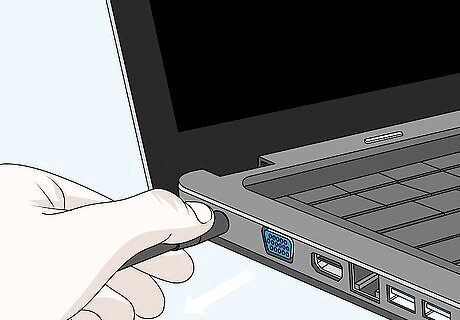
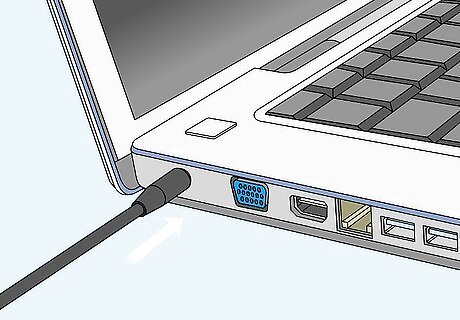
Disconnect the AC adapter. Unplug the AC adapter from the input on your laptop to disconnect the laptop from the AC adapter.
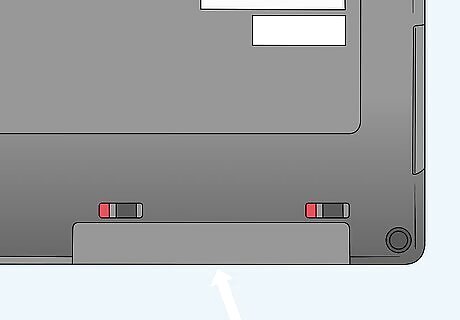
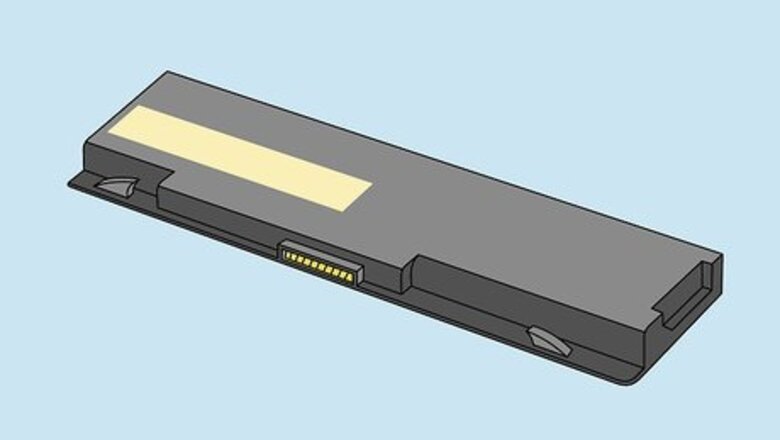
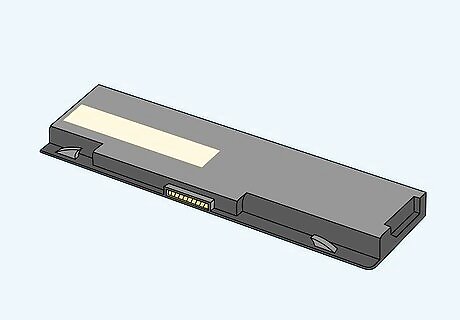
Turn your laptop over and locate the battery. On most laptops, the battery can be found on the bottom of the laptop along the back.

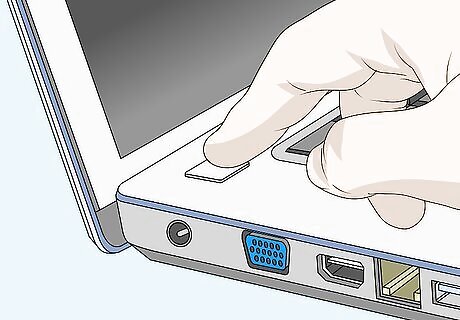
Slide and hold the battery release latch. Most laptops have a release latch that you slide and hold to release the battery. Some laptops have two release latches that your slide and hold at the same time. Other laptops may have a separate lock switch that you need to slide to unlock before sliding the release latch. A few older models have a latch that you pull out and push towards the battery. In rare cases, the battery may be screwed in and require a screwdriver to remove. Some newer laptops do not have a removable battery. If you cannot find a battery or release latch for the battery see the next method to learn how to remove an internal battery.

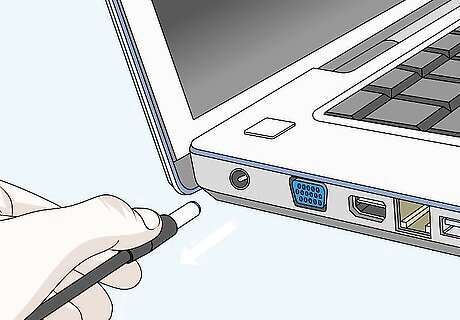
Pull the battery out. Each laptop battery is a little different. In some cases, the battery may pop out on its own when you engage the release latch. In other cases, you will need to slide the battery out of the slot that holds it in place.
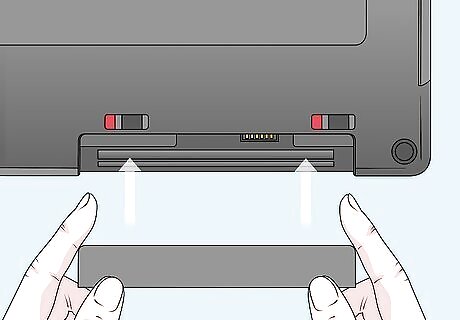
Insert the new battery. After removing the old battery, insert the new battery exactly how the old one came out. You may need to slide the release latch or disengage the lock switch in order to slide it back in.
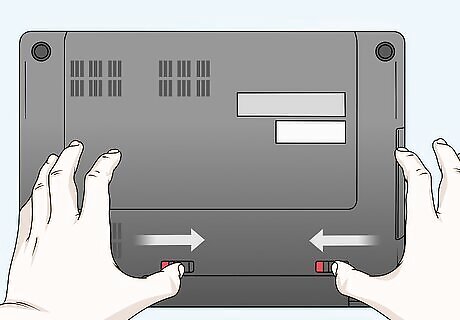
Lock the battery in place. Most laptop batteries will snap into place on their own. On some computers, you may need to slide the lock switch to lock the laptop battery in place. If it has screws, you will need to use a screwdriver to screw the screws back in place.
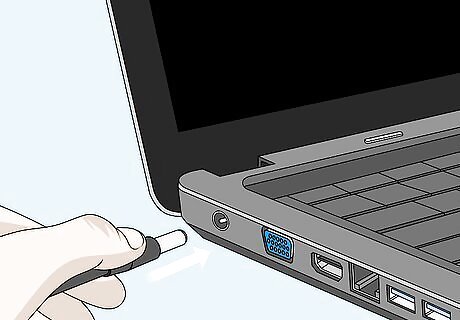
Reconnect the AC adapter and allow the battery to charge. Plug the AC adapter into an electrical outlet and then plug it back into the laptop to allow the battery to start charging. Allow a few hours for the battery to charge. Once your battery is charged, you can power on your laptop and resume use.
Changing a Non-Removable Laptop Battery
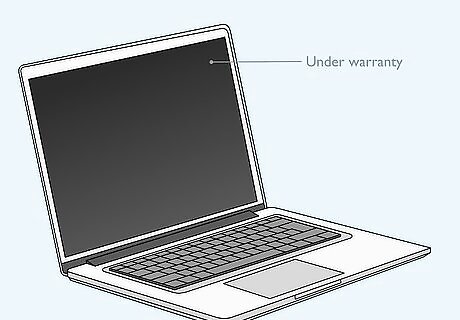
Check if your laptop is under warranty. Many newer laptops do not have removable batteries. You will need to remove the bottom panel of your laptop to access the battery. This will most likely void any warranty you have with your laptop. If your laptop is under warranty, go through the warranty process and have a professional technician replace your battery for you. If you are not skilled at taking apart electronics, you may want to consider taking your laptop to a professional technician to have them replace your battery.
Purchase a replacement battery. You'll need to know the make and model of your laptop to purchase the correct battery. Warning: If you are able to do so, you should purchase a replacement battery from your laptop manufacturer. You can also purchase a replacement battery from a third-party online or from a battery shop. Make sure you purchase the battery from a reputable source. Some third-party laptop batteries are made cheaply and not last as long, and may also be unsafe to use.
Power off your Laptop Windows Power. You can either press and hold the power button on your laptop or use the following steps to shut down your laptop. Click the Windows Start menu or the Apple icon on your desktop. Click the power icon which resembles a circle with a line through the top (Windows only.) Click Shut Down.
Disconnect the AC adapter. Unplug the AC adapter from the input on your laptop to disconnect the laptop from the AC adapter.
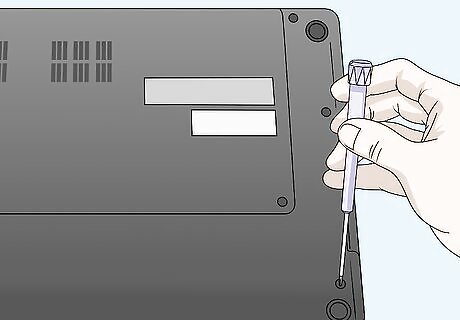
Turn the laptop over and remove the screws. Use a properly sized screwdriver to remove all the screws holding the bottom panel of your laptop in place. Some of the screws may be hidden under rubber screw covers. If this is the case, use a safety pin to remove the screw covers. Note if any of the screws are different sizes and remember where they go.
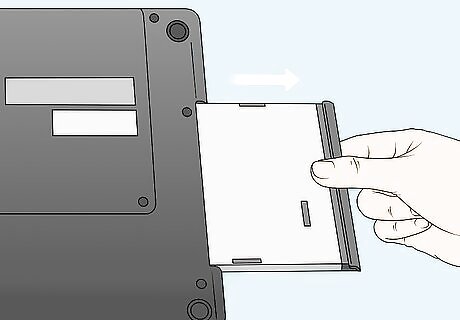
Remove the CD/DVD ROM drive (if present). If your laptop has a CD/DVD ROM drive, you may need to remove it as well. Unscrew any screws holding it in place, and then use your fingernail or a plastic pry tool to separate the CD/DVD ROM drive from the computer and slide it out of its slot. There may be additional screws under the CD/DVD ROM holding the back panel in place. If you find them, be sure to remove them as well.
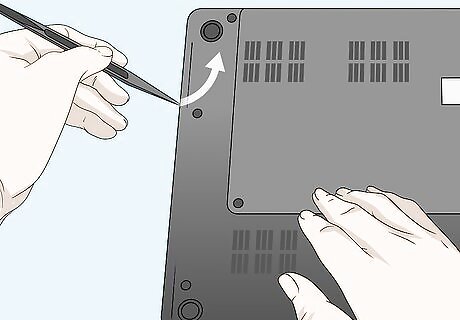
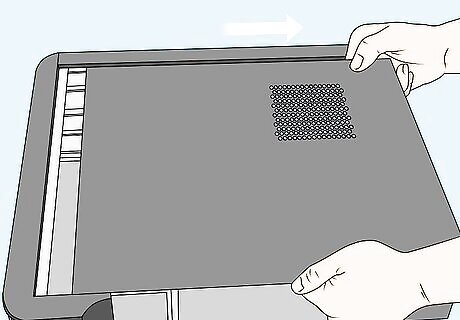
Use your fingernail or a plastic pry tool to detach the laptop bottom panel. Place your fingernail or plastic pry tool between the gap between the bottom panel and the rest of the laptop. Go around the edges and gently pry the back panel loose. You'll need to use a little bit of force, but try to be as gentle as possible.
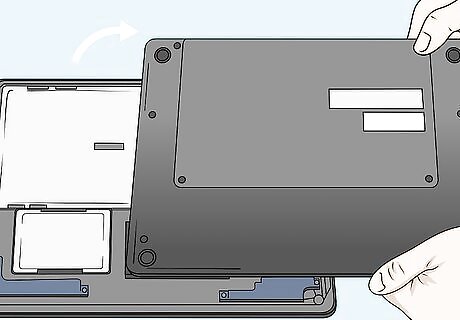
Lift the bottom panel off slowly. Once the bottom panel is loose, slowly lift it to reveal the inside of the computer. There may be wires or cables attached from the bottom panel to the laptop's motherboard. Be careful when lifting it.
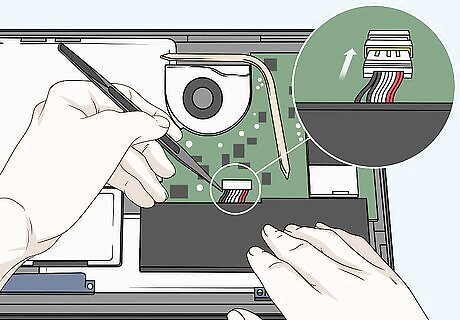
Disconnect any wires or cables attached to the computer. If there are any cables or wires attached from the bottom panel to the computer, make a note of where they are attached and gently lift them from the port they are attached to. Warning: Be careful not to touch the motherboard or internal computer boards. Any static discharge may permanently damage your computer. Wear static wrist bands or touch something metal before getting too close to the insides of your computer. To detach ribbon cables, flip up the release mechanism on the port they are attached to, then slide the cable out.
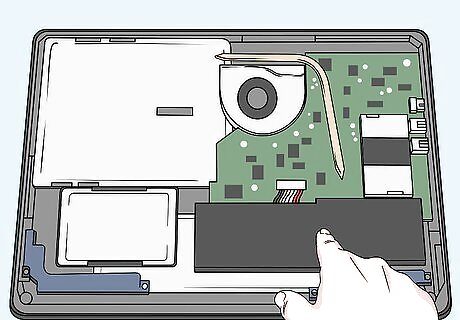
Locate the battery. The battery is usually a long black strip towards the back of the laptop. You may be able to feel the battery cylinders inside the film covers of the battery.
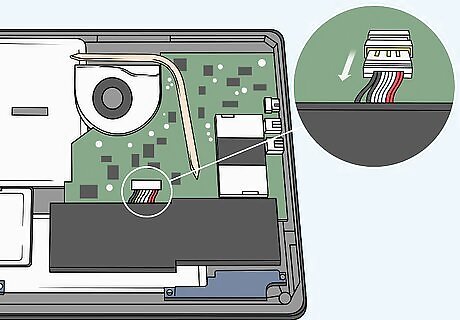
Detach the wires connecting the battery. There is most likely a set of wires coming from the battery and attached to the motherboard. Gently lift up on the connector that is connecting the wires to the motherboard to detach the wires. Check to see if there are any screws holding the battery in place. If so, use a screwdriver to unscrew the battery.
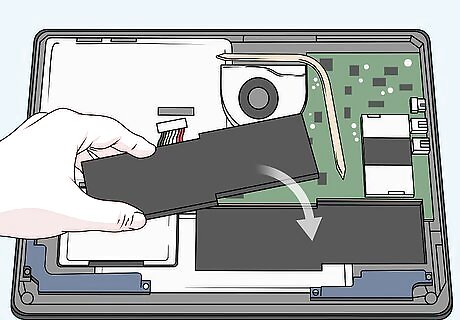
Insert the new battery. After removing the old battery, insert a new battery exactly as the old battery was positioned. If there are any screws holding it in place, be sure to reattach the screws.
Connect the battery to the computer. Use the connector that the battery wires are attached to connect it to the same port the old battery was attached to. Push down on the connector so that it snaps in place.
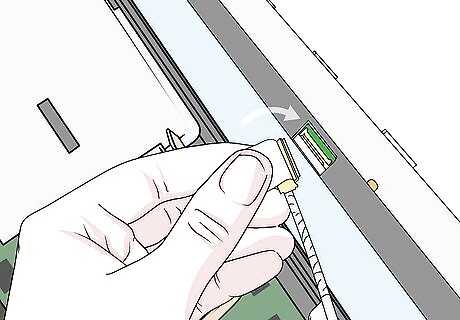
Reconnect any wires from the bottom panel to the computer. If there are any wires coming from the back panel, be sure to reattach them to the same port they were disconnected from. Slide any ribbon cables back into their connector devices and press the locking mechanism down to lock it.
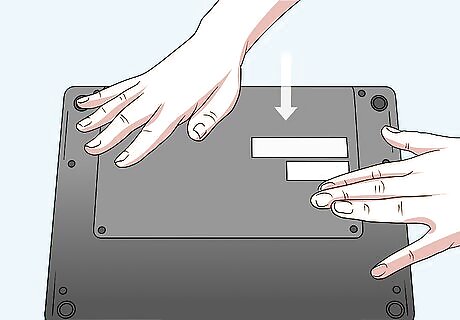
Reattach the back panel. Once any cables connected to the back panel are reconnected, position the back panel over the rest of the laptop and go around the edge firmly pressing down so that the back panel snaps back in place.
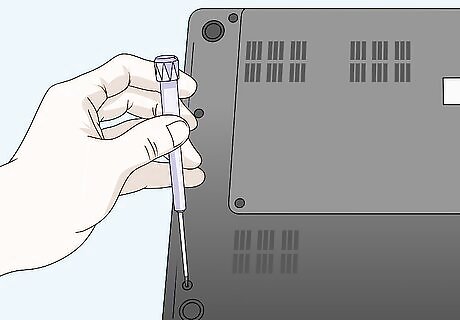
Reattach all the screws. Use a screwdriver to reattach any screws that hold the back panel on. Reinsert any rubber screw covers that may have been attached.

Reconnect the CD/DVD ROM drive. If your computer has a CD/DVD ROM drive, slide it back into its slot and press on it firmly so that it is secure. Then reattach any screws that may have been holding it in place.
Reconnect the AC adapter and allow the battery to charge. Plug the AC adapter into an electrical outlet and then plug it back into the laptop. Allow a few hours for the battery to charge. Once your battery is charged, you can power on your laptop and resume use.
Changing the CMOS Battery
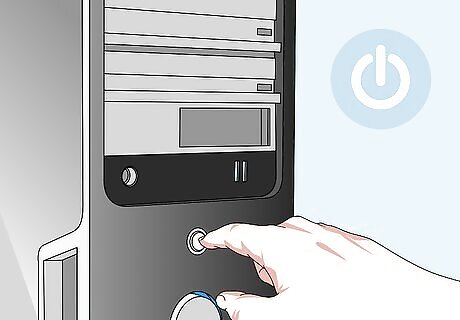
Power off your computer Windows Power. Either press and hold the power button on your computer tower, or use the following steps to shut down your computer. If your computer is losing its time and date settings, or you receive an error that says "CMOS Read Error", "CMOS Checksum Error", "CMOS Battery Failure", "System battery voltage is low" when your computer boots up, it may be time to change your CMOS battery. You will see this error when your computer boots up. Click the Windows Start menu or Apple Icon. Click the icon that resembles a circle with a line through the top (Windows Only.) Click Shut Down.
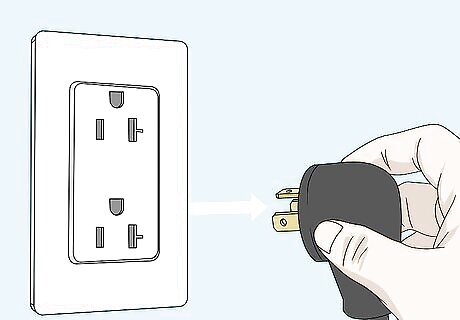
Unplug the computer. It's important that you disconnect your computer from any power source before doing work on your PC. Disconnect the power cord from the AC outlet. Optional. Press and hold the power button on your computer for about 5 seconds to drain any remaining power.
Remove your computer's side panel cover. It's on the side of your computer tower. You may need a screwdriver to remove the side panel of your PC. This gives you access to the inside of the computer. Warning: Static discharge can permanently damage your computer's motherboard. Wear static wrist bands when doing work inside your computer. These keep you grounded as you work and prevent static electricity discharges that can ruin your computer. If you do not have static wrist bands, keep one hand on something metal while you work inside your computer.
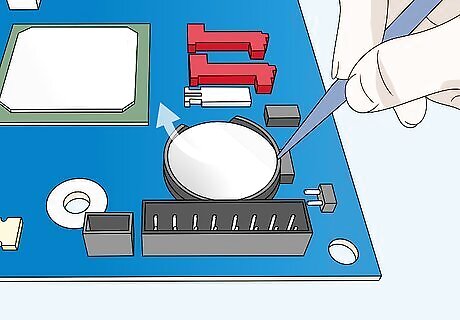
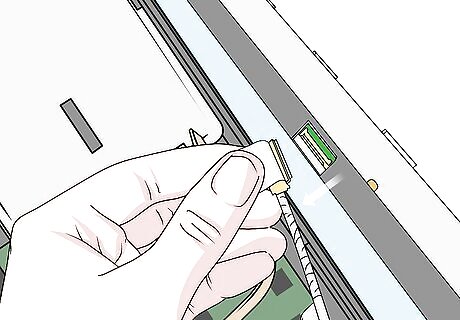
Remove the old battery. It's located on the motherboard on most computers. The motherboard is the large circuit board that all devices in your computer are attached to. Most computers use a silver coin-sized batter inside a round battery holder. Use your fingernail or non-conductive screwdriver to remove the battery. Not all computers have a removable battery. On some computers, the battery may be held down by a metal clip or bar. If this is the case, do not bend the metal bar. Slide the battery out from under the bar. If you cannot locate the CMOS battery on your motherboard, refer the user's manual, or manufacturer's web page for more information. In some cases, you may need to disconnect cables or remove other devices to get full access to the battery. If your computer does not have a removable battery visible on the motherboard, you will need to place a jumper on your motherboard and install a new battery. Refer to your user's manual or manufacturer's web site for more information.
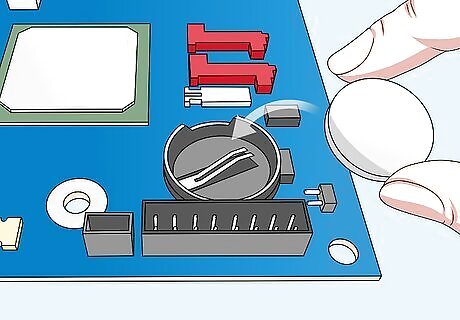
Install a new battery. Make sure you replace it with the same battery type as the old one. Make sure the new battery is tightly held in place. The most common CMOS battery type is a CR2032 battery which can be purchased at most stores that sell batteries. Take the old battery to the store with you when you purchase a replacement battery. That way you can check to make sure you purchase the correct type of battery replacement.
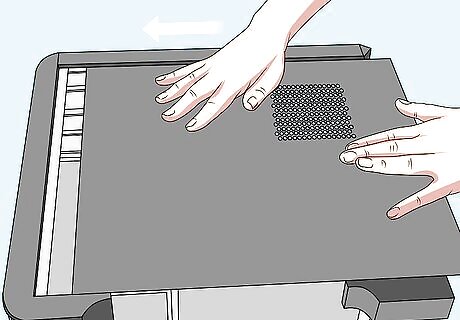
Replace your computer's side panel cover. Make sure all the parts are securely back in place and reattach the side panel. Reattach any screws that hold it in place.
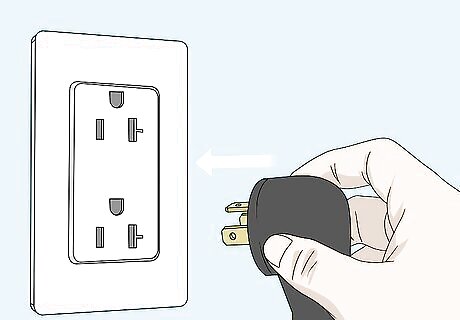
Plug your computer back in. Once the side panel is firmly attached, it is safe to plug your computer back into an AC outlet.
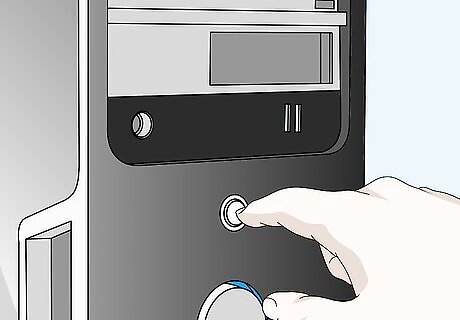
Power on your computer Windows Power. Press the power button on your PC to turn your computer back on.
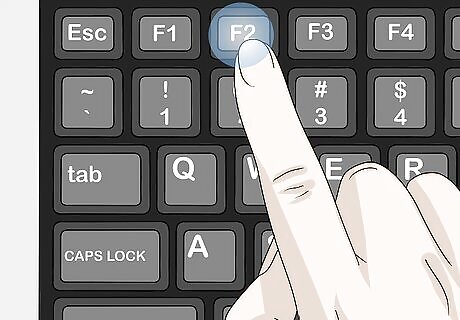
Enter the BIOS Setup. The BIOS is the Basic input/output system your computer uses to boot up your computer and manage data between all your computer devices (keyboard, video adapter, mouse, etc). You may need to reset your BIOS to their default settings after replacing a CMOS battery. You can usually enter the BIOS setup by pressing one of the Function keys while your computer boots up. Some computers tell you which button to press to enter the BIOS as they boot up. The way you enter BIOS is different from one computer to the next. Refer to your user's manual or manufacturer's web site for assistance.

Reset the BIOS to their default settings. The BIOS menu is different from one computer manufacturer to another. Look for the option to reset the BIOS to its default settings. This may be listed as a keyboard shortcut at the bottom of the screen, or it may be in the "Exit & Save" menu. You can navigate to the different menus using the arrow keys on your keyboard. After you've reset the BIOS to its default settings and your computer boots into the operating system, you can boot your computer into its operating system..


Comments
0 comment