
Painting Luster Dust onto Chocolates

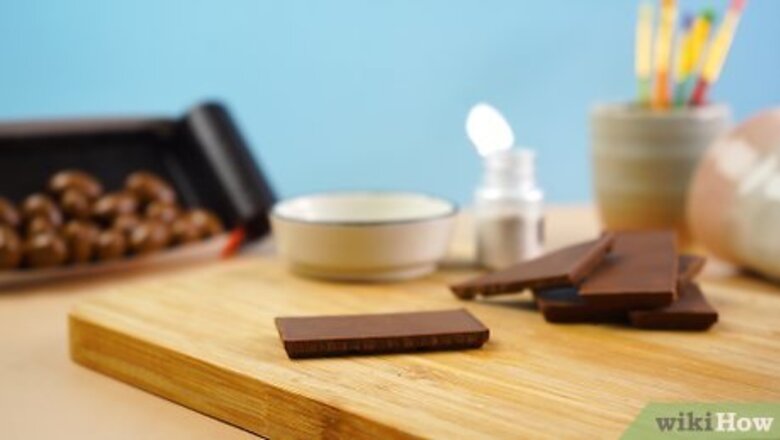
Put the chocolates you want to decorate on a cutting board or baking mat. Arrange the chocolates you plan on applying luster dust to in front of you on a clean cutting board or baking mat. You’ll probably be spilling some dust as you paint it onto the chocolates, so this will make cleanup easy. You can use either homemade chocolates or undecorated store-bought chocolates for this.

Dip a brand-new, fine art paint brush into 80-proof liquor. Choose a liquor with an alcohol percentage of 40% or higher like vodka. Dip the bristles of the brush all the way into the liquor to wet them. The liquor will turn the luster dust into a paint and make it easier to apply to the chocolates. The alcohol will evaporate and leave the dust stuck onto the chocolate. The size and style of the paint brush is up to you. Use a wider, flatter brush to coat the chocolates with more luster dust per stroke or use a narrower, rounder brush to apply finer lines of dust.
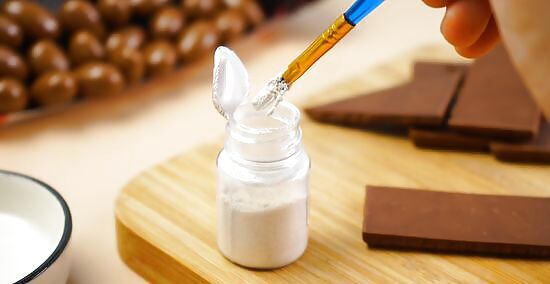
Stick the brush into a container of luster dust. Dip the liquor-soaked bristles of the brush into a container of luster dust of the color of your choice. Pull it out and make sure that there is luster dust stuck on the bristles. Stick it back into the dust if you want more color on the brush.

Apply the luster dust to the chocolates using long, even strokes. Start at the top of each chocolate and brush down. Use slow, controlled strokes to paint the luster dust onto all parts of the chocolate that you want to cover in that color. You can either cover the entire chocolate with luster dust or apply it to only certain parts, depending on the look you’re going for.

Repeat the process for additional colors if you want multi-colored chocolates. Dip your brush back into the alcohol and swish it around to clean off the luster dust. Stick it into a container of luster dust of another color, then apply that color to your chocolates from top to bottom using long, even strokes. For example, if you painted your chocolates with gold luster dust first, you could apply a layer of silver over top of the gold to give them an extra-sparkly sheen. You can try combining certain colors to create a whole new color effect. For example, if you layer blue and pink luster dust you can achieve a shimmering purple look.
Using Chocolate Molds to Apply the Dust

Stick a clean fingertip into a container of luster dust. Wash and dry your hands thoroughly before you start making your chocolates. Dip a clean fingertip into a container of the luster dust of the color your choice to cover your fingertip in the decorative dust. Depending how much color you want to cover your chocolates in, you can cover your fingertip in more or less dust. You can purchase luster dust online or at a store that sells supplies for baking and making candy. If you don’t want to use your fingertip, you could apply the dust to the mold using a small, clean paint brush.
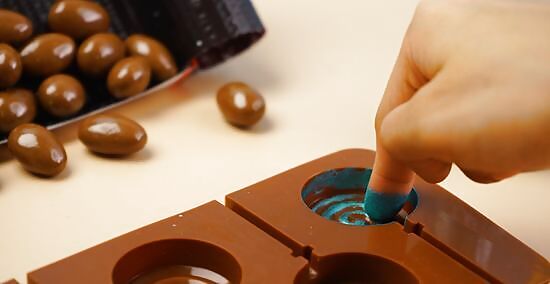
Paint the luster dust into a chocolate mold using your fingertip. Rub the tip of your finger that has the color on it around inside a chocolate mold. Cover the whole mold in luster dust if you want to decorate the whole chocolate, or just apply the dust to the part of the mold where you want to put it on the chocolate. If you don’t have enough dust on your finger to coat the whole mold, you can just dip it back into the container of luster dust and keep applying it to the mold until you’re happy with the coverage. If you’re using a tray of molds, repeat this process for each mold on the tray. You can even use different colors for each individual chocolate, add multiple colors to the same mold to create layers of color, or put different colors on different parts of the chocolates. Try experimenting to give your chocolates a unique look!
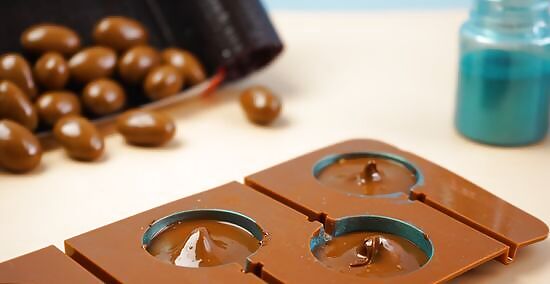
Pour melted chocolate into the mold using a spoon. Scoop melted chocolate out of the bowl it’s in with a metal spoon, then carefully pour and drizzle the chocolate into the chocolate mold on top of the luster dust. Stop when the liquid chocolate is even with the top of the mold. You could pour the melted chocolate into the mold directly from the bowl if you have a steady hand. It’s just easier to control the chocolate when you use a spoon to transfer it to the mold.

Place the chocolate into a refrigerator for 10-15 minutes. Put all the molds you filled with chocolate into the fridge. Leave them there for 10-15 minutes to let them cool and harden. Be careful not to spill any of the chocolate out while you move the molds to your fridge.

Poke the bottom of the mold to pop the chocolate out. Remove the chocolate mold from the fridge after the chocolate has had time to harden. Flip it over on a flat, clean surface and poke the chocolates out of the mold with your fingertips. Enjoy your sparkling luster-dusted chocolates! The chocolates should come out of the mold very easily, as long as they are fully hardened. If any of them seem stuck, try giving the mold a light tap against a hard surface to loosen the chocolate.


Comments
0 comment