views
Selecting a Type of Lumber for Posts
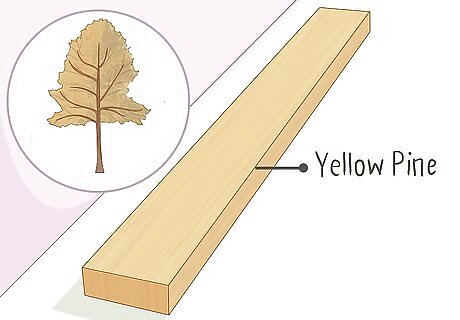
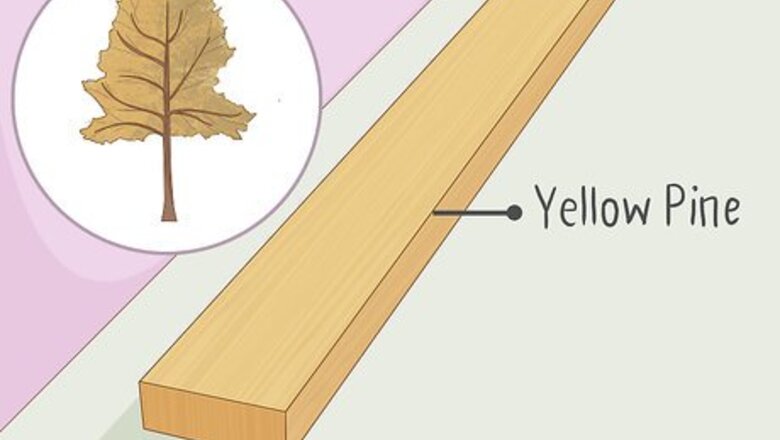
Choose yellow pine for an easy-to-treat option. While pine is not a particularly hard wood, it is very receptive to being treated and absorbs industrial treating chemicals well. Southern yellow pine is especially receptive to the chemicals. Other woods that aren’t as practical as southern pine only absorb the treating chemicals on their surface, leaving the interior of the wood untreated. You should be able to find southern pine—or whatever other wood you choose to use—at a local hardware store or lumberyard.
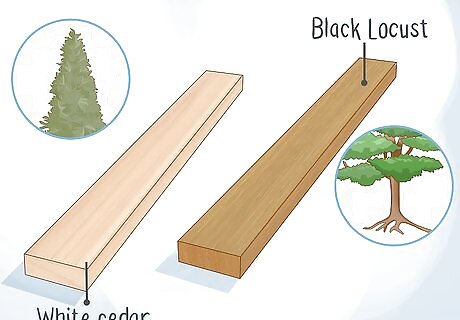
Select white cedar or black locust if you’re concerned about fungi. In swampy, marshy environments, fungi are one of the primary causes of post rot. Both black locust and eastern white cedar are naturally resistant to all types of fungus. This makes them an ideal choice for posts that will be in damp ground. Cedar is also an ideal wood for fencing around your house as it is beautiful and has a long lifespan. Because cedar is high in demand, it’s also more expensive than, say, yellow pine. If you live in a fairly arid environment, fungi may not be much of a concern for your posts.
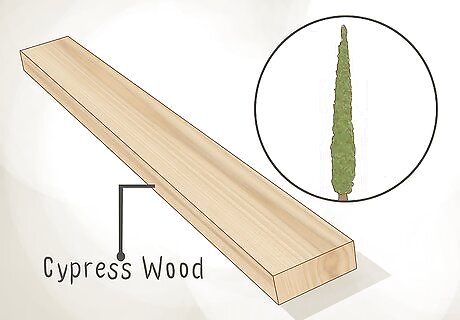
Opt for cypress or redwood for naturally moisture-resistant options. Since these types of wood are naturally resistant to soaking up moisture, they’re a good choice of lumber for your posts. Cypress in particular is noted for its color consistency, density, hardness, and relative lack of knots. These factors make it a superior wood to use for posts. However, although these woods are naturally adverse to soaking up water, they still need to be treated! Always buy treated redwood or cypress—or treat your own—to ensure that the posts stay rot-free for years.
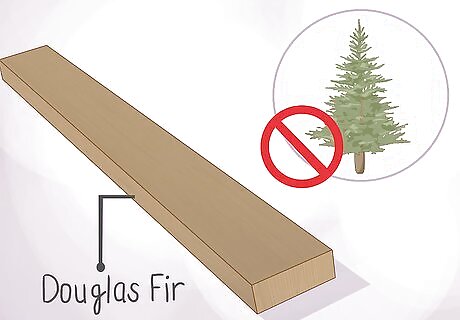
Avoid using tough-to-treat woods like Douglas fir. Lodge-pole pine is another wood to avoid selecting for your posts. Both of these woods have a structure that that makes them permeable to rot-causing moisture and bacteria. Additionally, pieces of Douglas fir and lodge-pole pine often contain sapwood, which is more prone to rotting than other types of wood. Douglas fir and lodge-pole pine are what’s known as “refractory” species of tree. They’re typically treated only by professionals, since treating them requires additional steps that can’t be performed at home. For example, the lumber must be steamed to make it more receptive to the chemical wood preservatives that are then applied.
Choosing and Treating Wooden Posts
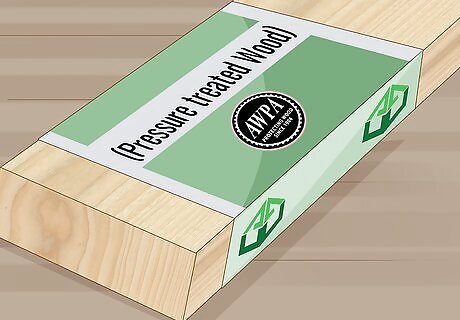
Choose only woods that are marked as having been pressure-treated. When you’re perusing the wood supply at a lumberyard, take a look at the end tag (a piece of paper stapled to the base of the post). It should say that the wood has been treated to the standards of either the International Code Commission (ICC), the American Wood Protection Association (AWPA), or the Canadian Standards Association. Woods that haven’t been pressure-treated will have a looser structure, making them more permeable to water, bacteria, insects, and other rot-causing agents.
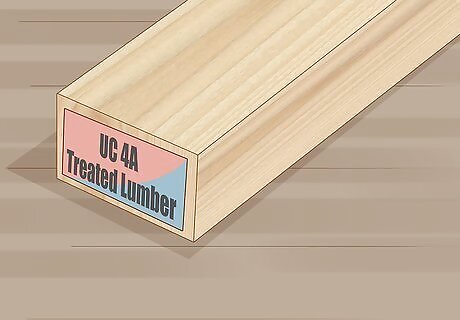
Use UC 4A or UC 4B treated lumber for the best below-ground option. The 4A or 4B rating should be clearly marked on the lumber’s end tag. If the lumber has been treated by the AWPA, check for posts that have a UC 4A or UC 4B label. This indicates that the posts are intended for below-ground use. These posts are especially resistant to rot. If you need to cut one or more of these treated pieces of lumber to the size you’d like for your posts, make sure to re-treat the cut portion with a copper-naphthenate preservative. Associations other than the AWPA don’t give their treated wood this type of rating.
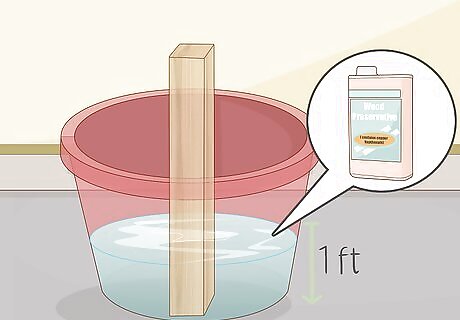
Soak the bottom 1 ft (0.30 m) of untreated posts in a wood preservative. If you’ve purchased untreated wood—or if you cut your lumber to shorten it—you need to treat your post before burying it. Purchase a wood preservative that contains copper naphthenate at a lumberyard or hardware store. Pour about ⁄2 litre (0.53 qt) of it into a large bucket. Set the end of your post that you’ll bury in the ground into the bucket and let it soak for 15–20 minutes. Giving your posts a thorough soaking in a wood preservative will go a long way in preventing them from rotting.
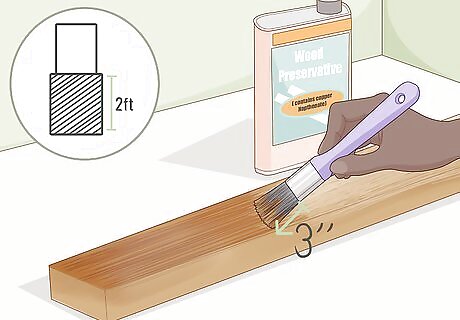
Paint a thick layer of the preservative on your post. Keep the post in the bucket where it’s been soaking. Use a 3 in (7.6 cm) brush to apply a thick layer of wood preservative across the bottom 2 feet (0.61 m) of the post. Work in long vertical strokes. Let the post dry overnight before setting it in the earth. If you were to skip applying the wood preservative, you posts would likely begin to rot within 6 months, regardless of whether or not you set them in concrete.
Setting a Weight-Bearing Post in Concrete
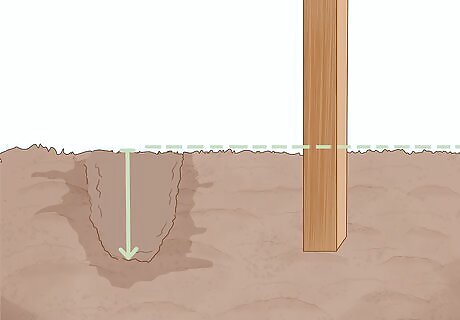
Dig a hole that’s a quarter deep as your post is tall. For example, if you’ll be setting a post that’s 3 feet (0.91 m) deep, dig your hole to a depth of ⁄4 foot (0.23 m). This will keep the post securely in the ground and prevent it from tipping over. While it’s entirely possible to dig a post hole with a shovel, a post-hole digger is a much better option. This tool digs a hole that’s only about 4 inches (10 cm) across, so you’re left with a post-sized hole that won’t need to be filled in much afterwards. Regardless of whether you’re using the post for a fence or a mailbox, remember that water causes rot. The best way to keep your post from rotting itself out of the ground is to sink it in cement.
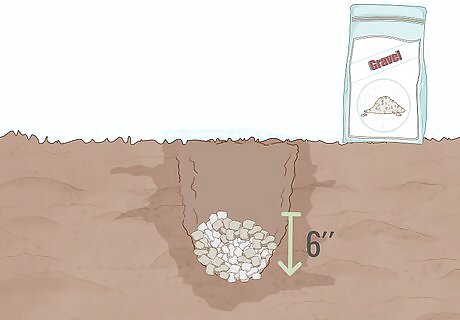
Fill the bottom of the hole with 6 in (15 cm) of gravel. Use a shovel to pick up 3–4 generous scoops of gravel and deposit the material in the hole. Then use the shovel tip to pack the gravel down so there’s no extra space between the rocks. Placing a thick layer of loose gravel at the bottom of the post hole will allow groundwater to trickle through the rocks and down away from the base of the post. This will prevent the post from rotting by keeping it constantly dry. You can purchase gravel at a local hardware store or landscaping-supply business.
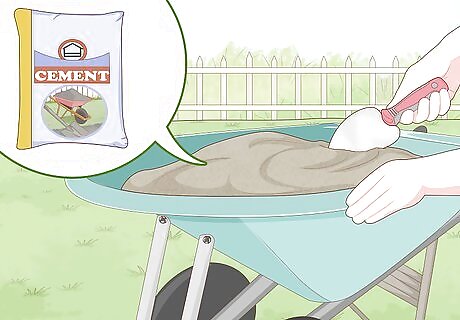
Mix a small batch of cement in a wheelbarrow or cement mixer. Use a cement mixture that contains small pea-gravel for a stronger hold. Open the bag and use your shovel to toss 3–4 large scoops of cement mix into a wheelbarrow. Then add water 1 cup (240 mL) at a time. Stir the cement mixture with your shovel every time you add water. The cement will have reached its ideal consistency when it’s roughly as thick as coarse mud. If you’re mixing in a cement mixer, you won’t need to stir with the shovel. Just flip the “on” switch and stand back while the machine spins for 5–8 minutes.
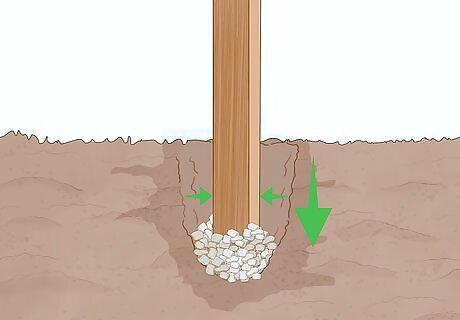
Place the post into the hole so it rests on top of the gravel. Make sure that the treated side of the post is facing downward. Position the post in the exact center of the hole, so it will be surrounded by an even layer of cement on all sides. If you have a friend or family member nearby, ask them to help you with this step. The second person can hold the post upright while you move on to the next step.
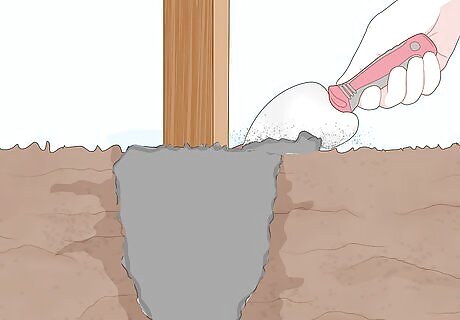
Fill the hole with cement until it’s even with the ground level. Use your shovel to scoop the wet cement into the hole. Periodically tamp the cement down by poking at it with the tip of the shovel. This will remove any unwanted air bubbles from the cement. Continue to fill the hole with cement until it’s level with the surrounding ground. Then, take a trowel and smooth off the top of the cement. If there’s any open ground between the cement and the top of the hole, your post will be vulnerable to soaking up moisture at that spot.


Comments
0 comment