views
Updating Photoshop
Open Photoshop. The primary reason that your NEF file will not open in Photoshop is because the version of the Photoshop Camera Raw plugin does not include information for your specific camera model. Adobe regularly updates the plugin to support newer models, but you may need to manually update the plugin.
Check your Photoshop version. Click the "Help" menu and select "About Photoshop...". For newer camera models, you must be using Adobe Photoshop CS6 or later. If you are using Photoshop CS5 or earlier, you'll need to convert the file. Click here for instructions.
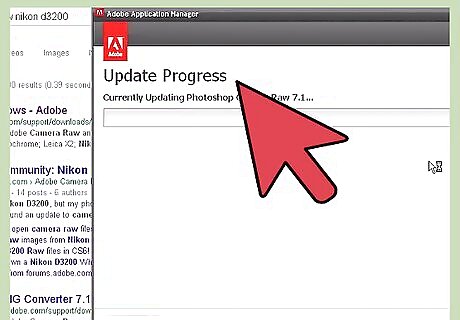
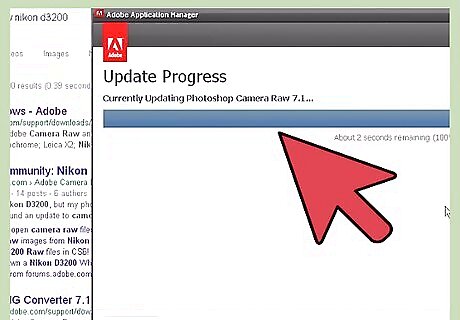
Update the Photoshop Camera Raw plugin. Click the "Help" menu and select "Updates...". Select the Photoshop Camera Raw plugin from the list and click "Update" to download the latest version.
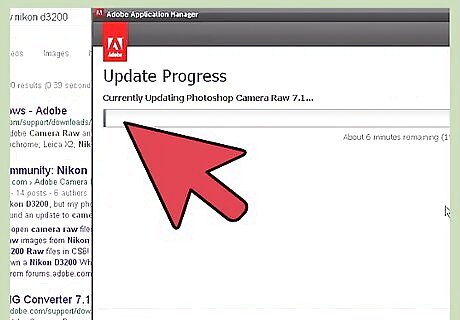
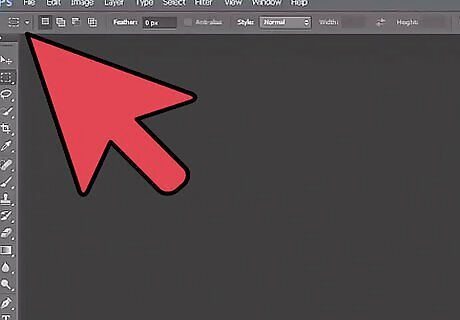
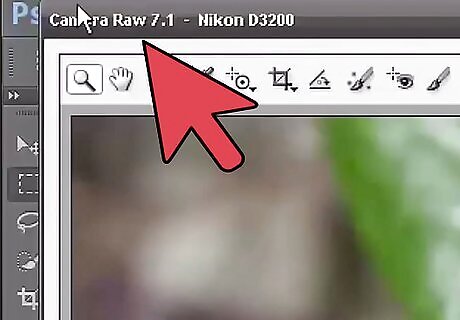
Restart Photoshop. After updating the plugin, restart Photoshop for the changes to take effect. Try opening the NEF file again.
Check that your camera is supported. If your camera is a brand-new model, it may not yet be supported by the Photoshop Camera Raw plugin. You can check which Nikon models are currently supported here. If your camera is not currently supported, you'll need to convert the file in order to open it in Photoshop. See the next section for instructions.
Converting NEF to DNG
Understand why you need to convert. NEF files are RAW image files, and are different for each Nikon model. In order to open the NEF file in Photoshop, Photoshop will need to have the latest version of the Photoshop Camera Raw plugin. The newest version of this plugin is not available if you are running Photoshop CS5 or earlier, so converting the file is the only way to open it in Photoshop for editing. You will be converting the file into DNG (Digital Negative Gallery) format, which allows it to be opened in any version of Photoshop. You may also need to convert the file if you have the latest version of Photoshop but the plugin doesn't yet support your new camera model.
Download the Adobe DNG Converter. This is a free utility that is available for both Windows and OS X. You can download it for free from here. Once you've finished downloading it, run the setup program to install the converter on your computer.
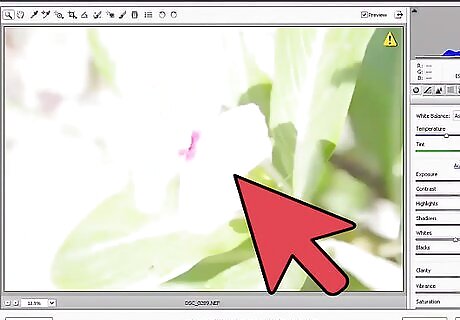
Run the converter program. Once the installation has completed, run the Adobe DNG Converter program to open the conversion interface.
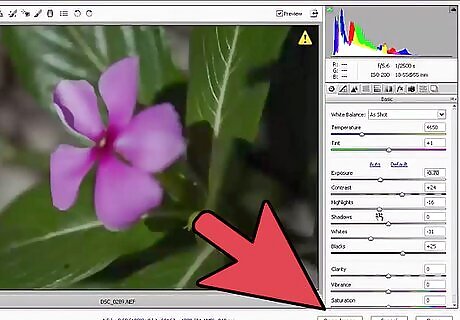
Select the files you want to convert. Click the Select Folder... button in the first section to choose which images you want to convert. You can only select folders containing images, not single images.
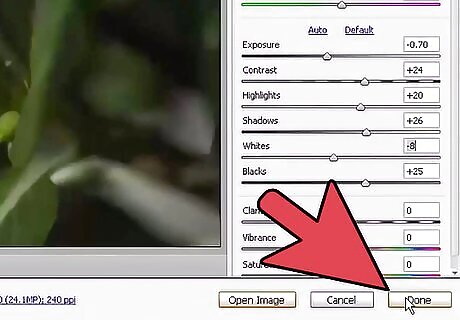
Select where you want to save the converted images. By default, they will be saved to the same location that the original images are stored.
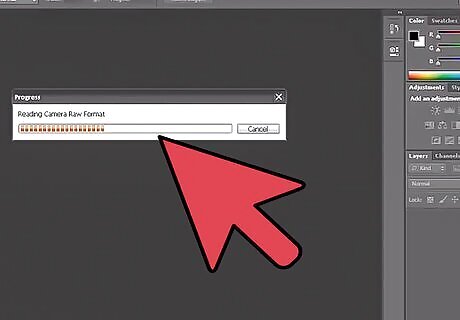
Set the image naming settings. In the third section, you can set how you want the converted images to be named. By default, they will keep the original file name but add the .dng extension.
Set your compatibility preferences. Most users can leave these at their default settings, but if you're trying to convert an image so that it opens in an older version of Adobe Photoshop, click the Change Preferences... button and select the version you use from the "Compatibility" drop-down menu. If you want to embed the original NEF file in the DNG file, you can select this from the Preferences menu. This will result in a larger DNG file, but will allow you to extract the NEF file again later if you need it.
Start converting. Once your settings are correct, click the Convert button to begin converting the files. This may take a while, especially if you are converting a lot of files at once.


Comments
0 comment