
Merging Multiple Documents
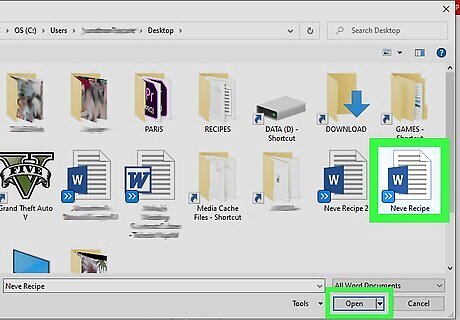
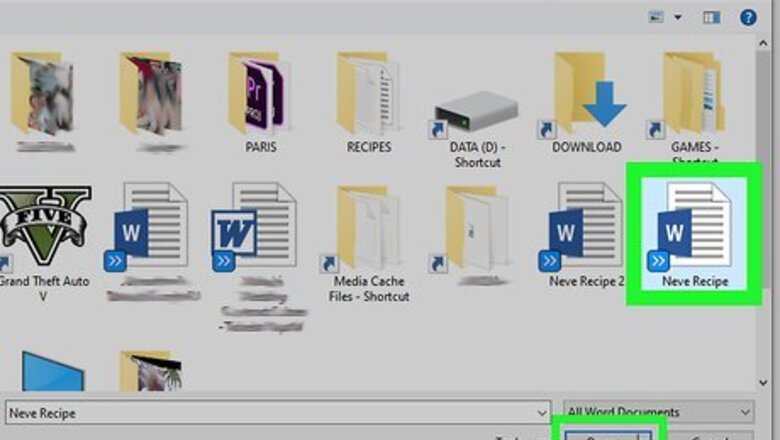
Open the Word document you want to merge into. The easiest way to do this is to double-click the document so it opens in Word. You can also open Word first, click the File menu in Word, click Open, and select the document.

Click in the place where you want to insert the next document. The text from the document you're inserting will begin at the location you click.
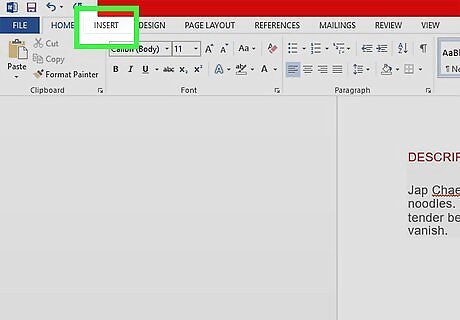
Click the Insert tab. It's at the top of the screen between "Home" and "Draw" (or "Home and "Design" in some versions).
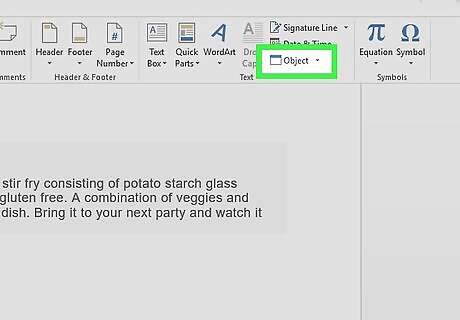
Click the Object button. It's in the "Text" panel of the Insert tab, which is toward the top-right corner of Word. This opens the "Object" dialog window. If you only want to merge plain text into this document (no images, special fonts, for formatting), you can click the arrow next to "Object" instead, select Text from File, and skip to step 7.

Click the Create from File tab. It's the second tab in the Object window.

Click the Browse button. This opens your computer's file browser.

Select the document you want to insert.
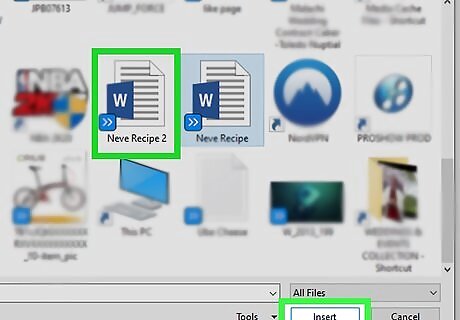
Click the Insert button. This closes the file browser and adds the file to the "File name" field.
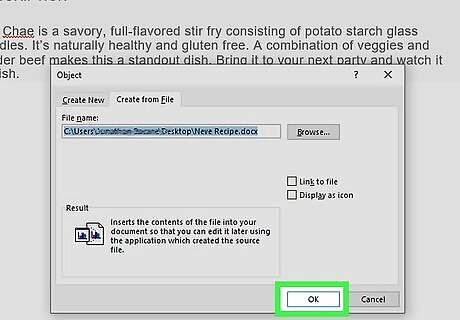
Click the OK button to insert the document. The contents of the selected document should now appear where you set the cursor. Word documents and most RTF documents will retain their original formatting when merged. Results will vary for other types of files. Repeat these steps for each document you want to merge.
Merging Two Versions of a Single Document

Open one of the documents you want to merge. The easiest way to do this is to double-click the document so it opens in Word. You can also open Word first, click the File menu in Word, click Open, and select the document. A Word document will have multiple versions if you've enabled Track Changes on the Review tab.
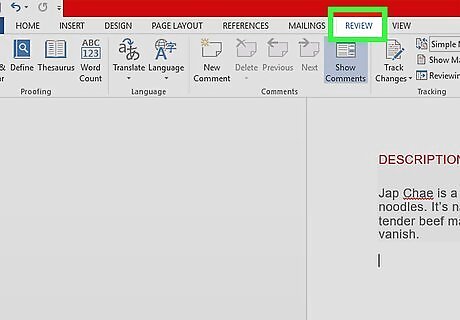
Click the Review tab. It's at the top of Word between "Mailings" and "View." If you don't have a Review tab, click the Tools tab.

Click Compare. It's in the toolbar toward the top-right side. Two options will expand.

Click on Combine…. It's the second option. A window will appear in which you can choose your documents.

Select the "Original document" from the labeled drop-down menu. This is the document that was originally sent for review (before you made modifications).
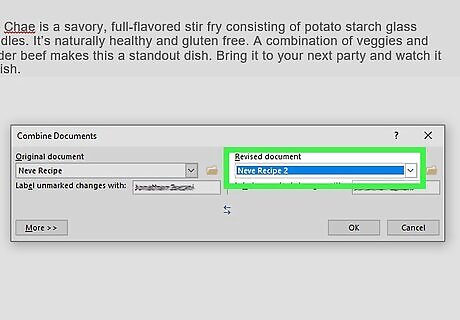
Select the "Revised document" from the labeled drop-down menu. This is the one you've edited. If you want to mark the parts of the document that have been changed since revision, type a label into the "Label unmarked changes with" box. Usually you'll want to use the name of the person who suggested the edits.
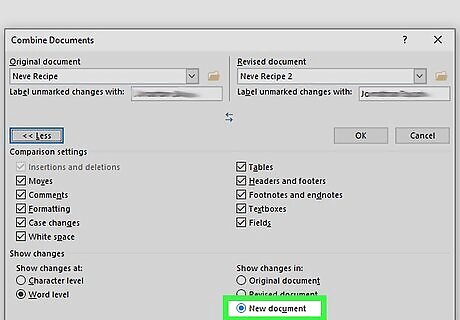
Select New document under "Show changes in." This tells Word to create a new document from the two you're merging.

Click OK. The two versions will be combined into a new Word document and it'll show up in a new three-panel Word window. The document in the center is the merged document, the left panel shows the revisions, and the right shows the two documents compared to one another. If there's too much information on the screen to read the new document, go to Compare > Show Source Documents > Hide Source Documents. This minimizes the right panel and marks revisions with a vertical red line in the new merged document.


Comments
0 comment