views
Choosing Your Menu Options
Choose your restaurant’s concept. To begin with, determine what kind of cuisine you’d like to offer. Then think about who your clientele will be, and consider what price range you’d like to fall in. Finally, take the location of your restaurant into consideration. Use this information to come up with a simple, concise concept for your restaurant. Take inspiration from the restaurants and businesses around you to develop a sense of what works in this area.
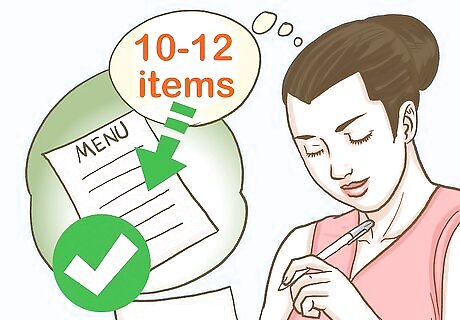
Decide what your menu items will be. Make a list of the 10-12 menu items you know you can do best. This should form the basis of your menu. Select items that fit with your restaurant concept. If you are a new restaurant, avoid including more than 10-12 items at first. If you’re restaurant is open all day, you may want to have a morning menu (breakfast/lunch) and an evening menu (lunch/dinner). Don’t forget about beverages!
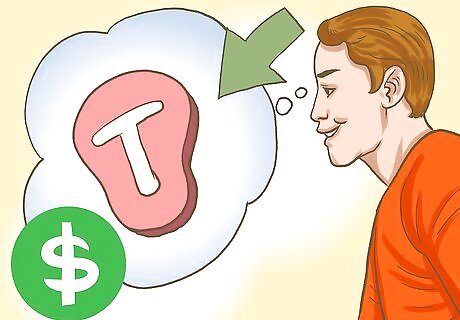
Add a few high-end or speciality items. Choose 2-3 items that are a little more expensive. Try for items that fit within yout restaurant concept, but that are not offered at other places nearby. Some ideas include: A premium cut of steak Roasted goose An exotic fish Dishes that a little harder to make, such as Spanish paella Specialty entrées for two
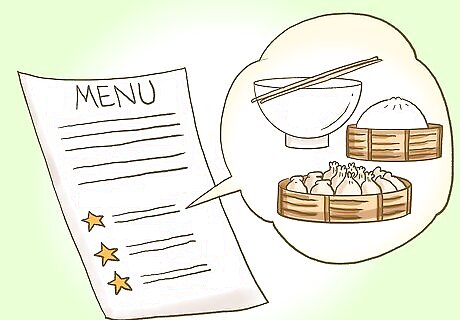
Offer some “house favorites.” Select 2-3 items that you know you make well, and you believe will be good seller. These should be items at mid-level price point. Label these items with a star or other symbol that indicate they are a “best seller” or “chef’s choice.”
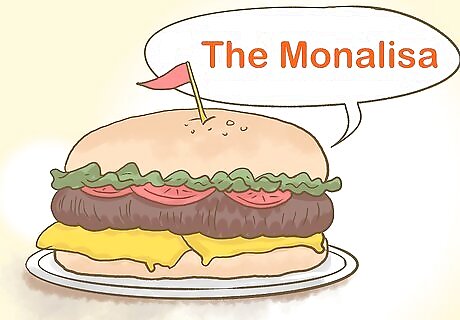
Create names for the items on your menu. Each food item on the menu will need to be called something. Marketing research has shown that customers tend to gravitate toward creative names. Rather than calling your hamburger simply “hamburger,” why not name a speciality burger “The Mona Lisa” or “The Couch Potato”? Make sure your menu names fit with the concept of your restaurant. For instance, an upscale bistro might not want comedic food names.
Write down all your menu items in a spreadsheet. Sit down and list every single item that will appear on your menu. This is important to do even if you are working from an existing menu. It will help you to best organize and categorize all of your items. This works best if you use an Excel Spreadsheet or Google sheet. If you don’t have access to any kind of spreadsheet, you can do this on a sheet of paper.

Order your menu in a logical way. Determine about 3 major sections of your menu. If each section has more than 10 items, divide each section into 1-2 subsections. Then come up with a logical way to order your menu items. The most common way is chronologically, meaning that breakfast items come first and desserts come last. Place all of this info into your spreadsheet. Section or subsection ideas include: Breakfast Appetizers Lunch Main courses Soup and salad Pasta Vegetarian Specialty Beverages and/or cocktails
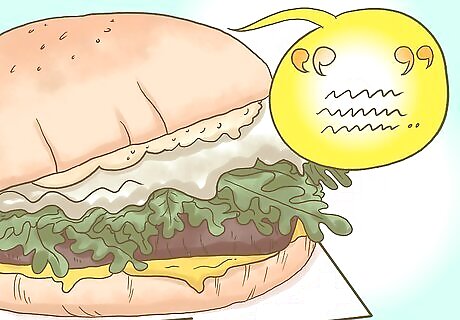
Describe each dish in about 10 words. The food items themselves should have descriptive titles. For instance, “burger” doesn’t sound like much, but “Juicy Burger with Arugula and Horseradish Aioli” will get your reader's’ attention. After that, include a brief description of all the ingredients in the dish. You might say: “Quarter-pound all-beef patty with arugula, creamy aioli, grilled mushrooms, ripe tomatoes, and pepper jack or Swiss cheese on a brioche bun.” Make a note if any of the following apply: The dish is hotter/spicier than most of the other dishes on the menu. The dish contains any ingredients to which some people are severely allergic (e.g. peanuts). The dish caters to a group with special dietary needs (vegan, vegetarian, gluten-free, etc.)
Pricing Your Menu

Calculate your gross margins and markup percentages. Think about what you’d like to charge for each item. Then figure out the unit cost of each menu item by adding together the cost of ingredients plus overhead costs. Subtract the unit cost of each item from your potential menu price. Divide your gross margin amount by your unit cost to get your markup percentage. Let’s say the unit cost for fried chicken is $10, and you plan to charge $16 for it. Subtract $10 from $16 to get $6. Divide your gross margin amount ($6) by your unit cost ($10) to get your markup percentage (60%).
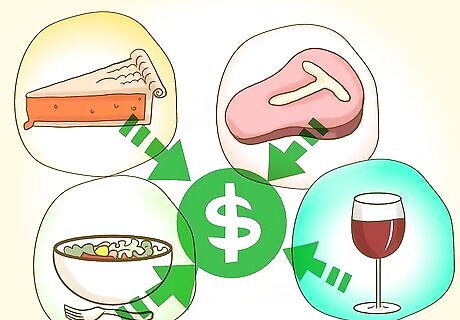
Adjust menu prices to maximize your profits. Before you finalize menu prices, keep in mind the markup percentages of these items, and what margins you should be making. Make sure your dishes are priced correctly and, if they're not, consider redoing the ingredients list or changing the recipe so you're more prepared to make a profit. In general: Here are some guidelines: Appetizers and desserts will have low unit costs, and high markup percentages. Steak and other expensive meats will only have about a 50% markup percentage. Pasta dishes and salads can have 80-85% markup percentages. Alcohol prices will vary widely. Try to keep your markup percentages between 50 and 70%.

Consider the average income of folks in your area. Keep your average price around what locals will be able to pay for a meal. To figure out what most guests are willing to pay, take a look at the prices on your competitors' menus. What do their least and most expensive items costs? What is the average price of their menu items? For instance, do you think your customers can afford to buy a $30 entree, or would they stick to a $15-20 range?

End prices on whole dollar amounts and avoid using monetary symbols. Certain design elements can encourage customers to spend a little more. Avoid ending prices on $0.99, and avoid adding dollar signs to your menu.
Creating a Rough Draft

Browse menu templates to get ideas. There are many online templates (for free or for purchase), as well as entire websites dedicated to creating restaurant menus. Even if you have a good sense of what you want, looking through different templates can inspire you or focus your design goals. Choose 1-2 templates that you really like. If you have access to Microsoft word, Powerpoint, or any Adobe Suite programs, there are many menu templates in these formats available online. Websites like Canva and Must Have Menus offer some free templates, and others for a fee. Programs like iMenu offer drag-and-drop menu templates, but programs like this are not usually free.

Choose a color scheme that matches the style of the restaurant. For a fancy restaurant, dark colors will convey a sense of seriousness and professionalism. At a casual restaurant, warm, muted colors will look appropriately inviting. At a restaurant with a young clientele or a zanier theme, bright colors will usually make the most sense. Unless you’re not happy with the interior design or plan on changing it, making the menus match (or at least complement) the restaurant itself is probably the safest bet.
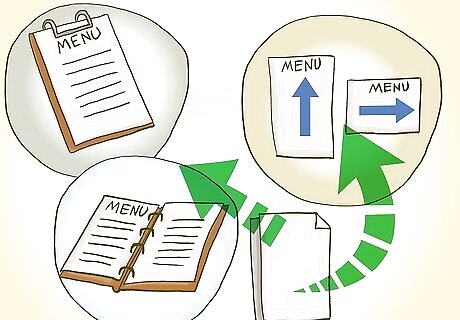
Select a presentation style that fits with your restaurant’s concept. Your menu could be horizontal or vertical. It could be housed on a wooden clipboard, placed into a binder, presented as a placemat, or any number of other options. A family diner might use a menu placemat. A brunch spot might use little wooden clipboards to present menus. An upscale bistro might have folding menus encased in clear binders.
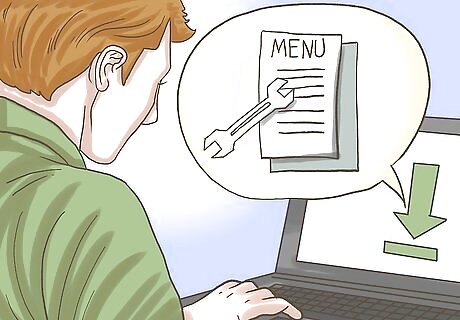
Use a menu template for an easier menu design. Once you have the look you want, look for a menu template online and plug all of your information in as-needed. Opt for a simple design of possible, and try 2 templates before sticking with one. Some other common things to keep in mind as you choose your template: Keep your fonts simple. Don’t use more than 3 fonts on the menu. Check to see if any of the pages seems lopsided. Try to provide the same amount of information on each page. You can find menu templates on Microsoft Word, Google Docs, or online.

Consider hiring a graphic designer. If you have the means, hiring a professional designer can be a good option. A designer will be able to customize your menu and make sure it fits within your restaurant’s overall concept. Post an add on Freelancer.com, Linkedin, Craigslist, or another site. Include as many specifics about the project as you can. Depending on the specifics of your design a professional designer should cost anywhere from $300 to $500.
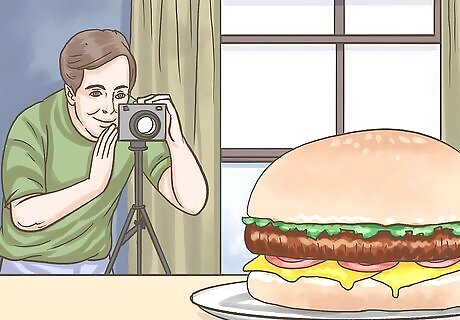
Take pictures of the food yourself to create an appetizing menu. Shoot in natural light on an overcast day, and in front of a neutral background. Choose brightly colored food items and think about how you arrange your food. Try to create a balance picture. If possible, use a nice camera. Also, if possible, use photo editing software to enhance your images. If you want to hire a food photographer instead, post an add on Freelancer.com or Craigslist, and expect to pay between $10 and $50 per image.
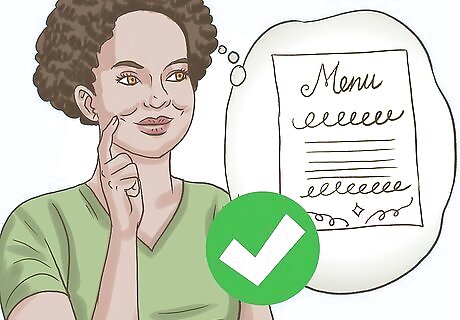
Forego food images to keep your menu simple. If you're struggling to get appetizing pictures, or don't think your menu will have enough space to fit in images, skip the images altogether. Remember: not every menu needs images to shine!
Choosing Your Final Layout
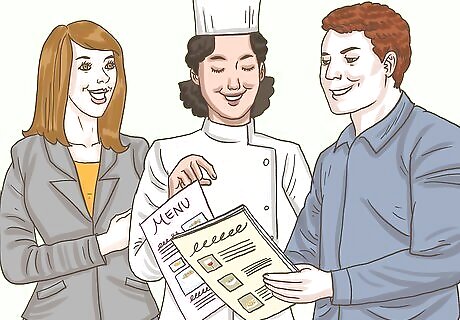
Look over the rough design and ask for people’s opinions. Evaluate the menu draft and see if you like it. Ask for feedback from 2-3 people, including at least 1 person outside of your industry. Make sure that everyone involved (the restaurant owner, manager, chef, and so on) takes a look at the design and content. You could ask: "Is the menu easy to read?" "Do you like the color scheme?" "Does the design fit with the restaurant concept?" "Does the design seem too busy?" "Do you like the font(s)?" "Are there any mistakes or typos?"

Determine how many menus you need based on the number of seats. Think about how many seats you have in your restaurant. Take this number and add 10-25%. This is the number of menus you will need. Go for a lower percentage if your menus will be durable and easy to clean. Go for a higher percentage if your restaurant serves messy food, serves a lot of children, or is made from less/durable more difficult to clean material. If you will be using disposable menus (e.g., placemats) determine the number of customers you plan to have each day and multiply that by the length of time you want this round of menus to last. You will reorder menus as needed.

Proofread the menu before printing. Go through the entire menu with a fine-tooth comb, as errors in the menu send a poor message about the quality of the establishment. You could also hire a professional editor, just in case you missed anything.
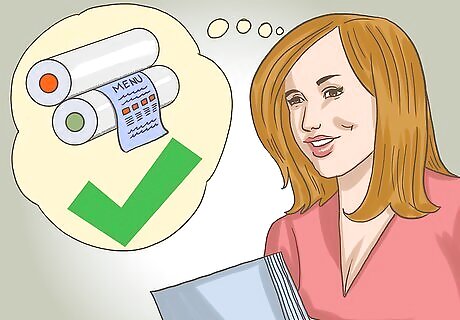
Print the menu with a high-quality printer. Send your finished menu to a professional to be printed. Avoid printing menus on a home printer unless you have a professional-quality laser printer. The cost of professional printing is small compared to the impact of well printed pages. You can send your menu to a chain, like Staples, or a local printing service. Or you can order prints of your menu online. Print a few menus and make sure they are perfect before you place a large order.

Bind or package your menus. If you will be presenting your menu by way of a binder, clipboard, or other item, order enough of these to accommodate your menus. Place 1 menu in each holder. If your menu is going to be professionally bound, see if this can be done at the time of printing to save yourself time and money.




Comments
0 comment