views
To learn how to unlock the cells, read the article How to Open a Password Protected Excel File.
- In all versions of Excel, highlight and right click your cells. Then, select "Format Cells" > "Protection." Check "Locked" and save.
- In Excel 2007 and 2010, go to "Review" > "Changes/Protect Sheet" > "Protect worksheet and contents of locked cells." Type a password click through the prompts to save.
- In Excel 2003, go to "Tools" > "Protection" > "Protect Sheet." Check "Protect worksheet and contents of locked cells." Enter a password and follow the prompts to save.
Locking and Protecting Cells in Excel 2007 and Excel 2010
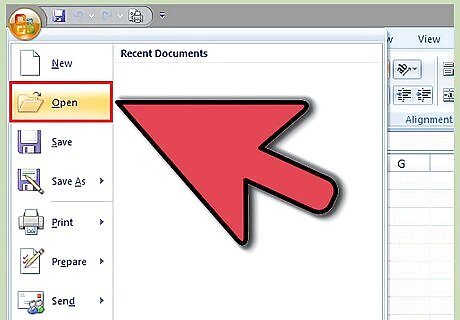
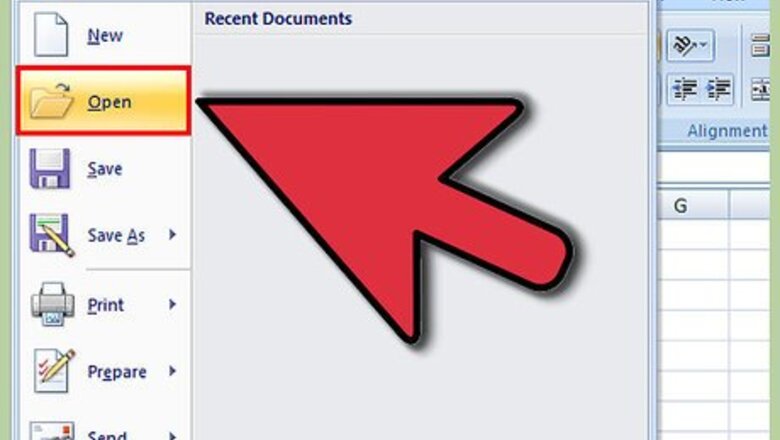
Open the Excel spreadsheet that contains the cells you want locked.
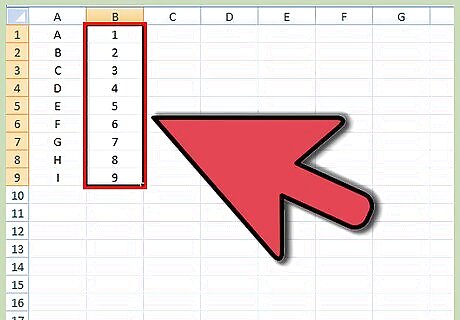
Select the cell or cells you want locked.
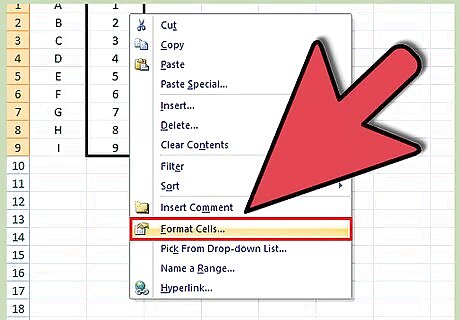
Right-click on the cells, and select "Format Cells."
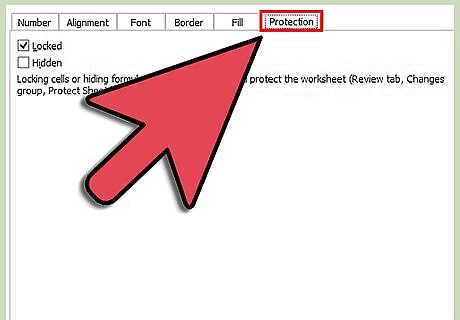
Click on the tab labeled "Protection."
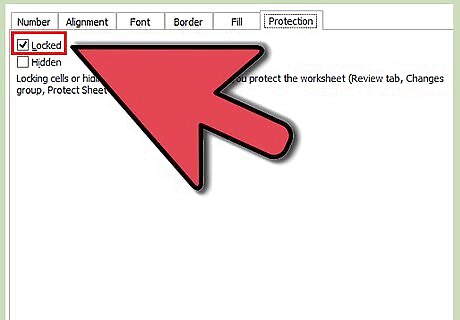
Place a checkmark in the box next to the option labeled "Locked."
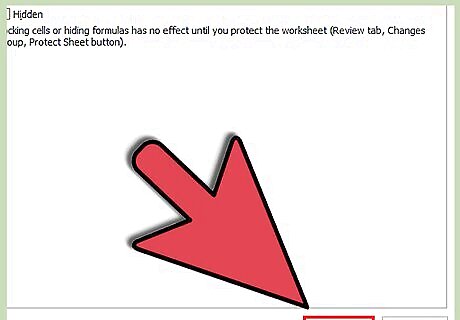
Click "OK."
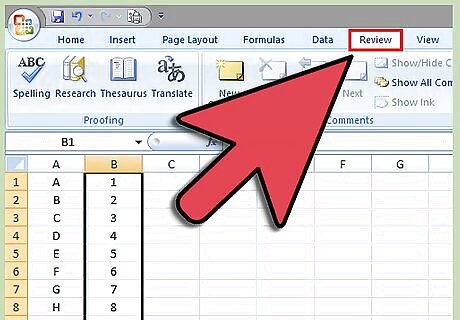
Click on the tab labeled "Review" at the top of your Excel spreadsheet.
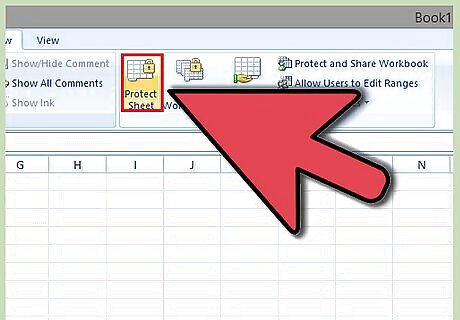
Click on the button labeled "Protect Sheet" from within the "Changes" group.
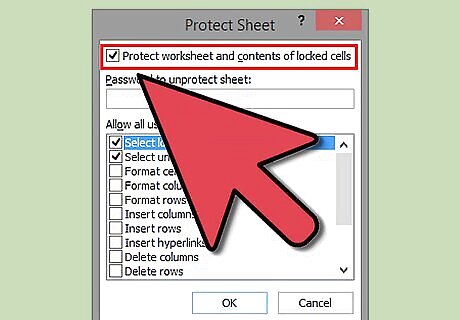
Place a checkmark next to "Protect worksheet and contents of locked cells."
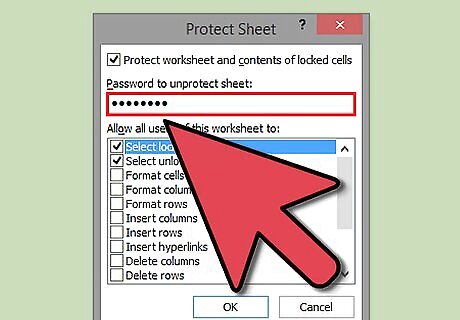
Enter a password in the text box labeled "Password to unprotect sheet."
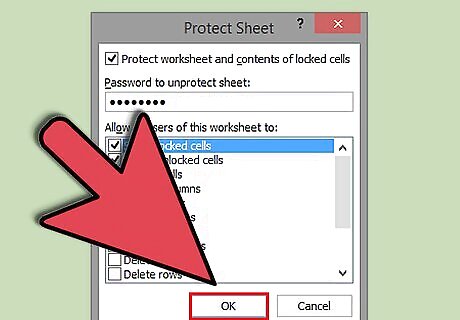
Click on "OK."
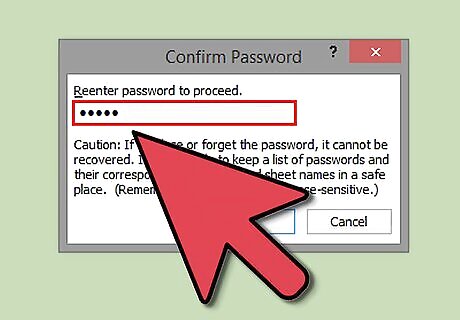
Retype your password into the text box labeled "Reenter password to proceed."
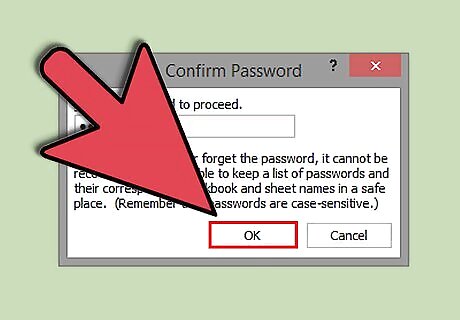
Click "OK." The cells you selected will now be locked and protected, and can only be unlocked by selecting the cells once again, and entering the password you selected.
Locking and Protecting Cells: Excel 2003
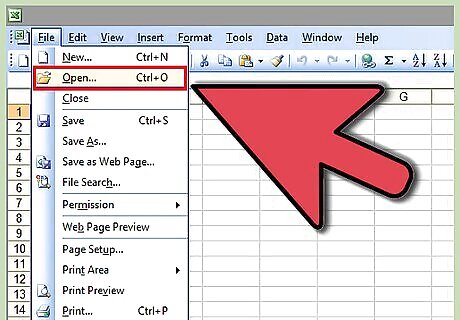
Open the Excel document that contains the cell or cells you want to lock.
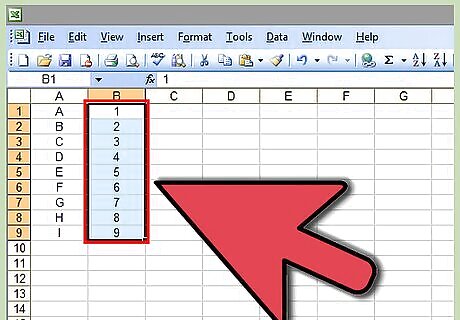
Select one or all of the cells you want locked.
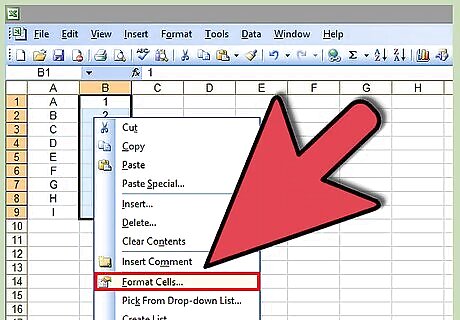
Right-click on your cell selections, and select "Format Cells" from the drop-down menu.
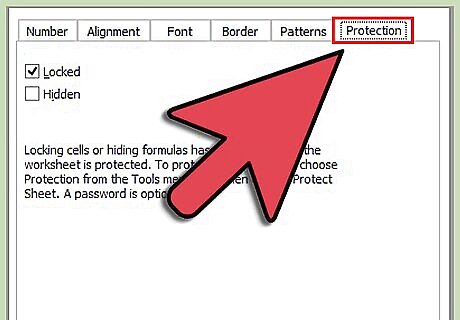
Click on the "Protection" tab.
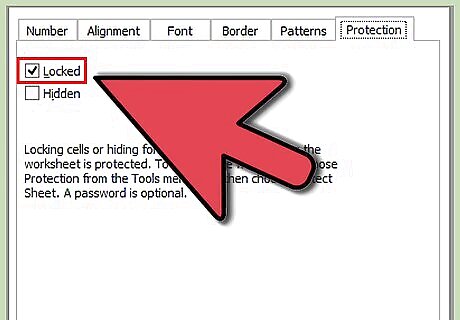
Place a checkmark next to the field labeled "Locked."
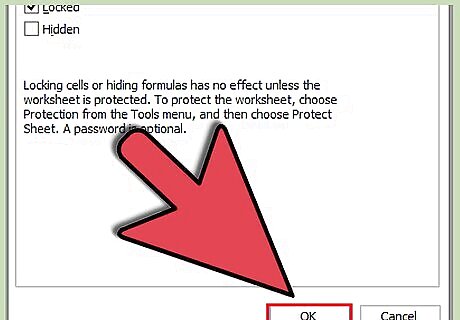
Click the "OK" button.
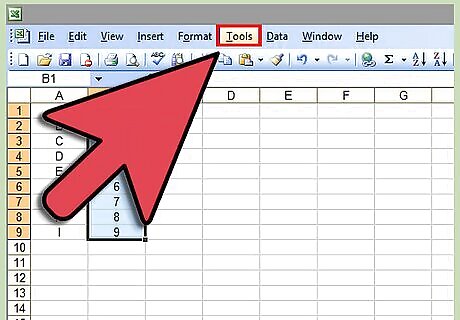
Click on the "Tools" menu at the top of your Excel document.
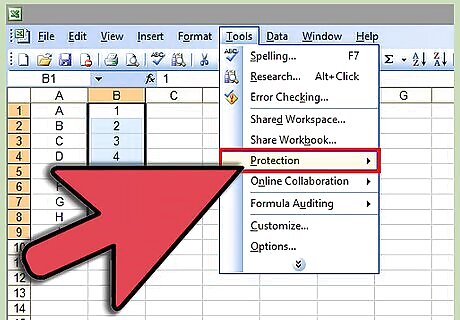
Select "Protection" from the list of options.
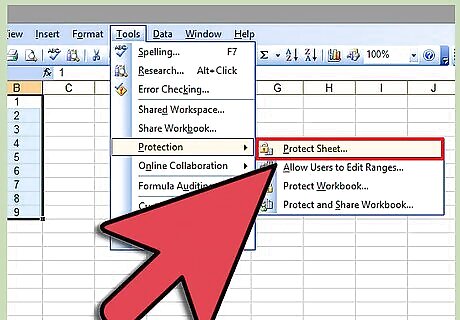
Click on "Protect Sheet."
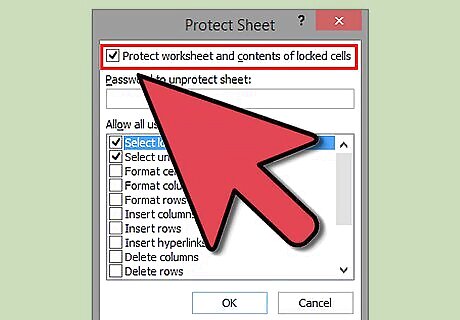
Place a checkmark next to the option labeled "Protect worksheet and contents of locked cells."
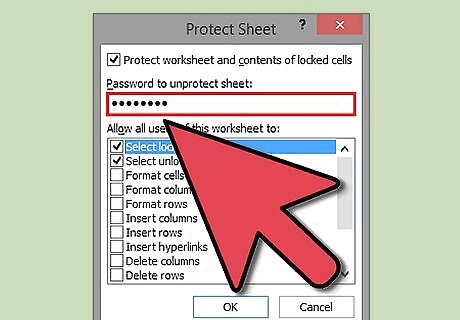
Type a password at the prompt for "Password to unprotect sheet," then click "OK."
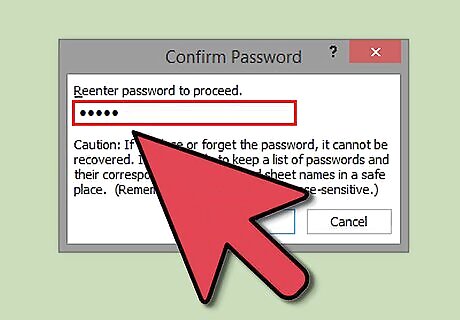
Reenter your password at the prompt for "Reenter password to proceed."
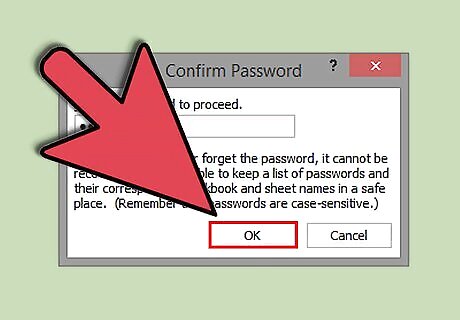
Select "OK." All the cells you selected will now be locked and protected, and can only be unlocked going forward by selecting the locked cells, and entering the password you initially set up.





Comments
0 comment