views
- Newer versions of Android will need to download an APK file to install Hacker's Keyboard.
- Open Hacker's Keyboard, tap ENABLE KEYBOARD, then table the toggle switch to make it your default keyboard.
- Tap INPUT LANGUAGE and select your language.
Downloading Hacker's Keyboard
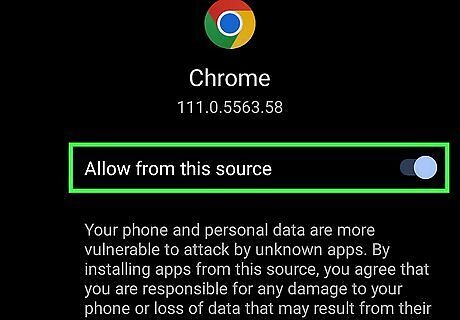
Enable downloads from unknown sources. Most newer Android models will not be able to download Hacker's Keyboard from the Play Store, so you will need to download and install the APK file. To download an APK file for Hacker's Keyboard, you will need to allow your web browser to download from unknown sources. Swipe down from the top of the screen to display the Quick Access menu. Tap the gear icon to open the Settings menu. Tap Apps. Tap your web browser. Tap Special Access apps (stock Android only). Tap Install Unknown apps. Tap the toggle switch to "Allow Permission" or "Allow from this source."
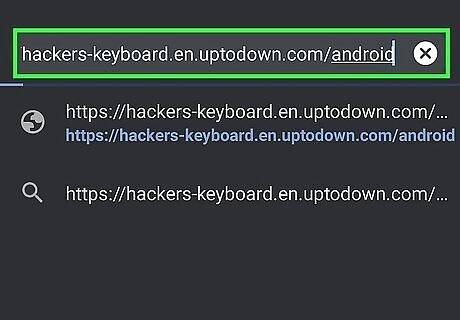
Go to https://hackers-keyboard.en.uptodown.com/android. Make sure you use whichever web browser you set to download unknown apps.

Tap Get the latest version. It's the blue button that's a little ways down the page.

Tap Download. It's the green button on the page. If you receive a warning that says the file may be harmful, tap Download anyway.
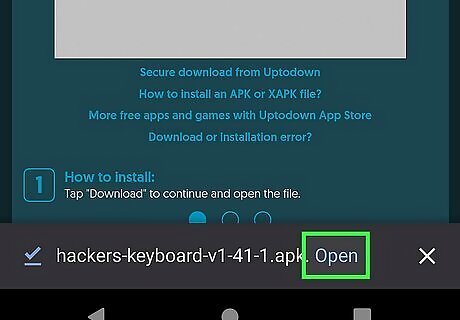
Tap Open. When the APK file is finished downloading, tap Open to open the File. Your APK files can be found in the Downloads or Installation Files folder inside your Files or My Files app.

Tap Install. This will install Hacker's keyboard.
Setting Up Hacker’s Keyboard
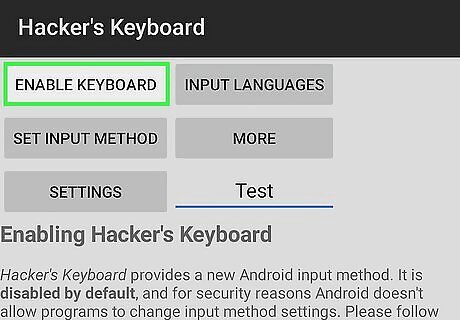
Open Hacker’s Keyboard and tap ENABLE KEYBOARD. This opens your keyboard settings in the Settings menu.
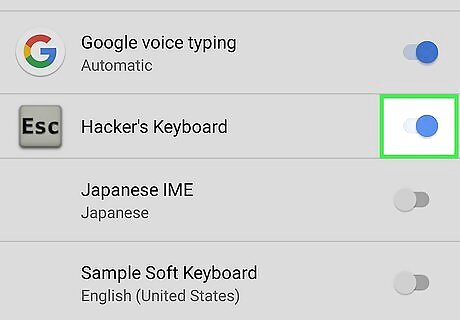
Enable Hacker’s Keyboard. Tap the toggle button by the Hacker’s Keyboard option, and tap OK in the pop-up that appears. This will enable Hacker’s Keyboard. The pop-up warning is only a precaution by Google, saying that the keyboard may collect data from your input, but the app is well regarded.
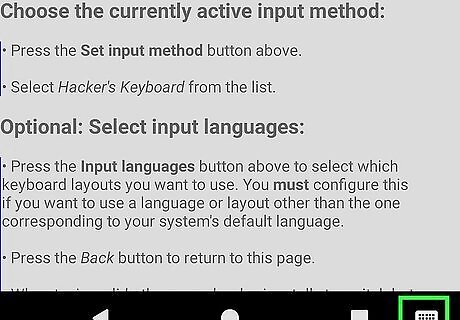
Tap Default keyboard. It's at the top of the page.
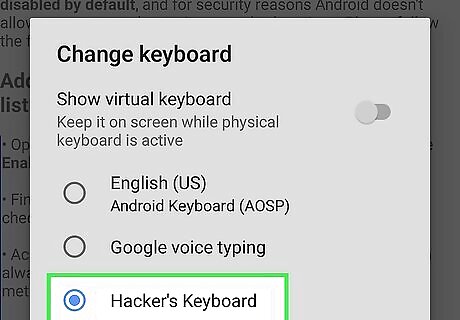
Tap Hacker's Keyboard. This will make Hacker's Keyboard your default keyboard. Now that Hacker's Keyboard is the default, tap the back arrow to return to its menu.

Set your language. Tap INPUT LANGUAGES, scroll through the available languages, and tap the one you want the keyboard to use. You can select multiple languages by tapping more than one. Tap the back arrow when you're finished.

Tap SET INPUT METHOD. It's below the "ENABLE KEYBOARD" button.

Tap the radio options next to "Hacker’s Keyboard." Hacker's Keyboard is now ready to use.
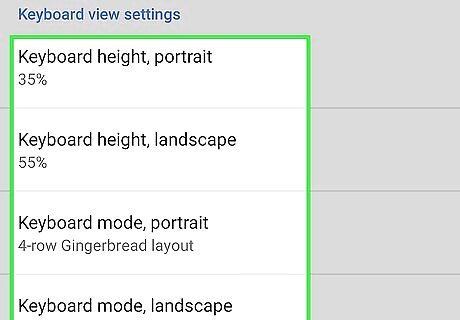
Select a screen layout. Look under the Keyboard View settings header. Here, you can set the keyboard to portrait or landscape mode by tapping the option and using the slider to adjust the percentage.
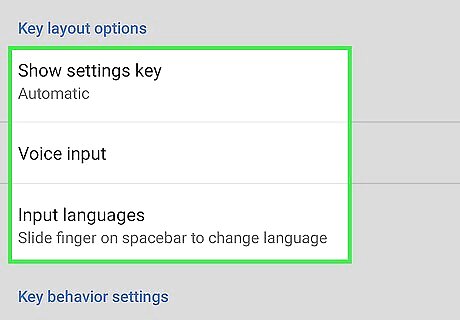
Select a row layout. Under each screen layout option, portrait and landscape, you can choose to have the 4-row or 5-row layout. The latter will have more buttons for advanced input, as well as arrow keys, Ctrl, Alt, and FN keys, to name a few. The 4-row layout is best for portrait mode, and the 5-row layout is more efficient when used in landscape.
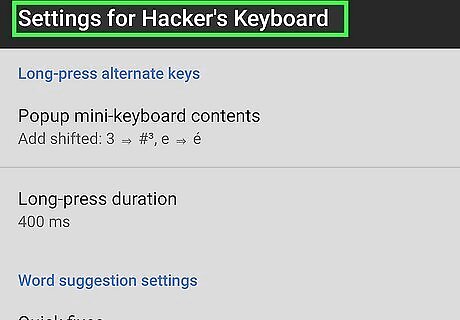
Tinker with other settings. In the Settings menu for Hacker’s Keyboard, you can find various configuration options, all of which are plain to understand and try out. Tinker with the settings to get the best experience with the keyboard. It is a rewarding experience, especially when you frequently type on a terminal emulator or need input that you can only do on a full PC keyboard. If you want to use Hacker's Keyboard to enter cheat codes in Grand Theft Auto: San Andreas or GTA Vice City, tap the checkbox next to Use permanent notification. This will place a notification you can tap to bring the keyboard up at any time during the game. However, it does not work on all newer Android versions.
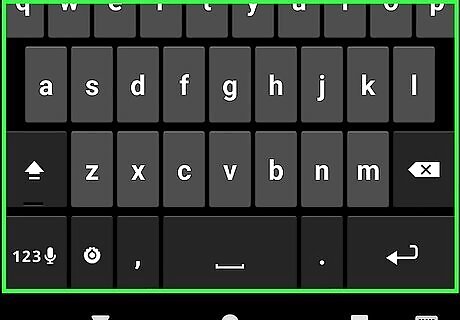
Test it out. Open an app with a text field to try Hacker’s Keyboard out. Your previous keyboard will be replaced with a plain Android keyboard. The difference is that It will be almost like a desktop keyboard! You can use the arrow keys when on the 5-row layout to move the text cursor, as well as the Esc key when using PC emulators on your Android device.


Comments
0 comment