
Measuring and Marking the Location

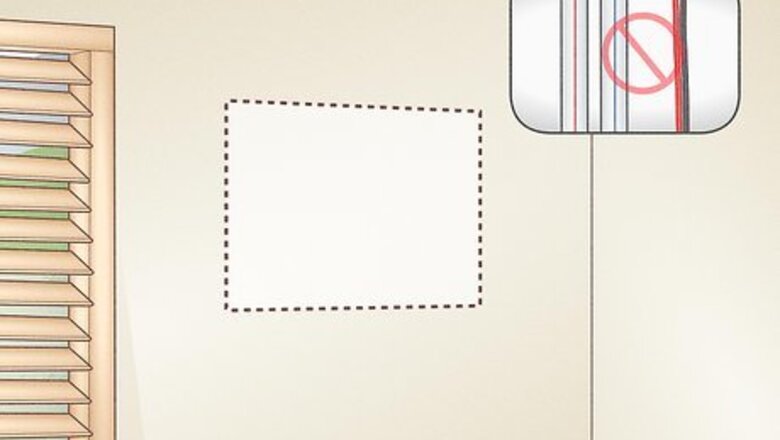
Choose a wall that borders the outside of your home and has no pipes or wires. Wall sleeves are generally about 15 in (38 cm) tall, 26 in (66 cm) wide, and 16 in (41 cm) deep. Select an exterior wall that doesn’t have any plumbing or electrical wiring, and choose a spot near an electrical outlet you can plug the unit into. A wall sleeve is the casing that supports your air conditioner as it slides into the wall. The wall you choose should border the outside of your home–it shouldn’t be an interior wall between 2 indoor rooms. Many experts suggest mounting your AC around 1 to 5 ft (0.30 to 1.52 m) off the floor. If you aren’t sure, consider speaking with an installation professional about placement.

Mark the wall studs with a stud finder. Arrange the device so it’s completely flush with the wall, and then power it up. Gently glide the stud finder in a slow, straight horizontal line until the device makes a noise or flashes. Then, slowly move the stud finder in the opposite direction to confirm the stud’s exact location. Sketch an “X” to mark the stud, and continue searching and marking until you’ve found all the wall studs in your AC’s proposed spot. There’s about 16 in (41 cm) of space between wall studs in most modern homes. If your house is on the older side, the wall studs may actually be 24 in (61 cm) apart.
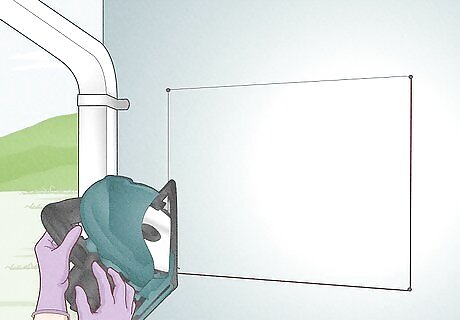
Sketch the rectangular outline for your AC’s wall sleeve. Inspect the box or packaging that your wall AC and jot down the dimensions of the unit. Then, grab a ruler or tape measure and mark those exact dimensions onto the wall. Try to keep your lines as straight and even as possible. If you can’t find any dimensions, measure the sleeve itself with a ruler or tape measure.

Draw a larger outline around your first rectangular sketch. Measure out and sketch this second rectangle so it’s about 2.5 in (6.4 cm) bigger than your original outline. This second, larger outline gives you enough clearance to install a supportive frame around your AC sleeve.

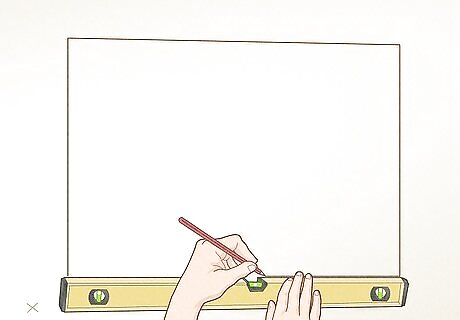
Measure the top line of your biggest rectangular outline with a level. Hold the level flush against this upper line and see if it’s completely straight. If the line is slightly off-kilter, re-draw it on your wall, using the level as a reference.
Creating the Wall Opening

Shut off the power to the room you’ll be working in. While you shouldn’t be cutting through any wires or cables to install your AC, you still don’t want to risk getting a nasty shock during your renovations. To be safe, turn off the corresponding switches on your home circuit breaker before getting started.

Slide on work gloves, a dust mask, and safety glasses before you get started. As you open up your wall, you’ll have to remove insulation from a select portion of the wall. Insulation is often made with fiberglass, which isn’t safe to handle with your bare hands. Make sure your eyes, nose, mouth, and skin are all protected before you get started. To be extra safe, slip on a pair of long pants and a long-sleeved shirt so you don’t get any fiberglass on your arms or legs.

Cut out the outlined section of the wall and any insulation with a utility knife. Carefully saw through the largest rectangular outline on your wall. Pull out the rectangle of drywall, and then cut out any visible insulation from the opening. You can also lightly slice around the edge of the outline with a drywall knife and knock out the bulk of the rectangle with a hammer. Feel free to sand the edges of the wall if you want to smooth them out.
Remove any wall studs within the opening with a reciprocating handsaw. Slice along the top and bottom of the studs and remove the part that intersects with your opening. Wall studs resemble vertical planks running through your walls.
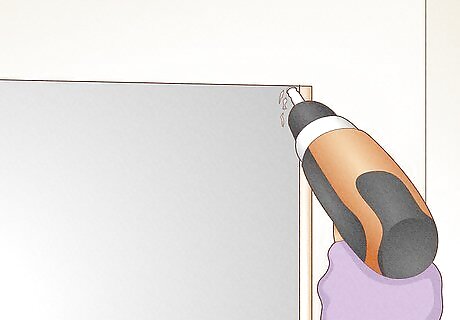
Drill a hole through each corner of the inner wall opening. Nestle your drill bit in each corner and drill all the way through the rest of the wall. Repeat this process with all 4 corners; when you’re finished, you should see 4 distinct dots on the outside of your home. When put together, these 4 dots create the rectangular outline of your wall opening. Home improvement experts don’t recommend a specific drill bit size for this project–just make sure that your bit is large enough to create noticeable holes through your exterior wall.
Cut out the exterior portion of the wall using a circular saw. Draw 4 lines around the drilled holes that exactly match the dimensions of your interior wall opening. Then, carefully slice through the outlined siding with a circular saw. If your home’s exterior is made of stucco, it may help to carve a ⁄4 in (0.64 cm) thick outline around your sketch first (using a circular saw). Then, you may have to manually chisel the stucco so you can access and cut away the chicken wire underneath.
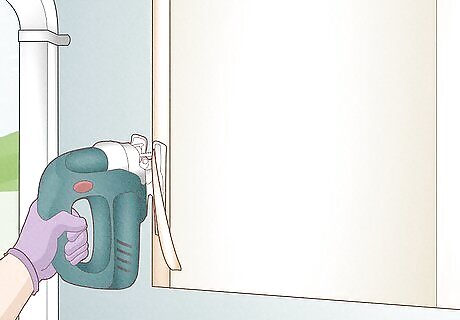
Adjust the outer opening with an electric handsaw so it matches the inner opening. Even with careful measurements, your exterior opening might not be the exact same size as the interior opening. Make small adjustments with a handheld electric saw until both openings are totally even.
Installing the Wall Sleeve and AC
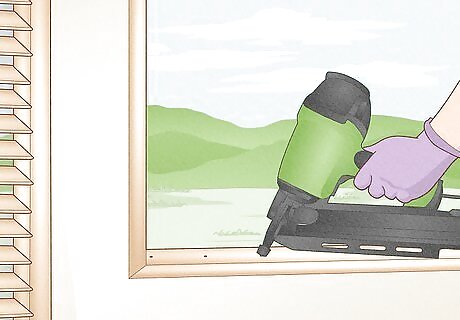
Build a frame to hold your sleeve and AC in place. Measure both the length and height of your wall opening. Then, cut out two 2 by 4 in (5.1 by 10.2 cm) planks that match this length measurement, and another 2 that match the height. Position these 4 planks inside of the wall opening and nail them into place. If you’re having trouble nailing the frame together, use corner brackets or wood glue instead.
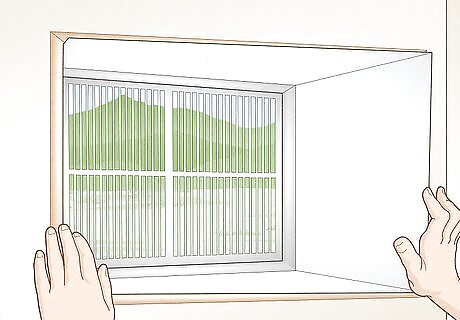
Insert the sleeve into your wall. If you have a disassembled sleeve, put it together by connecting all 4 sides and following the directions on the packaging. Slide the sleeve into the opening so the edges are flush against the inside of your wall. The wall sleeve comes with your AC unit.
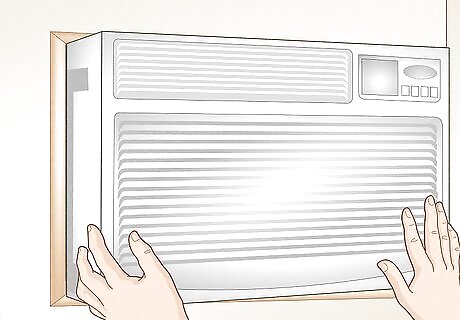
Slide the air conditioner into the sleeve. Lift the air conditioner and place the end into the wall sleeve. Push on the front of the unit to slide it into the sleeve. If it’s a tight fit, wiggle the unit as you push to help slide it into place. Some air conditioning units may come with a frame-like border that goes around the front of the device.
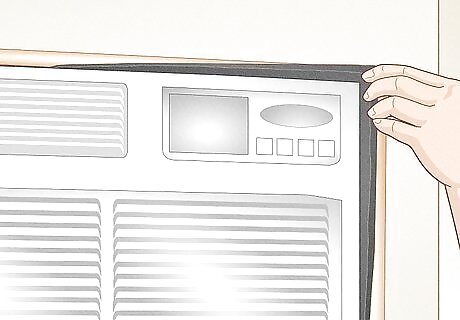
Stuff foam insulation strips into the gap around the unit. If there’s a gap between your air conditioning unit and the sleeve, it can affect how well your unit functions. Take strips of foam insulation and stuff them into the space to help seal it. You can find strips of foam at your local hardware or home improvement store. This is a good time to make any repairs and fixes to your interior drywall, too.

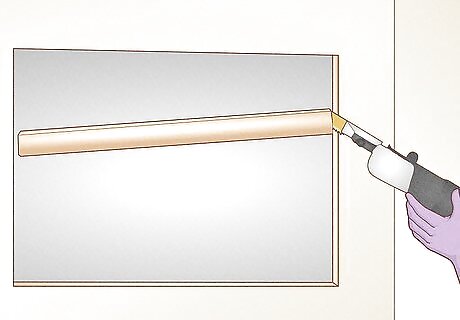
Caulk around the outside portion of the sleeve to seal it in place. Squeeze a line of silicone-based caulk along the edges and in any holes or gaps and allow it to fully dry to create a tight seal. Check the package of the caulk for specific drying times and wait until the caulk has fully dried and hardened before you install your air conditioning unit. At this point, you can turn the power back on.


Comments
0 comment