

Note: For Inkscape 0.47 users, Steps 3 and 4 can be skipped.
Determine what you want the end result to look like.
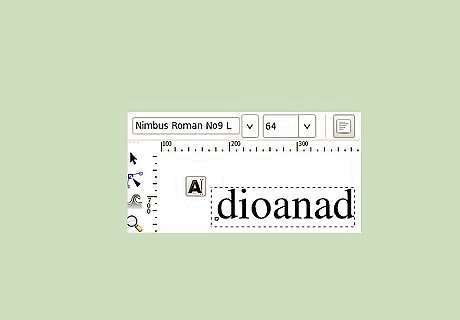
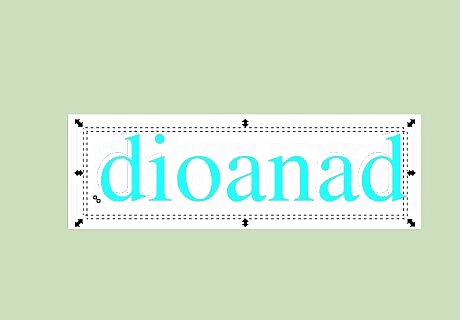
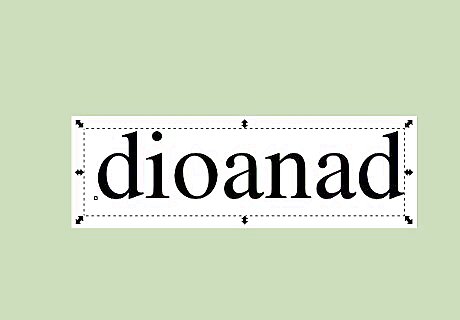
Use the Text Tool to write the desired text for your logo using a nice font. We use Times New Roman, for example. This object will be used many times across this tutorial to make bevels, so we will need to keep a copy of it (Use Copy and Paste, or press Ctrl+D).
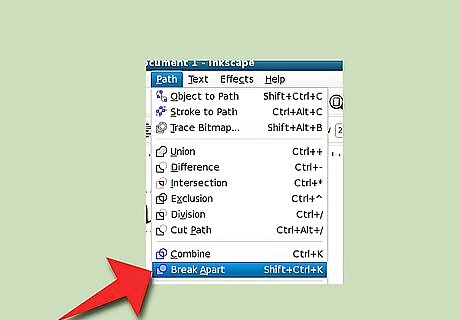
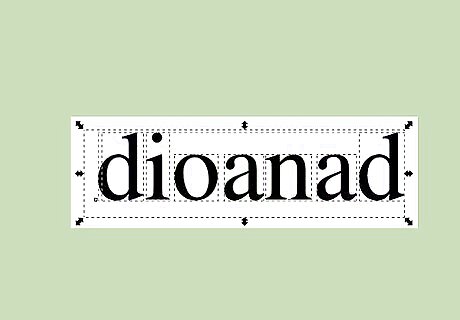
Select the text by clicking on the black cursor icon in the left hand corner of your screen, convert it to path (Ctrl+Shift+C), and then break apart (Ctrl+Shift+K). Here is the result after breaking apart the path. It was zoomed in to get better accuracy in the next steps.Create 3D Text With Inkscape Step 3Bullet1.jpg

For the letters with holes in them, select the interior and the exterior and apply Difference (Ctrl+-).

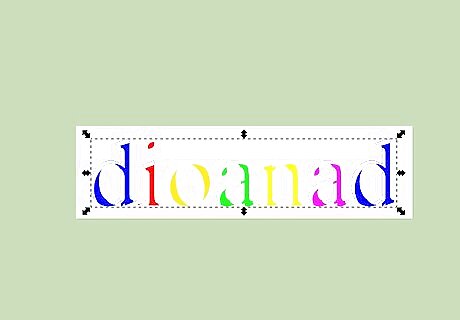
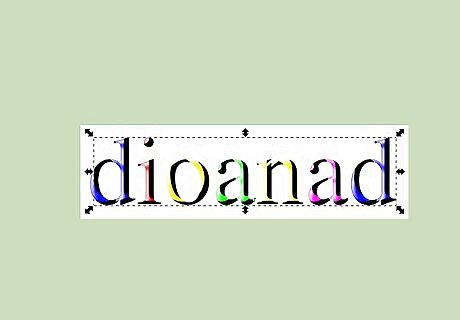
For the letters formed of multiple parts, select all pieces and apply Union (Ctrl++). The result looks the same as the initial text, but each letter is a different object.Create 3D Text With Inkscape Step 5Bullet1.jpg
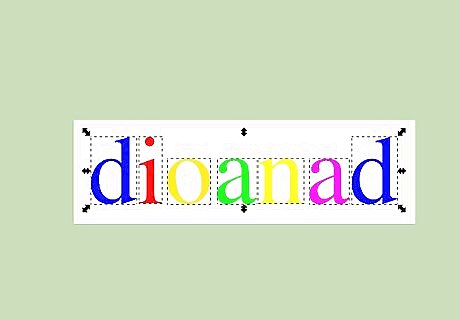
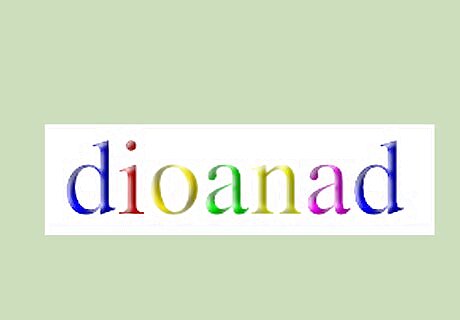
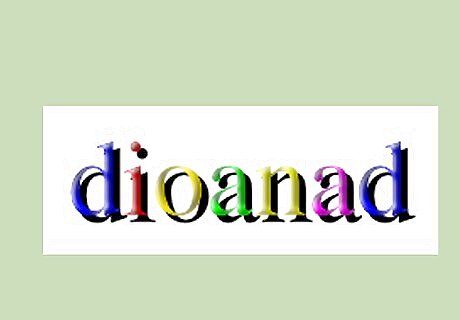
Color the letters in vivid, rainbow color, just like the Google logo.
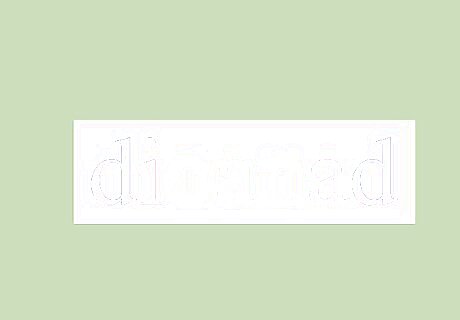
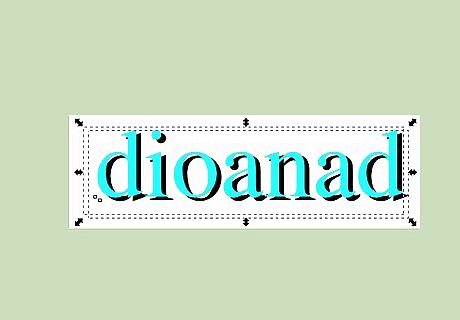
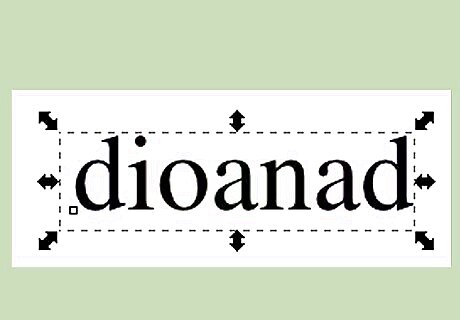
Bring a copy of the initial text and color it white.
Duplicate the text (Ctrl+D), move it a little down, and then move it to the right. (Try using a different color for the duplicate just to make the operation clearer.)
Select the two copies and apply Difference (Ctrl+-).
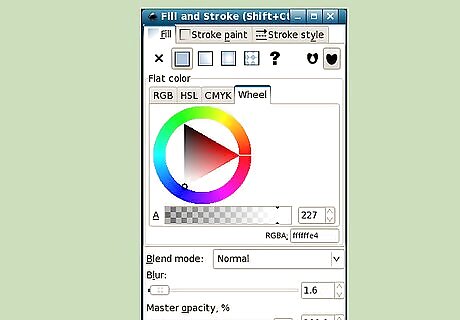
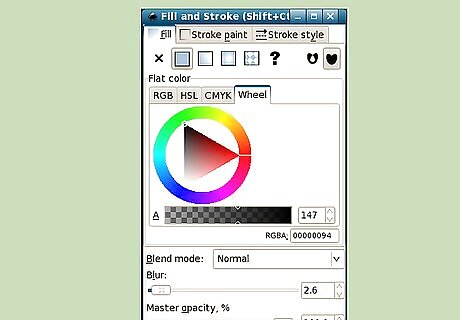
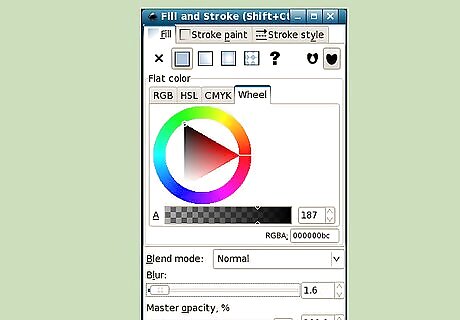
Apply Blur to the result and reduce its opacity. This can be found in the Fill and Stroke dialog (Ctrl+Shift+F), and then dragging the Blur and Opacity slider. Here is the highlighted area.Create 3D Text With Inkscape Step 10Bullet1.jpg
Bring again a copy of the initial text and make it black.
Duplicate the text, move it a little up, and then move it to the left.
Select the two copies and apply Difference.
Apply Blur and reduce the opacity. And here is the dark area.Create 3D Text With Inkscape Step 14Bullet1.jpg
The text is a bit blurry, so a clip or mask operation is needed. Bring yet another copy of the initial text and select all (the text, colored letters, lights, and shadows).
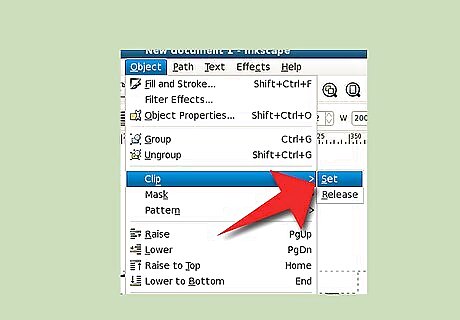
Apply Cut (Ctrl+X). And here is our 3D text.Create 3D Text With Inkscape Step 16Bullet1.jpg
Now zoom it back to the original size and enjoy the result.
For the last time, bring a copy of the initial text, and then color it black.
Move it down and to the right and lower it under the rest of the logo.
Apply Blur and reduce the opacity. And this is the final form.Create 3D Text With Inkscape Step 20Bullet1.jpg

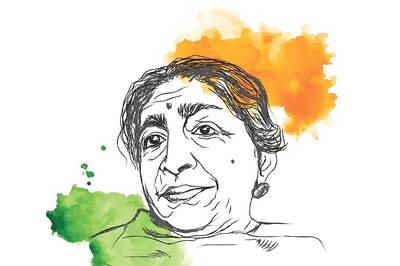
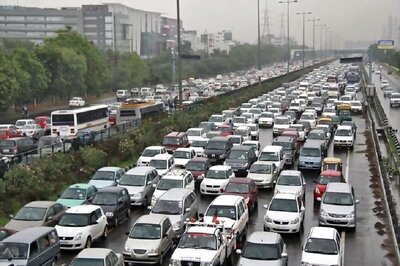
If needed, add other elements of the logo. Such elements include clip art or images.


Comments
0 comment