views
Using QuickTime
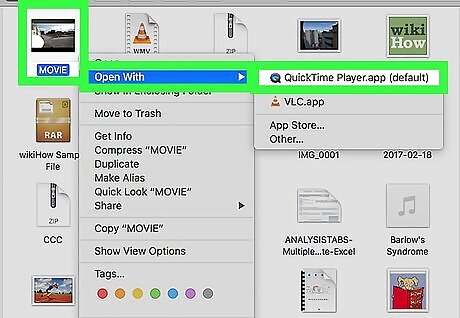
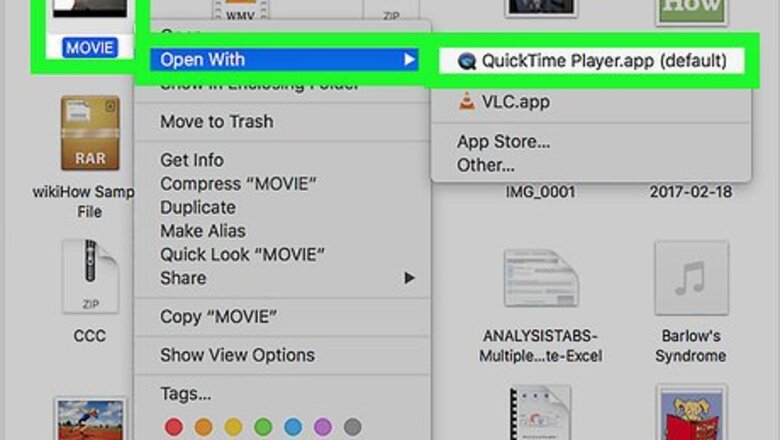
Open a video in QuickTime. To do so: Select the video. Click File Select Open With Click QuickTime Player
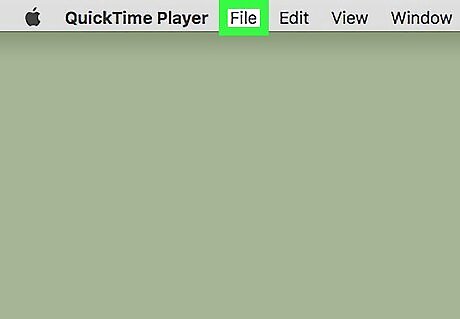
Click File. It's a menu item in the upper-left corner of the Mac's screen. A drop-down menu will appear.
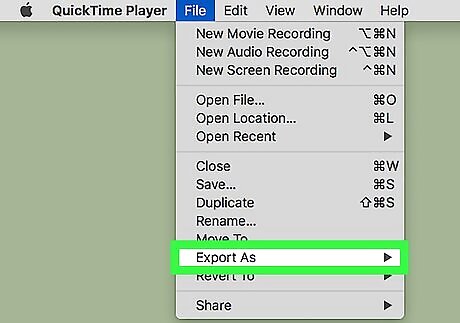
Select Export. This option is near the bottom of the File drop-down menu. Selecting it prompts a pop-out menu.
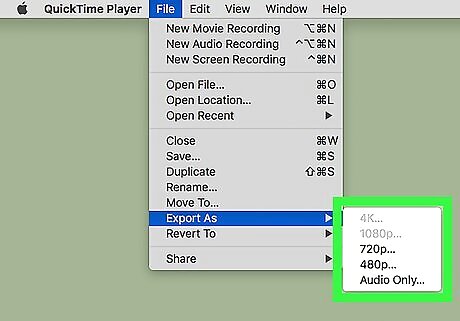
Select a quality. Click a video quality equal to or lower than your video's current quality. This will open the Save window.
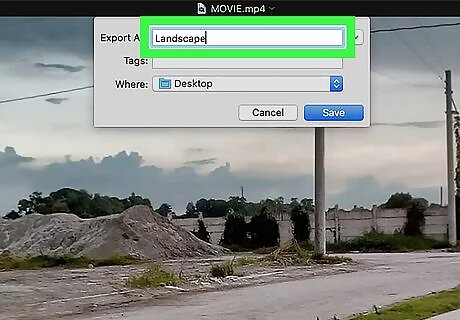
Enter a new name for the video. You'll do this in the text box near the top of the window.
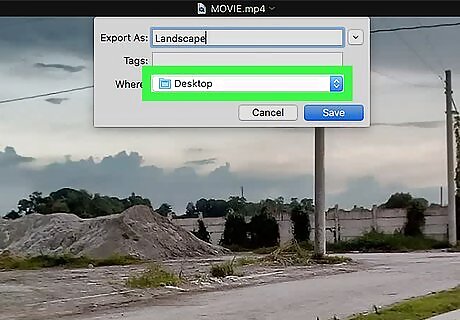
Select a save location. Click the "Where" drop-down box, then click a location (e.g., Desktop) in which you want to save your video.
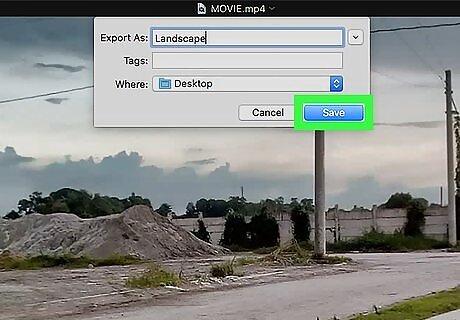
Click Save. It's in the bottom-right corner of the window. Your video will begin compressing.
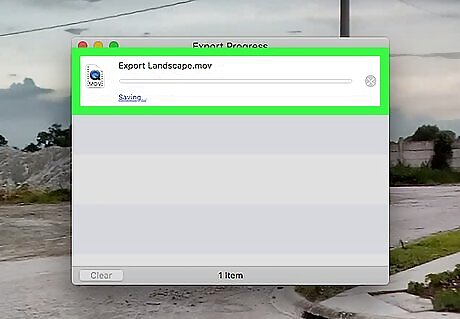
Wait for your video to finish compressing. Once the video finishes compressing, the "Export" window will close. At this point, you'll be able to go to the video's save location and watch it from there.
Using Handbrake
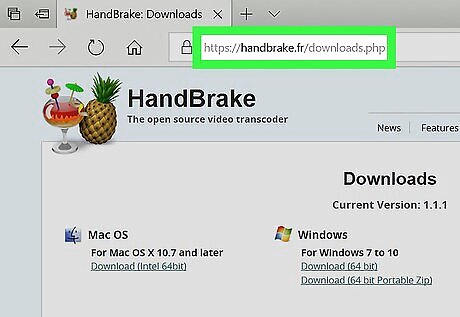
Download and install Handbrake. Go to https://handbrake.fr/downloads.php in your web browser and click the Download link below your computer's operating system, then install Handbrake by doing the following: Windows - Double-click the Handbrake setup file, then follow the on-screen installation instructions. Mac - Double-click the Handbrake DMG file, verify the download if necessary, drag the Handbrake icon onto the Applications folder shortcut, and follow any on-screen instructions.

Open Handbrake. Its app icon resembles a pineapple next to a drink. The Handbrake window will open.
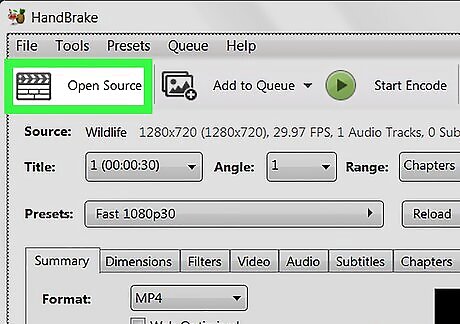
Click Open Source. It's in the upper-left corner of the Handbrake window. If this is your first time opening Handbrake, you may not need to click Open Source in order for the sources window to open.
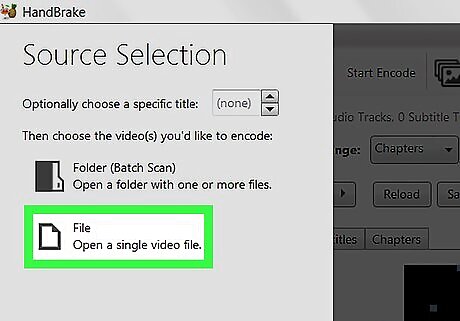
Click File. It's the folder-shaped icon in the Sources window.
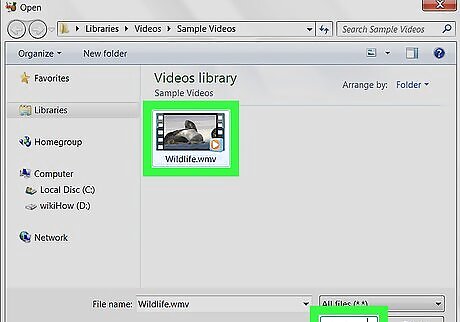
Select a video. Go to the location of the video that you want to compress, click the video, and click Open. This will open the video in Handbrake.
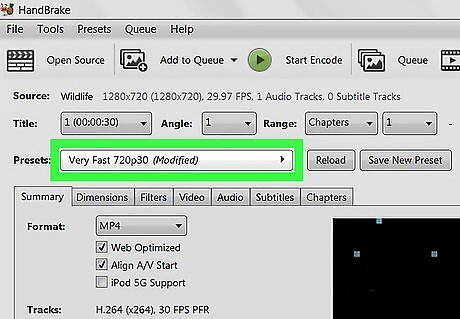
Select a quality preset. On the far-right side of the Handbrake window, click one of the quality and framerate presets (e.g., Very Fast 720p30) that matches your video. Make sure that you select a preset that falls at or below your video's current quality. For example, if your video's current quality is 1080p, you'd click a 1080p option or lower; if the video is 720p, you'd click a 720p option or lower. The Fast and Very Fast options are best for compression.
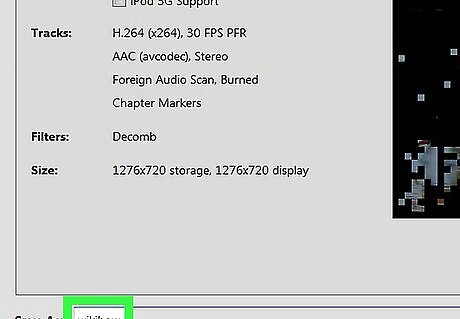
Enter a file name. Replace the file name in the middle of the Handbrake page with a new file name (e.g., [video name] compressed). You can also select a new save location by clicking Browse, selecting a folder, entering a new file name if necessary, and clicking Save.
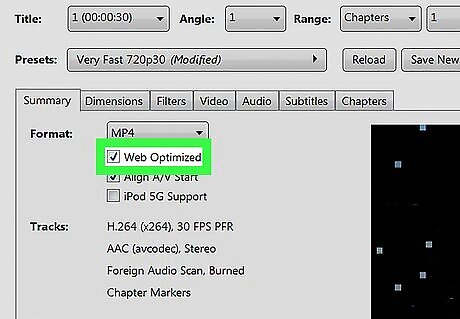
Check the "Web Optimized" box. This box is in the middle of the Handbrake page. Doing so ensures that the video will be compressed using web standards.
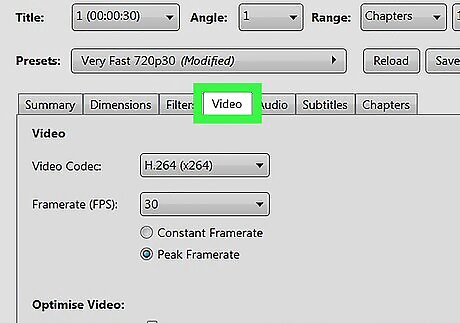
Click the Video tab. It's near the bottom of the Handbrake window.
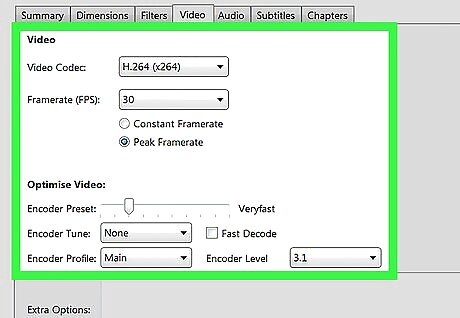
Make sure that the settings here are correct. You should see the following settings below the Video tab; if the settings do not match, you can change them by clicking a setting's value and then selecting the correct option in the drop-down menu: Video Codec - This should be "H.264 (x264)". Framerate (FPS) - This should be "30". Peak Framerate or Peak - This box should be checked. Encoder Level or Level - This should be "4.0".
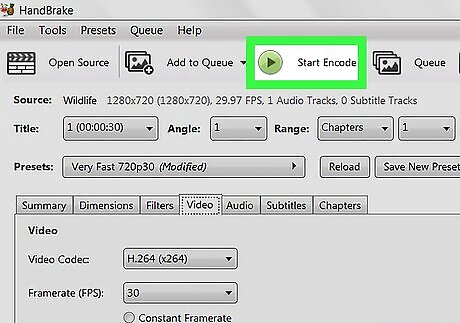
Click Start Encoding. It's a green "Play" button at the top of the Handbrake window. Your video will begin compressing. On a Mac, you'll click Start here instead.
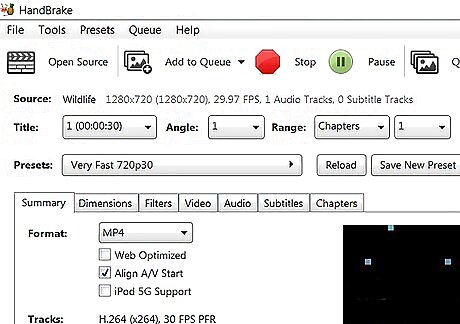
Wait for your video to finish compressing. This can take a long time, especially if your video is over 200 megabytes in size. Once your video finishes compressing, you'll be able to play it from its save location.




Comments
0 comment