views
Removing Soft Tissue

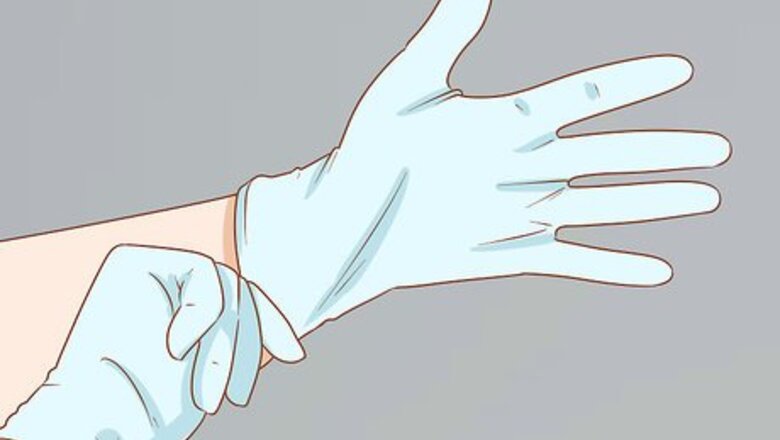
Wear gloves when handling the bones during each step of the process. From finding the bones, to clearing them of soft tissue, to cleaning them, always wear rubber gloves. You’ll be working with animal matter and tissue and will come into contact with some pretty nasty stuff. Depending on the stage of decomposition of the bones, you may also want to wear a respiratory mask.

Let the body naturally decay above ground if you live in the country. If you find a corpse that you want to use, let it sit above ground for at least 2-3 months. If you can, put up a wire-perimeter around it to keep other animals from scavenging it. Check the corpse once per month to see how the decomposition is progressing. Once most of the skin and meat is gone, you can simmer the bones to get the rest of the natural matter to fall away. Depending on the time of year, it could take upwards of 6 months for a corpse to decompose, which is why it’s a good idea to check it once a month.
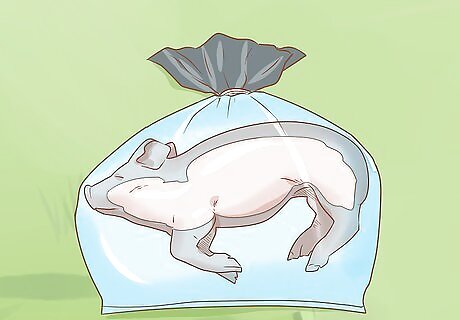
Leave the body in water for several months to let it naturally macerate. This process helps the decomposition process move along a little more quickly than just letting the corpse sit above ground. Put the corpse into a plastic container or garbage bag and cover it with cold water. Set it somewhere out of the way and check it monthly to see how the decomposition is getting along. Soaking bones that have already mostly decomposed is also a great way to soften connective tissue and tendons to make them easier to cut through. Remember to always wear gloves when touching or checking the corpse! This process is going to smell really, really bad for several months. If you live in a city or an apartment building, this may not be the best option.
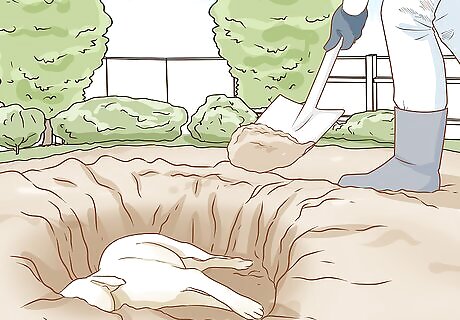
Bury the bones or body if you have months available to wait. This is a slightly less smelly option, but it can make the decomposition process take a bit longer. Let the corpse sit above-ground for a day before you bury it—this way flies can access it and lay eggs which will then turn into maggots which will eat the flesh after the corpse has been buried. After you bury the corpse, leave it alone for 3 months before you check it. If you’re burying an entire corpse, consider wrapping the animal in wire mesh to help keep all the bones together in one place.
Use biological washing powder to remove small amounts of soft tissue. This is a great way to clean bones that you find out in nature that are already mostly clear of soft tissue. Buy biological washing powder from your grocery store (you can usually find it in the laundry aisle). Put your bones in a plastic container, cover them with warm water, and then add in a small scoop of the biological powder. Leave the bones alone for 3-4 days, and then rinse them off thoroughly. Biological washing powder has little enzymes in it that break down soft tissues, like fat, skin, and ligaments. You can use this method to clean off any residual tissue no matter what condition the corpse was in when you first found it.

Simmer the bones in water to quickly clear off soft tissue. This is another smelly option, but it gets the job done faster than most other methods. Put your bones into a large pot and cover them with water. Bring the water to a simmer (not a boil!) and leave the bones alone until the flesh falls away, which usually takes 12-24 hours. Be careful to not burn yourself—use tongs to remove the bones from the hot water. Dump the water outdoors rather than down your sink.
Disinfecting the Bones

Buy 20% concentration or higher hydrogen peroxide in bulk. Ask your local pharmacist if they carry 20% hydrogen peroxide, and if not, if they could order it for you. Depending on how large the bones are or how often you do this, you may need a lot of peroxide, so buy it in bulk to save money. Most hydrogen peroxide that you find at drugstores comes in small bottles and is usually only 2% concentration. If you aren’t able to get the 20% hydrogen peroxide, you could also buy hair developer which is usually 40%. You can get it online or check with your beauty supply store to see if they carry it.
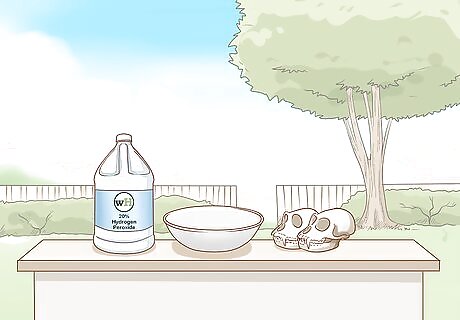
Work in a well-ventilated, outdoor space if you can. Cleaning bones can take anywhere from several weeks to several months, and it can be a really stinky process because you’re dealing with decomposing matter. Avoid setting up your workstation indoors and opt for an outdoor space, preferably somewhere downwind of your windows and doors (and neighbors). If you live in a colder climate or depending on the time of year, you may need to work in a garage or shed to keep your materials from freezing.
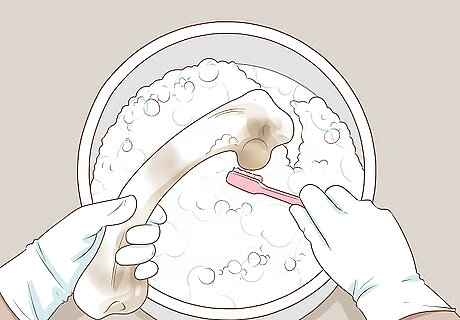
Scrub the bones with sudsy water after the soft tissue is gone. It may seem like overkill, but pre-cleaning the bones will help them get whiter and brighter in the end. Use an old toothbrush and warm, sudsy water to scrub the entire bone, removing whatever visible dirt or materials remain. Do this outdoors or overtop of newspapers to control the mess. If you’re cleaning a bone that is large, like the skull of a large animal, use a scrub brush rather than a toothbrush to speed up the process.
Soak the bones in soapy water for at least 12 hours to remove the oils. Fill a plastic container with warm water and add 1 to 2 tablespoons (15 to 30 mL) of dish soap. Stir up the water until it is sudsy, then add your bones to the container. Let them soak for a minimum of 12 hours. Soaking helps the bones release their fatty oils, which could cause them to smell or look funny even after they’ve been fully cleaned. If you have the time, leave the bones in the soapy water for even longer—like 1-2 weeks. You could also change out the soapy water from day to day to help the process move faster.

Submerge the bones in water and hydrogen peroxide for 24 hours. Use a 1:1 ratio of water and peroxide, and use the smallest container you can that will fit your bones to save on peroxide. Add enough liquid to full cover the bones. Place a cover over the container to make the peroxide work faster. The water will start to bubble and steam, which lets you know that the hydrogen is working. If you don’t have a lid, you could lay a piece of wood overtop of the bucket and put a few bricks or rocks on top to keep it firmly in place.
Create a peroxide and baking soda paste to clean really big bones. Sometimes you might come across a bone that just isn’t going to fit into any container you have. When this happens, get a large plastic bowl and put in 1 cup (160 grams) of baking soda. Add just enough hydrogen peroxide to create a thick paste. Wearing your gloves, use your old toothbrush to apply the paste to the entire bone. Let it sit for 24 hours before rinsing it off. You may have to repeat this process twice—once for the top of the bone and once for the bottom section—just depending on its shape and size.
Drying and Storing Cleaned Bones
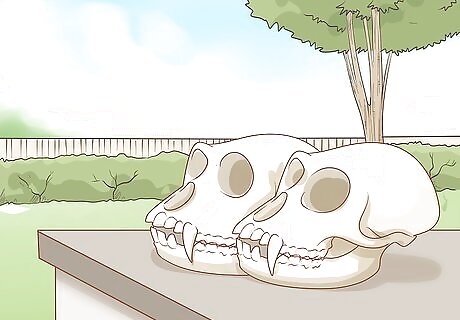
Leave the bones outside to dry for several days. Never put them on a radiator or other heat source because the extreme heat can crack the bones. If your bones still look “dirty” after you take them out of the water and hydrogen peroxide, don’t worry! Once they dry, they should be the right color. If you can’t leave the bones outside due to the weather, set them on newspaper in an out-of-the-way area.
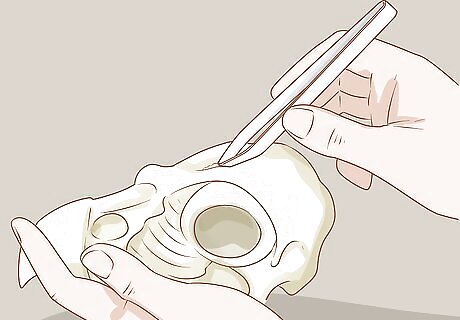
Use tweezers or pipe cleaners to clean out any remaining soft tissue. Sometimes you might notice some soft tissue in tiny crevices, even after all the cleaning you did. When this happens, simply use tweezers or some other small apparatus to remove it. Make sure to dispose of the soft tissue right after you remove it.

Use the bones as decorations, make jewelry from them, or give them as gifts. It might seem strange to give bones as a present, but many people find them interesting. Kids who are interested in science might find a skull or set of bones a really fascinating gift, and adults often hang skulls as part of their home decor. People even sell bones and skulls for a fair amount of money. Small raccoon skulls can sometimes go for as much as $85, depending on their condition





Comments
0 comment