
Changing Your Signature
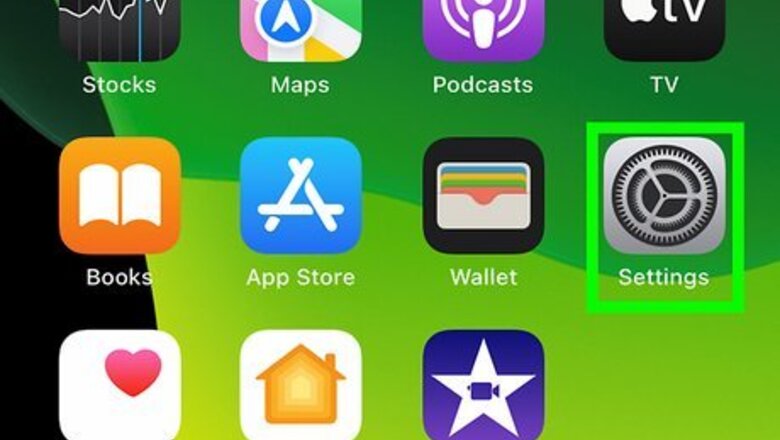
Open the Settings app on your iPad. To do this, tap the gear app icon.

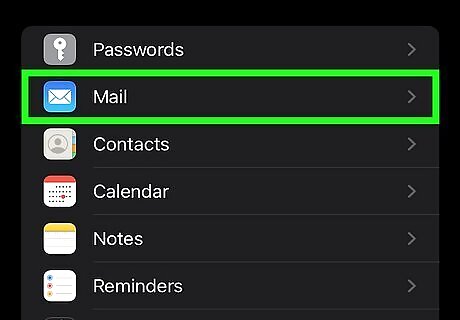
Select Mail. It's next to an icon of an envelope in the fifth grouping of the Settings menu.
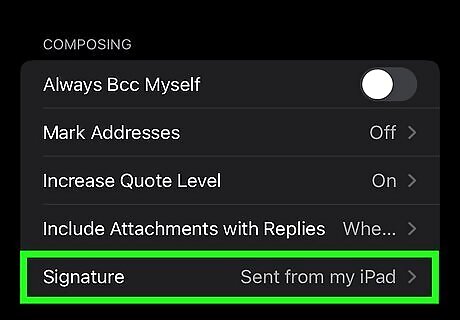
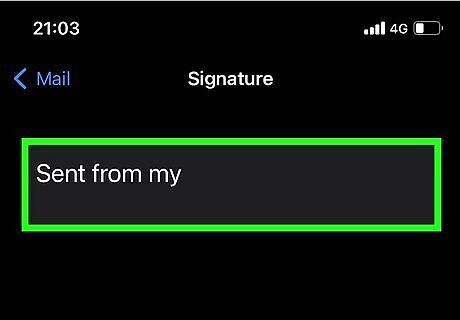
Tap Signature. It's at the bottom of the menu and will display the current signature for your email account.
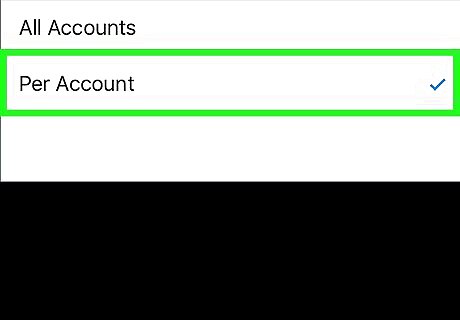
Tap Per Account if you want to set different signatures for each email account. By default, your iPad will set the same signature for all of your connected email accounts. Tapping "Per Account" will reveal the signature fields for every account on your iPad, allowing you to set a different one for each. This option will not appear unless you have more than one account on your iPad.
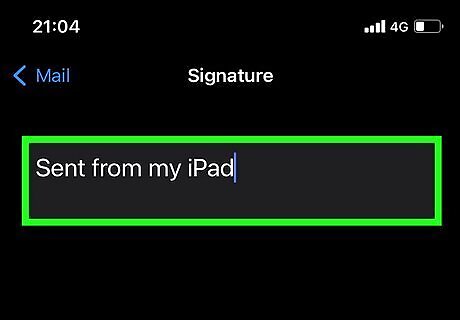
Delete the default signature. The default signature is "Sent from my iPad." You can tap the end of this and use your keyboard to delete it.

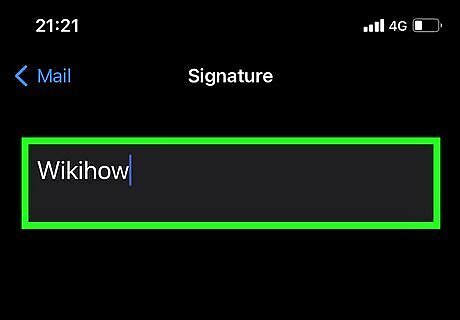
Type the signature you want to use. Try to keep your signature short and to the point, including only the most pertinent information. You can press the "Return" key on the onscreen keyboard to move down to the next line. If you want to create a signature with text formatting and images, see the Creating an HTML Signature section below.
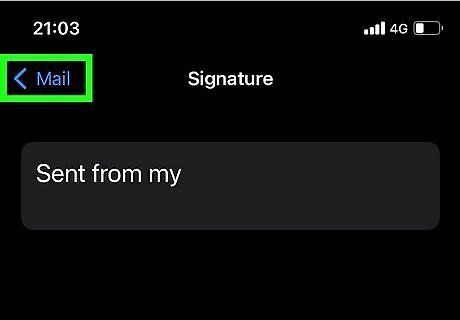
Return to the previous menu to save your changes. Tap the "< Mail" button in the upper-left corner to return to the Mail menu. Your signature will be saved and applied to all future email messages you send from your iPad. To revert your changes, there isn't an easy "one-tap" button. Instead, go back to the "Signatures" field and change the text back to "Sent from my iPad."
Creating an HTML Signature

Log into Gmail on your computer. Create a new account if you don't have one since you'll just be using this email account to create and email the HTML-featured signature to your iPad so that you can add it on your device. You don't have to use Gmail, but the signature editor is quick and powerful. You can use an existing account or you can create an account that you won't use other than just for this purpose. See Create a Gmail Account for instructions.

Click Android 7 Settings and select See all settings. This will open the Gmail Settings window.
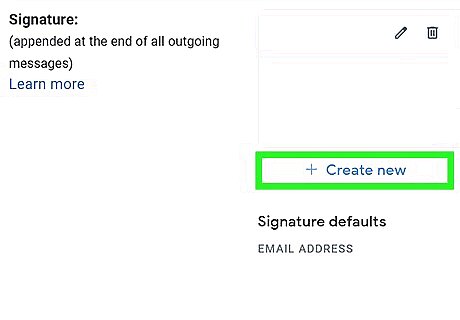
Click Create new next to "Signature." Name this something like "iPad" so you know that it's the signature you're going to send to your iPad.
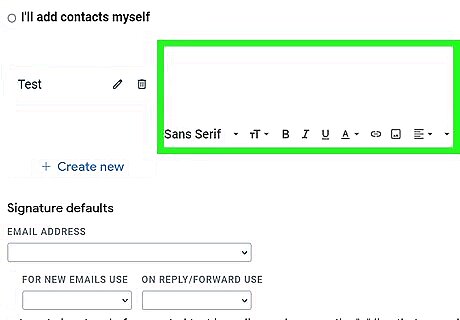
Use the signature editor to create the signature you want. Use the buttons below the text field to change the formatting and insert images and links. You can insert images from your computer, a URL, or from your Google Drive account. Note that any changes to the font will be reverted when you add the signature to your iPad.
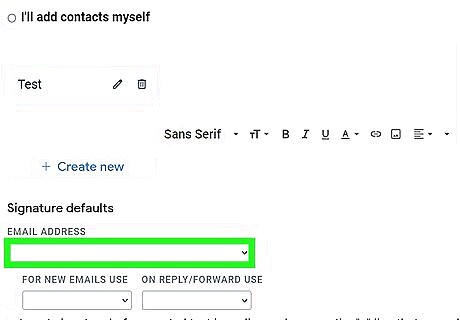
Set the appropriate email defaults. Since you're sending this signature to your iPad, you want to make sure the signature will be attached to the email. Change the drop-down under "For New Emails Use" to the signature you've created for your iPad, then click Save Changes.

Send an email from your Gmail account to an email account on your iPad. Return to the Gmail inbox screen and click the "Compose" button in the upper-left corner. Send an email to one of the email accounts on your iPad. It doesn't have to have a subject or text. If your Gmail account is associated with your iPad, you can just send the message to yourself from your computer.

Open the email on your iPad. The email from your Gmail account should appear after a few moments.
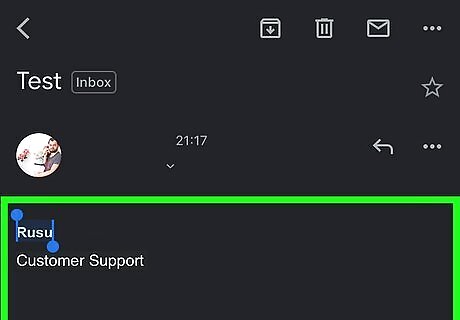
Press and hold the signature until the magnifier appears. This will let you start selecting text and items in the message.
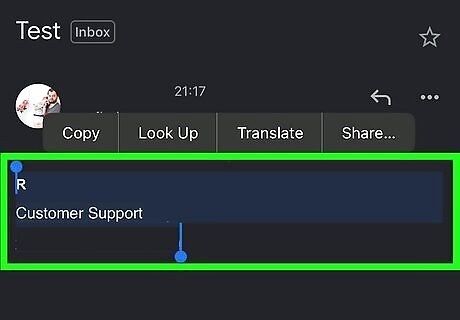
Drag the bars to select the signature text and images. Make sure you've highlighted the entire signature, including any images in it.
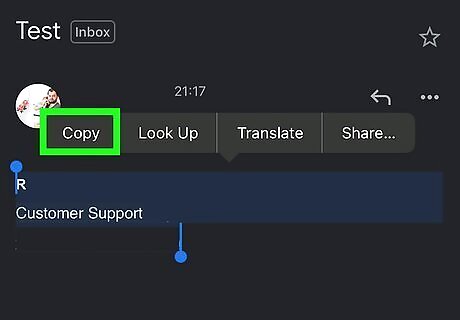
Select Copy from the menu that appears. This will copy the entire signature to your iPhone's clipboard.
Select Mail. It's next to an icon of an envelope in the fifth grouping of the Settings menu.

Tap Signature. It's at the bottom of the menu and will display the current signature for your email account. Per Account if you want to set different signatures for each email account.

Tap the field for the signature you want to change. This will place the cursor in the field. Delete any signature already there that you don't want to use.
Press and hold the text field until the magnifier appears. You'll see the menu appear above the cursor.

Select Paste from the menu. This will paste the entire HTML signature into the field, including any images and links.
Make any necessary adjustments. Some formatting may not have been copied properly, so make any adjustments to the signature to make sure it looks good.

Return to the previous menu to save your changes. Tap the "< Mail" button in the upper-left corner to save the changes to your signature. It will automatically be attached to any messages sent from that email account. If the image in your signature does not work when you send an email, you need to save a copy of the image on your iPad or whatever device you're emailing from. The emails you send then will be larger files (which might confuse some people), but will contain the image in your signature. You can also use third-party mail apps like Gmail or Spark to be able to easily create HTML signatures.


Comments
0 comment