views
Setting up a Brooder
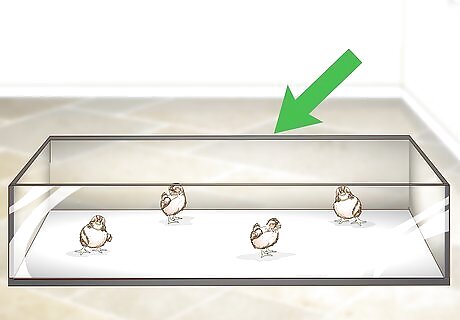
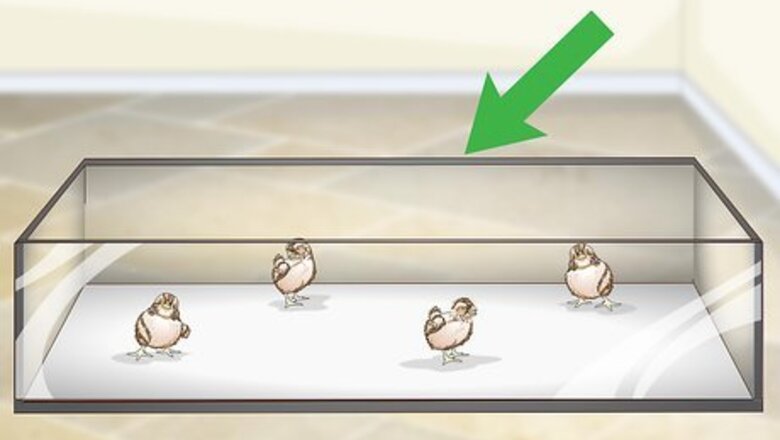
Choose a brooder for the quail chicks. A brooder is a small space to raise your chicks. It should be a warm, clean, enclosed area. Try using a cardboard box, a rodent cage, or even a rabbit hutch. Make sure your brooder has a solid floor and 4 solid walls. The chicks will need enough space to move around and not get crowded. Leave at least ⁄2 sq ft (460 cm) per chick in the brooder. Make sure the quail cannot escape from the housing. Measure the space between the wiring, see if there are any gaps about and check that the housing is secure. Try using a 10 US gal (38 l) aquarium as a brooder.
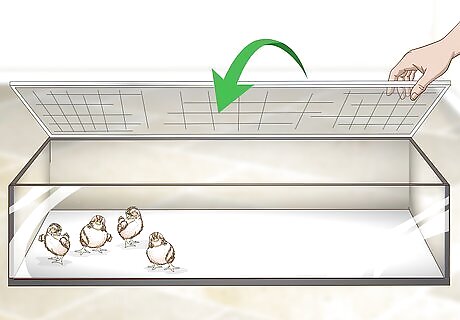
Cover the brooder with a soft, breathable material. Quail will be able to start flying after they are about 1 week old. So, be sure you have something to cover the top of the brooder. Try window screen or netting. Quail often fly upwards when they are scared or startled, so it's best not to use wire because they can cut themselves or get caught in it.
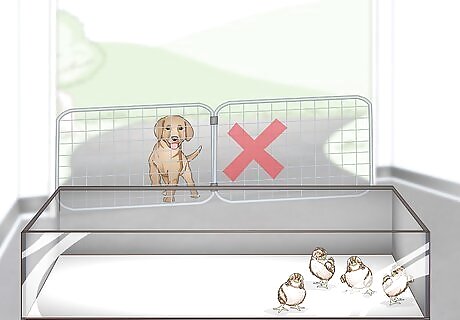
Keep the brooder in a safe place. The brooder should be kept in a safe and warm place away from potential predators. In your home is the best place to keep your chicks but you can also keep them in a warm shed or a garage if need be. As long as the area is warm, safe, and free of drafts, it is suitable for your quail chicks. Make sure your chicks are safe from any pets. The main threat to quail are dogs and cats. Smaller pets such as hamsters, mice, or fish are no harm to quail so they can be kept in the same room as your quail.
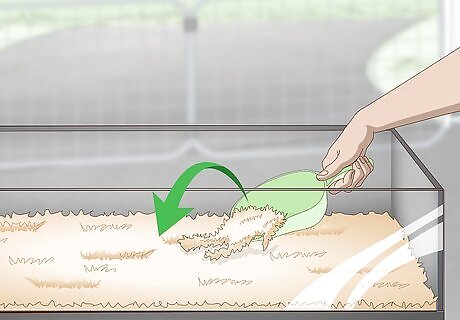
Add bedding to the brooder. Wood shavings are good bedding for your chicks, but you can also use shredded paper towels or newspaper. Wood shavings are the most absorbent material and will keep your chicks dry and warm. Avoid cedar shavings, which can be toxic for the quail's lungs. You can also try lining the bottom of the brooder with paper towels. Use at least three layers. Paper towels provide great traction for the chicks.
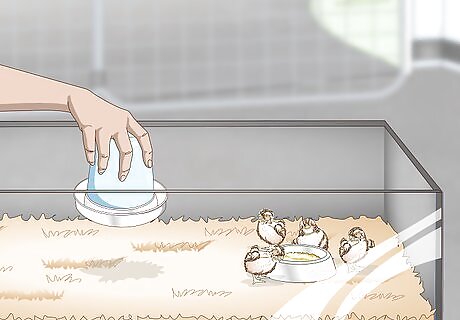
Add a feeder and a water bowl. Choose two bowls for food and water. The water bowl should be shallow enough so that the chicks won't drown if they accidentally fall in. Make sure the chicks can easily access both bowls. To easily make a deeper water bowl shallower and safe for quail chicks, put stones or marbles at the bottom of it. You can also buy a special quail water feeder at your local pet or bird store.
Raising the Chicks
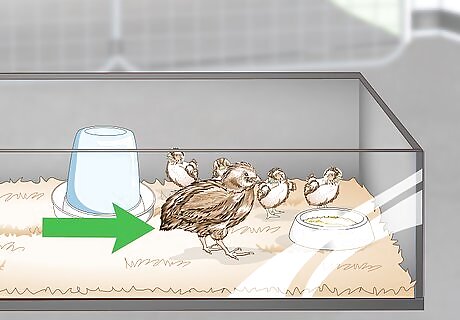
Keep the hen with her chicks, if possible. If you have the mother hen, keep her with her chicks. She will keep them warm, feed them the food you provide, and keep them safe. If you are going to separate the chicks from their mother, it is best done when they are fully grown and can thrive on their own. Give chicks with a hen a heat lamp for very cold days. Though the hen will keep her chicks warm naturally, if it is a really cold day or if winter is approaching consider giving them a heat lamp as the hen can get cold as well.
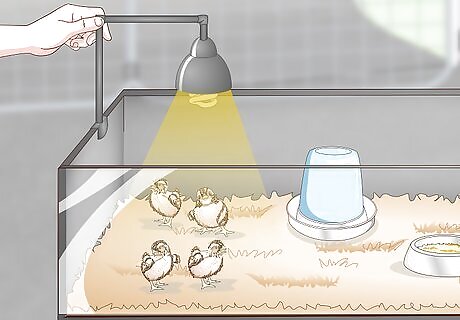
Set up a heat-lamp for chicks without a hen. Clip a heat lamp to the side of the brooder. Lay a thermometer into the brooder directly under the lamp to monitor the temperature. Keep the temperature at 95 °F (35.0 °C). Move the lamp further away from the brooder to control the temperature. Lower the temperature to 90 °F (32.2 °C) when the chicks are 2 weeks old. Between 3-5 weeks of age, the temperature should be 85 °F (29.4 °C). The chicks will not need an outside heat source after they are 5 weeks old. The chicks should have enough room to maneuver closer or farther away from the heat lamp to make themselves comfortably warm. Try leaving the food and water on one side of the brooder and the heat lamp on the other. Be sure to look for signs that the chicks feel too hot or too cold. If the chicks feel too cold, they will pile on top of each other. If the are too hot, they will pant. You will also see the chicks trying to get away from the heat source if they are hot and trying to keep under the middle of the heat source if they are too cold. Use an infra-red heat lamp to keep the chicks calm and not disrupt their sleep patterns.
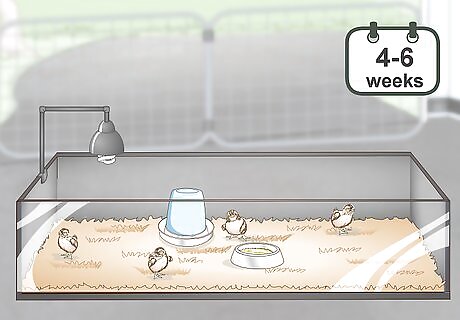
Keep your chicks isolated in a brooder for the first 4-6 weeks. It's important to raise them in a brooder for the first four to six weeks of their lives to ensure that they are safe, warm and are being kept healthy. This also goes for a hen with her chicks. It is especially important if the hen and her chicks are housed with other quail or aviary birds (finches, budgies, etc.) as they will attack or peck at the chicks.
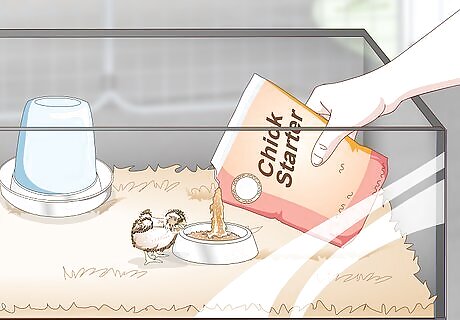
Free feed your chicks a special gamebird chick starter diet. Chick starter provides more protein than a quail's average feed and should be given to your chicks for six to eight weeks to keep them healthy. They should be free fed, meaning there should always be food available for them, so fill their feeding bowl as often as is necessary. Find special chick starter feed at your local pet store or online. Don't substitute starter diet meant for chickens. It doesn't have enough protein for growing quail chicks. If you cannot purchase chick starter, use your normal quail feed and grind it down so that it is edible for the chicks. For the first week, you may want to place paper towels over their bedding and sprinkle crushed starter diet all over them to help the chicks find and eat the feed.
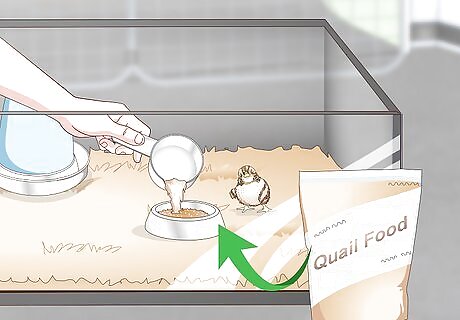
Add a small amount of normal quail food as the chicks grow older. You can start mixing in normal quail food by the age of 3-4 weeks. Start by mixing in just a little bit, then gradually increase the amount of adult quail food and decrease the amount of chick starter. When they are older than 8 weeks, consider experimenting with different mixtures of food and begin to feed them adult quail food.
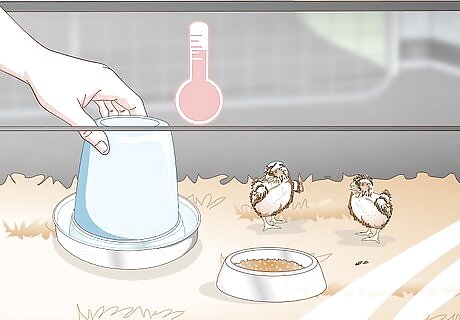
Provide plenty of fresh, lukewarm water for your chicks. Fill the water bowl as often as needed to ensure they always have access to clean water. Clean the water bowl at least once per week. It can help to individually dip each of the quail's beaks into the water dish as soon as you transfer them to the brooder. This will keep them from getting dehydrated right after they hatch, and it will show them where the water in the brooder is. If the water is too cold, the chicks could become chilled and die. If your chicks have a more messy bedding such as wood shavings or sand, clean the bowl every few days, or even every day if you see there is a lot of dirt and bedding in the bowl.
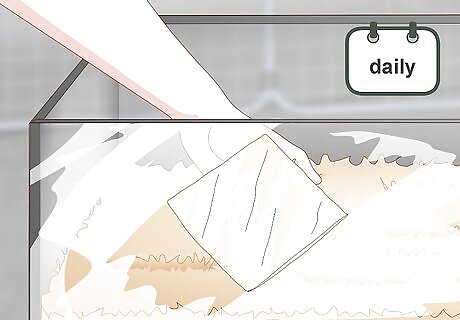
Clean the brooder daily. Replace any wet bedding at the bottom of the brooder every day. Wipe down the walls of the brooder with a paper towel dampened with soap and water. Take out and replace all the bedding every couple of days. Depending on the amount of chicks you have and how old they are, it's important to clean the brooder often as the waste can make your chicks sick.
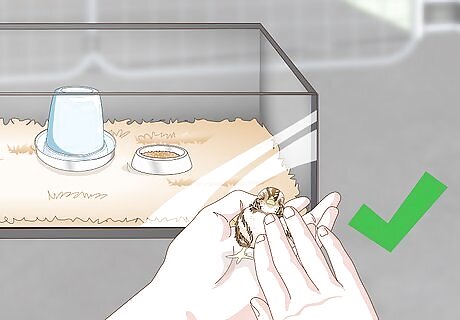
Hold the quail every day to tame them. Hand-raised baby quail can become quite tame. Spend some time with the chicks every day, holding them gently in your hand. Pick up each quail and let them explore your hand for a few minutes. Sometimes they might want to burrow under your thumb for warmth. Use one finger to gently stroke them. When baby quail are hand raised, they become less skittish as adults. You may find that quail you raised and interacted with often as chicks will readily let you pick them up and even scratch them under the chin as adults!
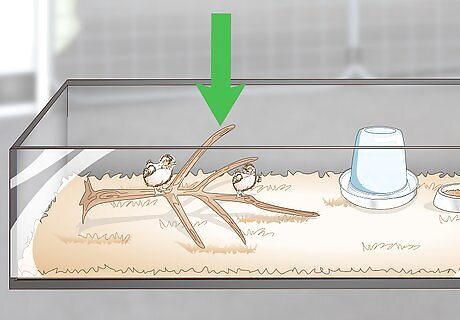
Give the chicks toys to keep them occupied. Quail chicks are curious and have a lot of energy. A totally empty brooder might get a little boring. Even after just a few days, try adding some cut branches to give them something to climb on. You can also put parrot toys or small mirrors inside the brooder. Just be sure there are no parts small enough for them to swallow.
Adapting to the Chicks as They Grow
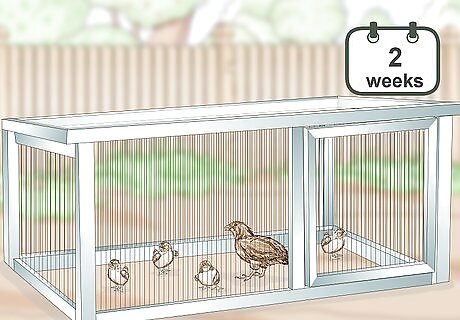
Let your chicks explore outside after a couple of weeks. Put the chicks (and the hen, if she is living with them) in an outdoor cage and then watch them dig for bugs, dust bathe in dirt/sand and explore the new environment. Be cautious and make sure they cannot get out. To be sure, watch them for a minute or two to see how they adapt to their surroundings. If you're not watching them, put a tarpaulin on top of the cage so no birds will attack/scare them. Make sure to weight down the blanket with something heavy (like bricks) so the wind won't blow it away.
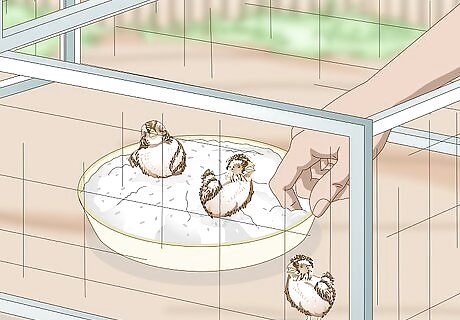
Provide a tub of sand for your chicks. After they are a couple weeks old, place a small, shallow tub in their enclosure. Fill the tub with sand. They will soon begin dust bathing, a ritual quail really love. Dust bathing also prevents mites, lice and other nasty parasites.
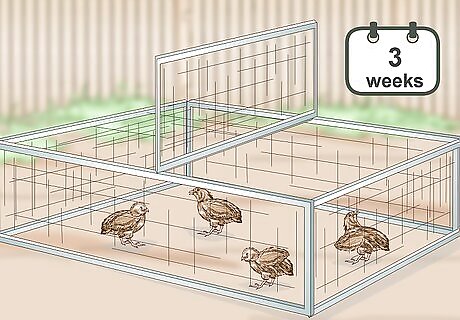
Give your chicks more space when they are 3 weeks old. Quail chicks grow fast, so you will soon see that they will need more space. Keep your chicks isolated, but move them to a bigger brooder when they reach 3 weeks of age. The chicks will need twice as much space at 3 weeks: about 1 sq ft (930 cm) per chick.
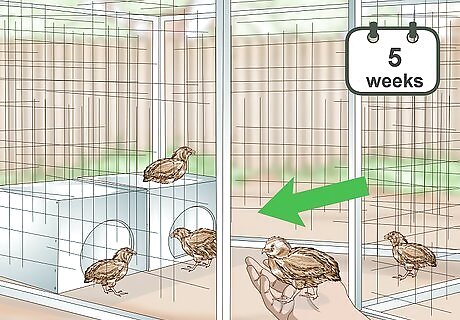
Introduce them to your other adult birds when the are 5 weeks old. Once the chicks have most of their feathers, they are ready to be put outside with other adult birds. If these will be your first outdoor birds, build them a quail habitat in your yard.


Comments
0 comment