
Preparing for Calibration
Turn on your pH meter. Before you begin to calibrate and use your pH meter you will first need to turn it on and allow adequate time for the meter to warm up. This should generally take around 30 minutes, but check your pH meter's operating manual for exact times.
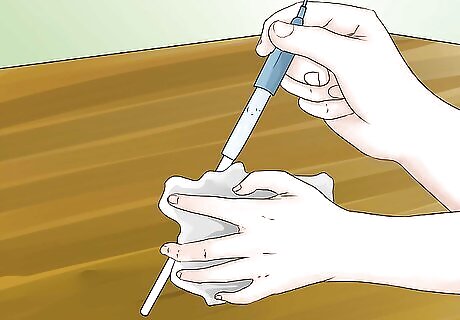
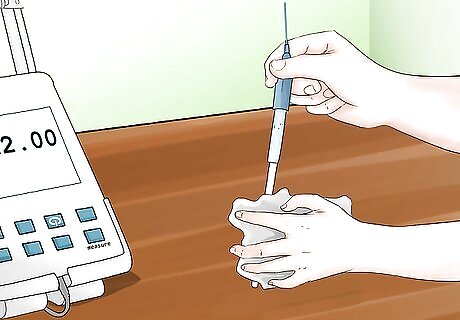
Clean your electrode. Take the electrode out of its storage solution and rinse it with distilled water under an empty waste beaker. Once rinsed, blot dry with Kimwipes or Shurwipes, which are available at most office supply stores. Be sure to rinse your electrode in a waste beaker that is different from the beaker you will be calibrating in. Avoid rubbing the electrode as it has a sensitive membrane around it. If you find the electrode to be particularly dirty consult your operating manual for recommended cleaning solutions.
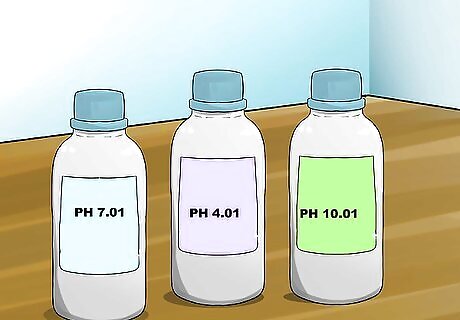
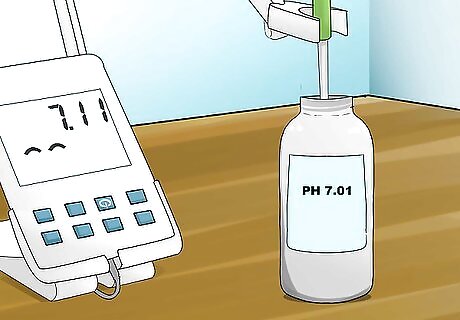
Prepare your buffers. You will generally need more than one buffer for calibrating a pH meter. The first will be a “neutral” buffer with a pH of 7, and the second should be near the expected sample pH, either a pH of 4 or 9.21. Buffers with a higher pH (9.21) are best for measuring bases, whereas buffers with a low pH (4) are best for measuring acidic samples. Once you have chosen your buffers allow them to reach the same temperature as the pH meter because pH readings are temperature dependent. Pour your buffers into individual beakers for calibration. Check with your pH meter manufacturer, or current educational or professional institution, about acquiring pH buffer solutions. Buffers should be kept in a beaker for no longer than two hours. Discard the buffer when you are finished. Do not return it to its original container.
Calibrating Your pH Meter
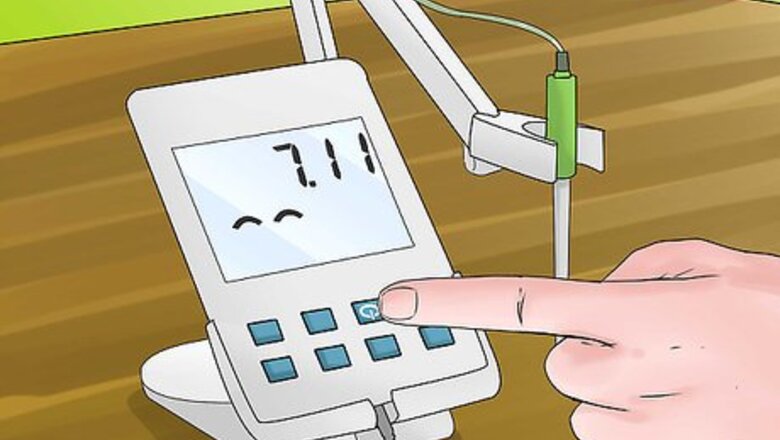
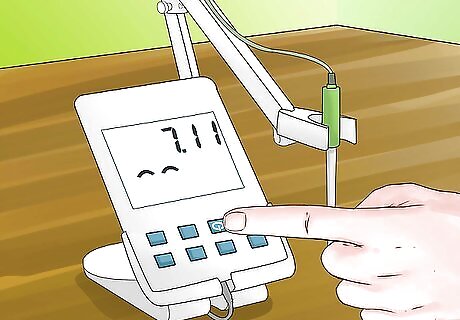
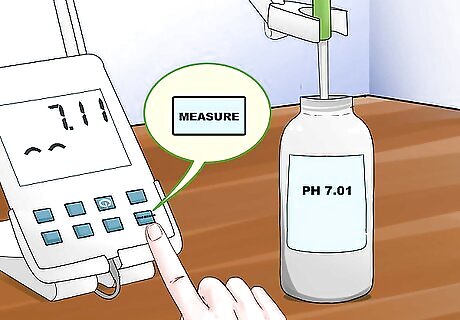
Place your electrode in the buffer with a pH value of 7 and begin reading. Press the “measure” or calibrate button to begin reading the pH once your electrode is placed in the buffer. Allow the pH reading to stabilize before letting it sit for approximately 1-2 minutes.
Set the pH. Once you have a stable reading, set the pH meter to the value of the buffer's pH by pressing the measure button a second time. Setting the pH meter once the reading has stabilized will allow for more accurate and tuned readings. Although not necessary, if you stir your buffer before measuring be sure to stir all other buffers and samples in the same way.
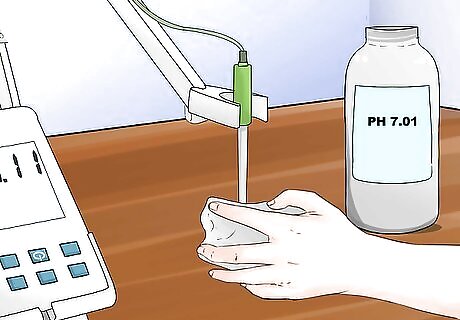
Rinse your electrode with distilled water. Rinse and pat dry with a lint-free tissue, like Kimwipes or Shurwipes, in between buffers.
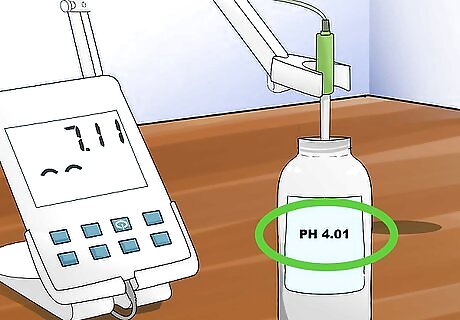
Place your electrode in the appropriate buffer for your sample and begin reading. Press the measure button to begin reading the pH once your electrode is placed in the buffer.
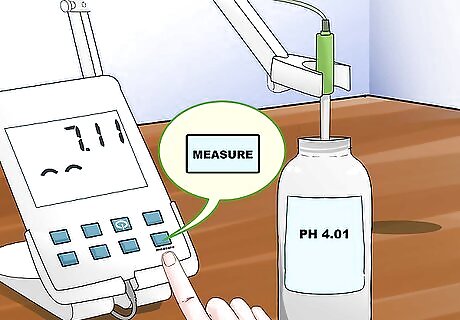
Set the pH a second time. Once your reading has stabilized, set the pH meter to the value of the buffer's pH by pressing the measure button.
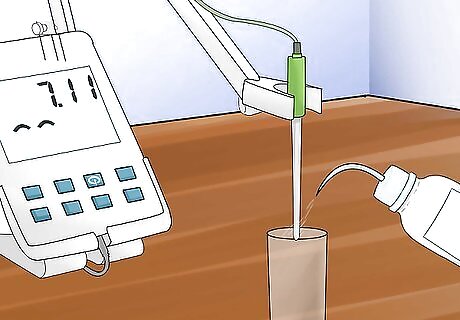
Rinse your electrode. You can use distilled water to rinse. Use a lint-free tissue, like Kimwipes or Shurwipes, in between buffers to dry the electrode.
Using Your pH Meter
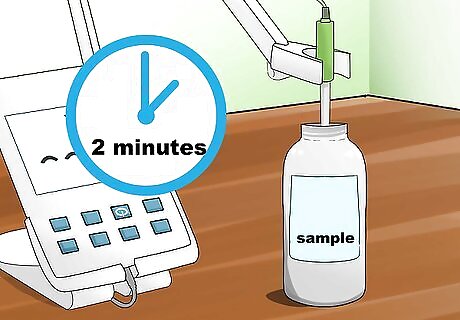
Place your electrode in your sample and begin reading. Once your electrode is placed in your sample, press the measure button and leave the electrode in your sample for approximately 1-2 minutes.
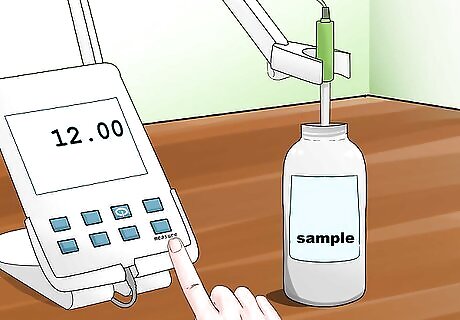
Set your pH level. Once the reading has stabilized, press the measure button. This is the pH level of your sample.
Clean your electrode after use. Rinse your electrode with distilled water and blot or dab dry with a lint-free tissue. You may store your pH meter once clean and dry. Consult your operation manual for optimal storage practices for your specific pH meter.


Comments
0 comment