views
Bending Steel Tubing with a Tube Bender
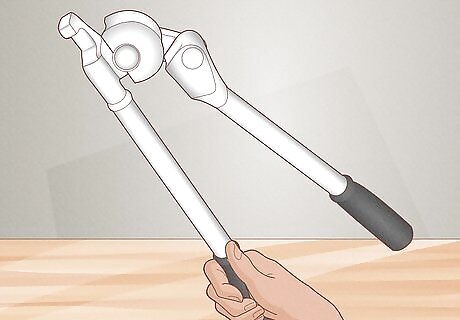
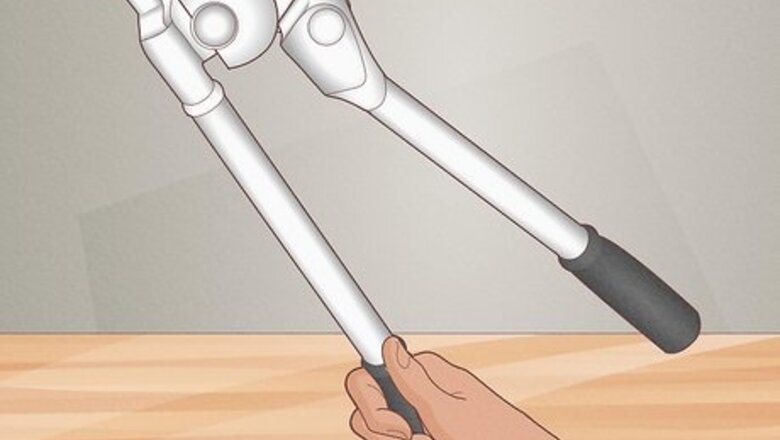
Purchase a tube bender. Your local hardware store will have a variety of tube benders available at different price points. The major differences may include the amount of hydraulic force the bender can apply to the tube as well as the size and durability of the accompanying die set. The dies are curved pieces you attach to the bender and into which you place the tubing to form the bend. The different dies will correspond to different diameters of tubing. Additionally, you can find die sets for either round or square tubing. Ensure that you buy a tube bender and not a pipe bender. Tube and pipe are not synonymous, and the scaling is even different, so the dies in a pipe bending set will not properly fit tube. This usually leads to flattening, buckling, or kinks in tube bent with a pipe bender.
Follow the instructions. As always, specific machinery may have specific steps due to design or other requirements. Thoroughly consult the directions that come with your equipment.
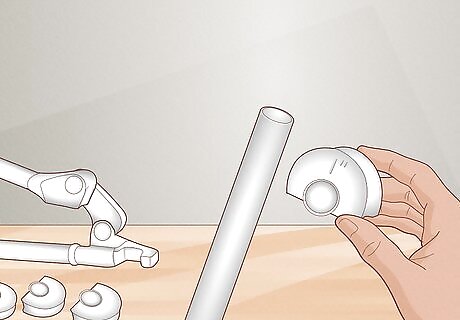
Select the appropriate-size die for the tubing you need to bend. For instance, if you need to bend 1” tubing, then you would select the 1” die. Using the correct die is very important. If the tubing doesn’t fit snugly into the die, then you can end up with a flattened or kinked finished product.
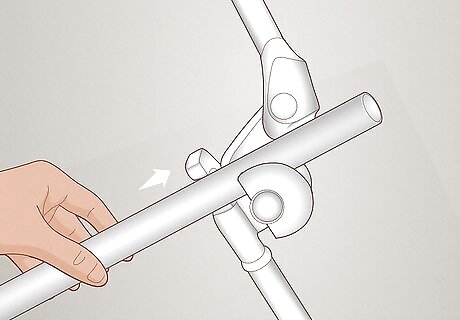
Place the tubing into the bender. Once you attach the die, you will feed the tube into the bender so that the spot where you want to bend is in the center of the die. You will then tighten down the bender, which will have a pneumatic jack, enough to keep the tubing in place.
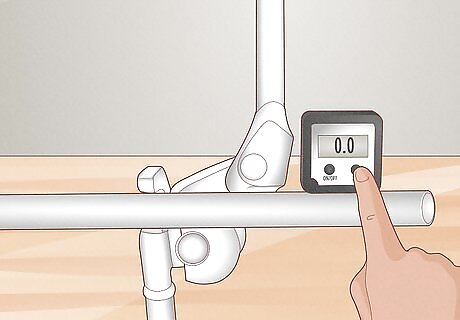
Measure the correct angle. You cannot set the bender to a specific degree angle for you and let it do the rest, so this means measuring the exact angle to which you need your tube bent. The easiest solution is to use a digital angle gauge, which you can attach to the level tube before you begin bending. As you incrementally bend the tube, the angle gauge will track the measurement of the angle.
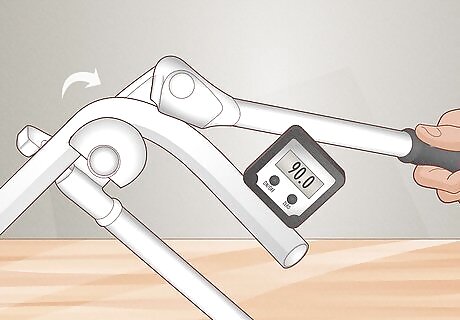
Bend the tube to your desired angle. As you increase the force in the bender, the tube will bend to sharper angles. Once your angle gauge has measured the angle you want, you can release the pressure on the tube and remove it from the machine.
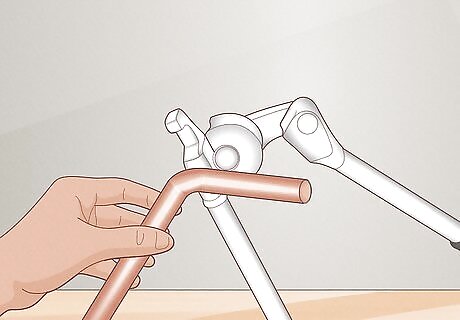
Practice with scrap tubing. Since using too much force can still lead to kinks in a bent tube, practice on scrap tubing before placing a more expensive piece into the bender. Packing the tube with sand before placing it in the bender can also help it bend evenly without buckling or kinking.
Bending Steel Tubing with a Blowtorch
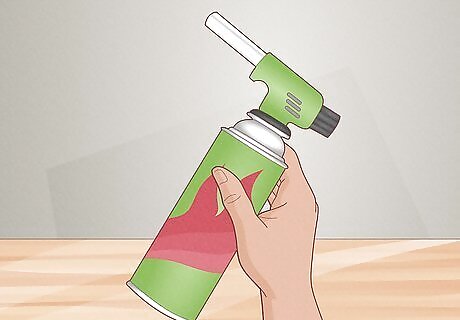
Purchase a blowtorch. If you do not already own one, you will likely need an acetylene torch for this method as it requires the application of constant, high heat.
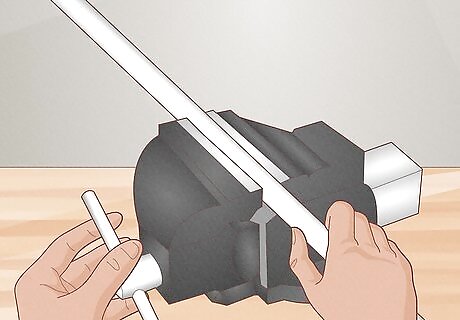
Place your tubing in a vice. Crank down the vice so that the tube cannot move; however, do not apply so much pressure that you crush the tube. Some vices have specific slots for rounded pipe or tube. This is preferable but not necessary.
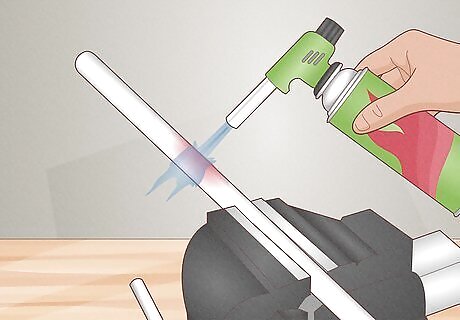
Heat the tube where you need to bend. With the acetylene torch, you will need to apply constant, even heat to the area around where you need to bend. Make sure that apply the heat to the entire cylinder (or square) of the tube and not just the side where you need to bend it. The additional malleability will help the tube bend evenly instead of just buckling in one spot.
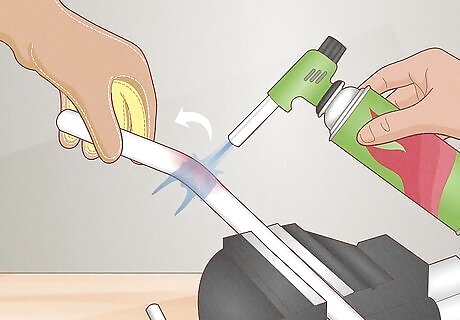
Bend the tube slowly and firmly. Do not yank at the tubing. Instead apply a slow, firm force that increases gradually. You can apply the force with a wrench, a larger piece of tube over one end used as a pry bar, or by hand. However, the tube will be extremely hot, so use thick gloves rated for heat. This step may require assistance so that one person can apply force to the tube while the other continues heating. Packing the tubing with a non-combustible material such as sand before applying heat will help the tube bend without buckling or kinking.
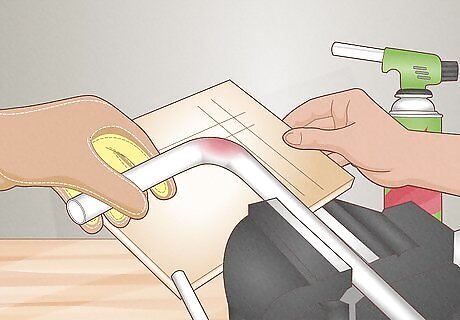
Bend to your desired angle. One of the easier ways of measuring your bend with this method is to make a template of the bend and cut it from another material, such as a scrap piece of plywood. As the angle increases, remove heat long enough to hold the template against the bend and increase incrementally and accordingly.
Bending Using a Tube Roller
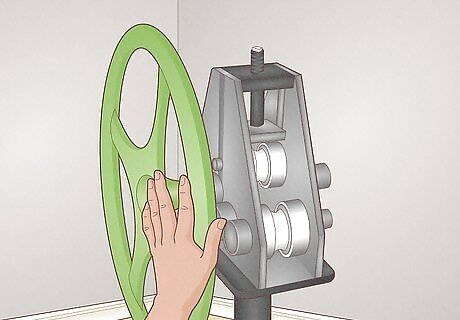
Purchase a tube roller. If you need an even arc over several heat of tubing as opposed to one bend, then a tube roller is going to produce much better results. You can find a tube roller at most hardware stores, and they’re actually going to be cheaper than pneumatic bending devices. As with tube benders, your tube roller may come with a set of dies, so you can fit the exact size of tube you need to roll without the risk of flattening it.
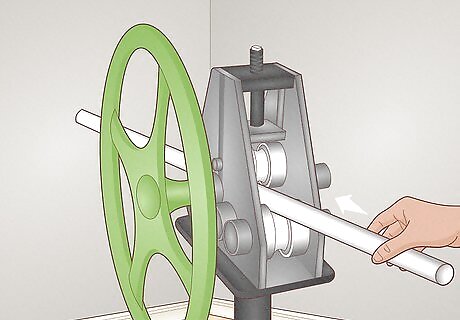
Place the tubing into the roller. A tube roller works by placing increased force on a piece of tubing, then rolling it back and forth over the force to create an even bend. Begin by placing the tube into the roller with the appropriately sized die holding it in place. With a tube roller, you will start at one end rather than in the middle.
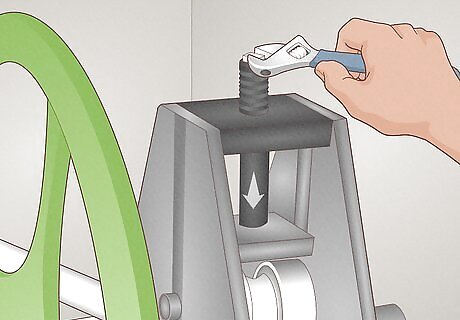
Crank the vice on the roller until it’s tight. Most tube rollers will have a hex head bit, so you can use a regular wrench to increase the force in the vice.
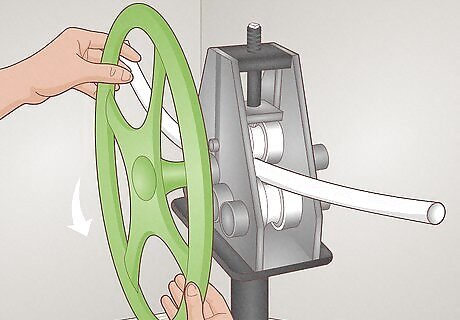
Manually roll the piece through the roller. For basic tube roller models, the device will simply have a large wheel attached that your turn to feed the tube through and under the applied force. Turning the wheel will require a bit of strength, especially as you increase the force on the tube in later passes.
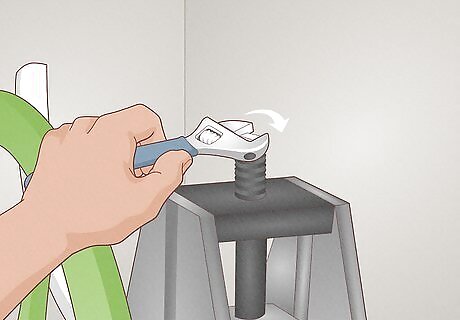
Increase the force on the tube. Once you have passed the tube from one end to the other down the roller, you should increase the force in the vice by tightening the rod by approximately another quarter of a turn.
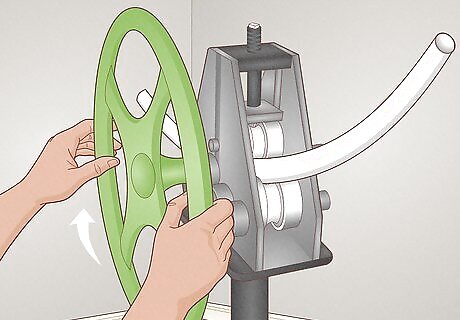
Roll the tube back in the opposite direction. The wheel on the roller allows you to turn either direction, so with more pressure on the tube, you’ll roller it back through in the opposite direction.
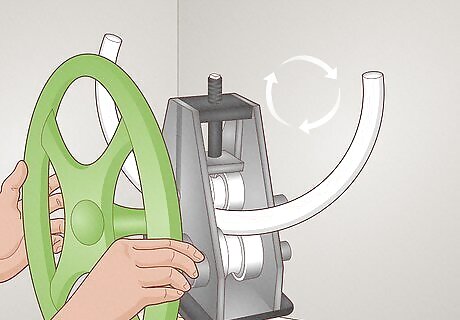
Repeat until you reach the desired angle. Continue tightening the roller by a quarter turn after each pass through the device and rolling it again. After several passes, you’ll notice the nice, even arc forming on the tube. Continue rolling until you have the angle you need. If you have a template for the exact angle you need, you can hold it again the angle in the tube after each pass until you’ve achieved your desired result.


Comments
0 comment