views
Adding Any Text
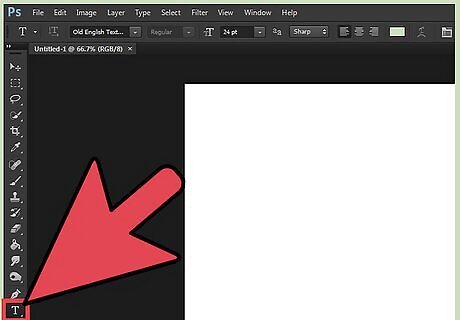
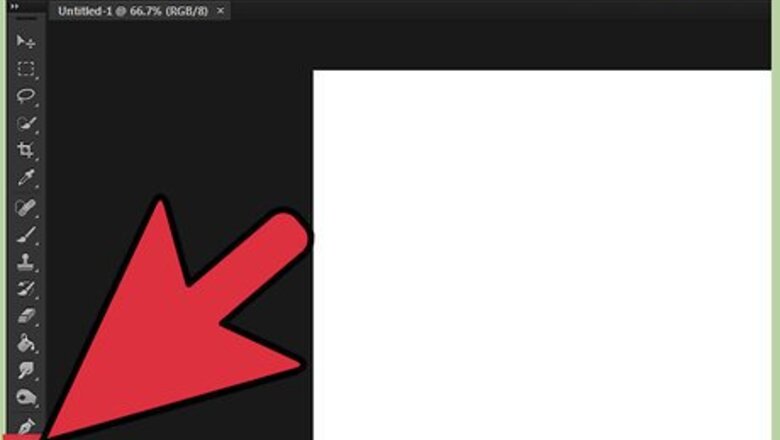
Select the Type tool from the tools palette. It looks like a "T." Click on the icon, or simply press "T" on your keyboard to bring up the text tool. Now, anywhere you click in your image will allow you to start adding type.
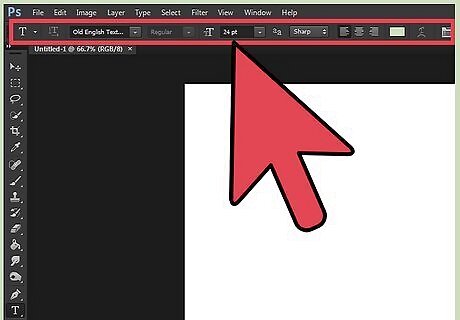
Set your text settings using the menu at the top of the screen. Once you click the Text tool, a bunch of options will appear at the top of Photoshop allowing you to choose the color, font, size, and alignment. You can also use the "Character," or the "Paragraph," which resemble the text editing boxes in programs like Microsoft Word. You can find these boxes by clicking on "Window" from the very top of your screen and checking "Character" and "Paragraph." Font: lets you select different font names such as Arial and Times New Roman. Font Size: adjust the points of the font size to make the text bigger or smaller. Font Alignment: choose whether you want the text to be centered or flushed to the right or left. Font Color: clicking on the font color box will allow you to choose different colors for the text.
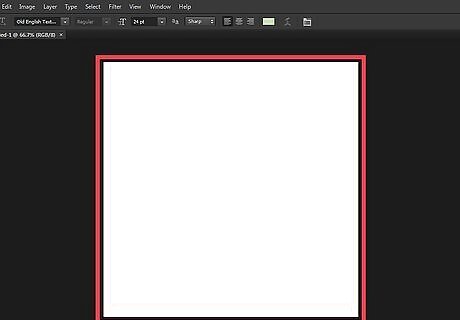
Click on the part of your image where you want to add text in Photoshop. If you simply click somewhere on the image, a cursor will appear where your first letter will appear. You can simply start typing, and Photoshop will add the words from this starting point. If you're just adding simple text, this may be all you need to do. If you know how to use the pen tool, you can click on a path to write text along that line.
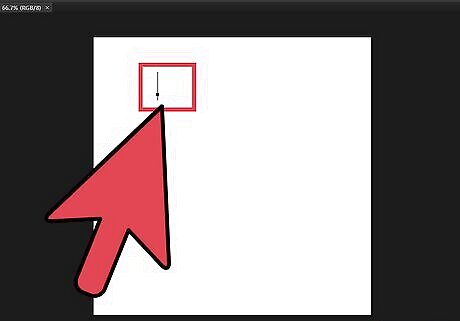
Click and drag with the text tool, before typing, to contain the text to one area. If you need to text to fit with a specific area, you can click and drag out the area before you begin typing. Any text that doesn't fit will not appear unless you shrink the font size.
Click outside the text box or press the Ctrl (Control) and Enter keys on your keyboard simultaneously to see how the text finally appears on your Photoshop image. If it keeps trying to start new text when you click out, then simply click on another tool to leave the text editor and move on. You can double-click on the text, or simply click on it again with the Text tool selected to edit the font and type at any point. You can no longer edit text if you "Rasterize it." If you accidentally get this option, ignore it for now. If the text layer is selected, press Ctrl-T or Cmd-T to resize the text by hand, instead of having to choose new font sizes.
Making More Elaborate Text Effects
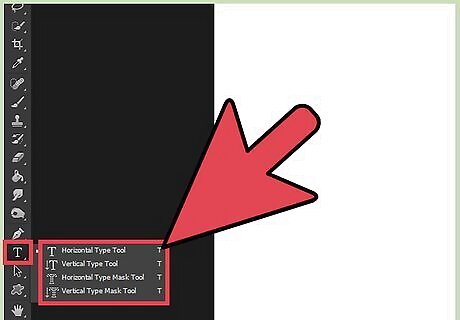
Click and hold the Text icon in the toolbar for different text-writing options. Remember, this icon looks like a "T." Click on the T and hold the mouse down to reveal the following alternate text options. Horizontal Type Tool: used most frequently, the horizontal type tool lets you type solid letters horizontally from left to right. This is the one use if just normally click the Text tool. Vertical Type Tool: Allows you to write your words up and down, instead of left to right. Horizontal Type Mask Tool: This turns your text into a mask, which can be used for a variety of fun Photoshop tricks. Off the bat, it will basically map the layer beneath the text and use it to "color in" your type. Vertical Type Mask Tool: Works just like the Horizontal Type Mask, but writes letters up and down instead of left to right.
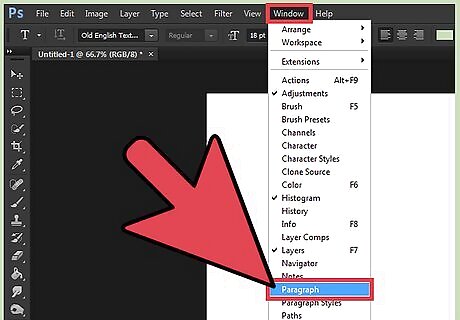
Use the "Paragraph" and "Character" menus to change line spacing, kerning, and more in-depth options. If you need complete control over your text, the Character and Paragraph menus are the place to go. The Character menu's logo is an A followed by a vertical line. Paragraph resembles a P with a double vertical line and circle filled in, but you can also click "Window → "Paragraph" if you can't see it. Click and drag the icons in each menu to test them. You can actually seem them function in real time. Most deal with line spacing. The Character menu generally has more to do with the actual type, where Paragraph adjusts the overall block of text and it's alignment. If you can't access the Paragraph Options, right-click the text and select "Convert to Paragraph Text."
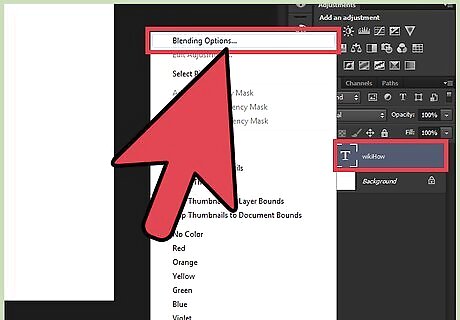
Right-click the text and select Blending Options. If you don't see this option on the menu, select Layer Style first, and then select Blending Options at the top. This brings up a variety effects for professional looking type. The Blending Options allow you to add shadows, outlines, glows, and even 3D options, each of which is fully customizable. While you should experiment freely in the Blending Options menu, some key effects for good text include: Bevel & Emboss: This will make the text 3D. It reassembles turning the lines of the text into 3D cylinders, like pipes. Stroke: This outlines your text with the line of a color, thickness, and texture you get to choose. The Overlays: These will change the color of your font, placing a gradient, pattern, or new color over the shape of the text. You can even lower the opacities of these overlays, allowing you to do some fun shading and blending. Drop Shadow: Puts a moveable, short shadow behind your text -- like there was a wall a foot or two behind it. You can change the angle, softness, and size of the shadow.
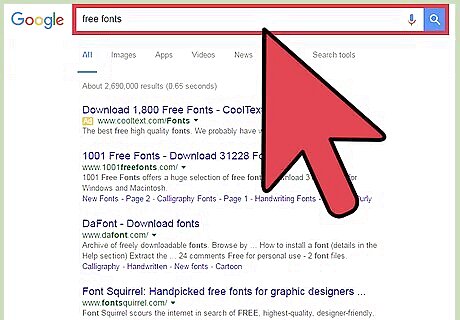
Find and add free new fonts online. Adding fonts to a photoshop is incredibly easy. You simply download the fonts, then drag them into the program to link them up. You can search online for "Free Fonts" to find anything you need. Fonts are typically .ttf files.




Comments
0 comment