views
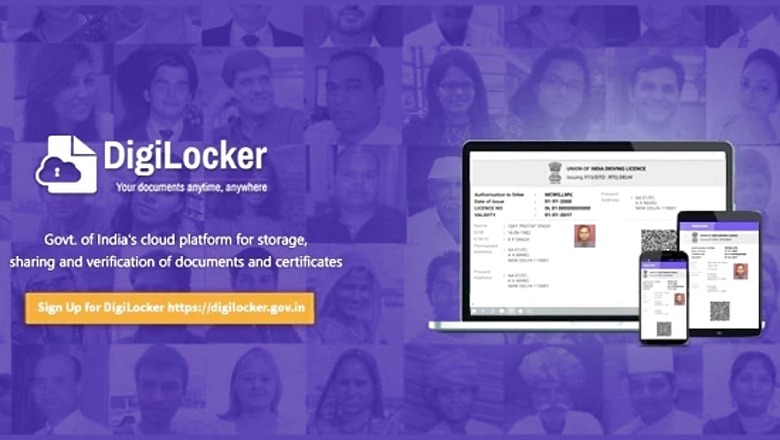
The government of India, in 2018 launched DigiLocker, its cloud-based app for Indian’s to keep their official documents like driving license, Aadhaar card, PAN card, car registration certificate, etc in a Digital form. With DigiLocker, Indian people do not need to carry around their documents, as far as they can show the digital version. The government has time and again clarified that documents on DigiLocker hold the same value as physical documents during checks.
The DigiLocker app provides users with 1GB of cloud data in order to store their documents. The cloud is linked to a person’s Aadhaar number. In terms of security, the DigiLocker mobile app uses a 256 bit secure socket layer (SSL) encryption for all the information transmitted. It also uses OTP verification for authenticating users and allowing them access to the platform. Further, the system also terminates active sessions automatically after a certain time of inactivity. Here is how users can setup DigiLocker and upload their documents:
How to Set Up DigiLocker
1. Download the DigiLocker app from Google Play Store (for Android users) or the Apple App Store (for iOS users).
2. Upon opening, the app wil ask you to sign up using your phone number. Enter your phone number and click continue.
3. The app will authenticate you via an OTP.
4. Sign up by creating a username and password for yourself.
5. After signing up successfully, the app will ask you to register using your Aadhaar number, along with an acknowledgement that you have given your consent to DigiLocker to use your Aadhaar number to go ahead and sign you up. It is important to note that the details in your Aadhaar card match with other documents, in order to upload successfully on DigiLocker.
6. After putting in your Aadhaar number, the app will once again send an OTP to the registered mobile number and Email. Authenticating with OTP will fetch your Aadhaar from UIDAI, and it will show up shortly after on the DigiLocker app.
7. You have successfuly set up your DigiLocker.
Once users have set up their DigiLocker app using Aadhaar, they can start uploading all their documents on the government’s verified app. The app has three tabs – Home, Issued Documents, and Browse. Home is the app’s homepage that shows options of various ministries, organisations, and state governments, which users can select to upload documents issued by the respective agency. The ‘Issued Documents’ tab shows all the documents you have available on your DigiLocker app, and browse lets users search for any kind of service they are looking to use within the DigiLocker app.
How to Upload Documents on DigiLocker
1. On the ‘Home’ screen, users will see agencies divided in separate categories like Central government, State government, education, banking and insurance, and others. Select the agency/authority that has issued the document. Let’s take an example of a driving license. If a user needs to upload his/her driving license, they need to select Ministry of Road Transport and Highways which issues the document.
2. It will show options for all the documents Ministry of Road Transport and Highways issues to Indian citizens. Select driving license. The app will automatically fill your name and date of birth.
3. Enter driving license number and click ‘Get Document’ after checking the acknowledgement tick box.
4. You will see a “fetching document” pop-up followed by a DigiLocker copy of your driving license.
5. Same steps need to be followed to upload documents from all ministries, agencies, and organisations.
Since its inception in 2018, DigiLocker has improved quite a bit as an application itself. Initially, the app was reported to not be user friendly. However, over the course of time, the developers have made the app much easier to use. There are still those one-in-a-while instances when the app just crashes all of a sudden, but that also depends on other factors like the device health, network, and more.
The DigiLocker website says that it has about 47.3 million registered users, and 4.10 billion documents have been issued on the app.


Comments
0 comment