
SketchUp is a free, user-friendly 3D design tool from Google. Although most modeling tasks are simplified, some few tasks may be a bit harder to fulfill. This fast and easy tutorial will take you through you how to create a cone in SketchUp.
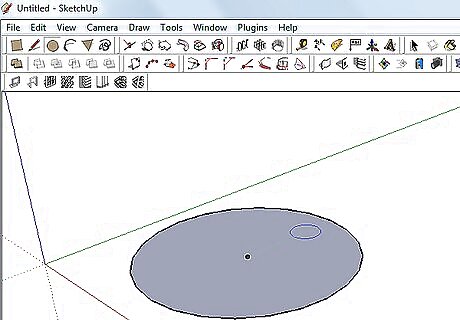
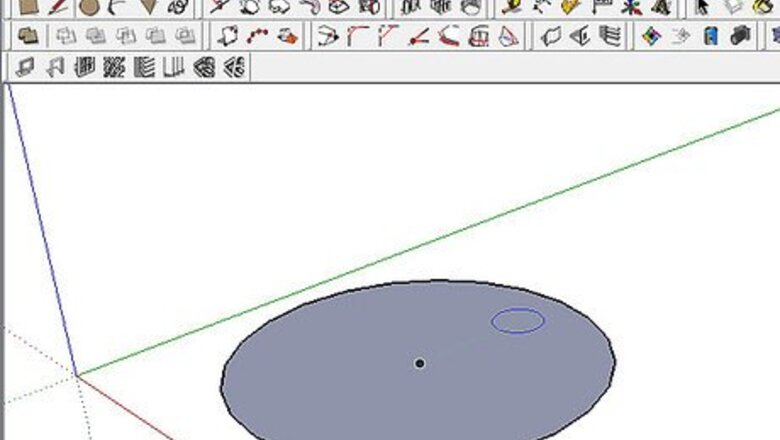
Create a circle. Click the "Circle" icon on the top or press "C" on your keyboard. Click anywhere, then move the mouse outward from where you clicked first. Next, click again when you're satisfied with its size.
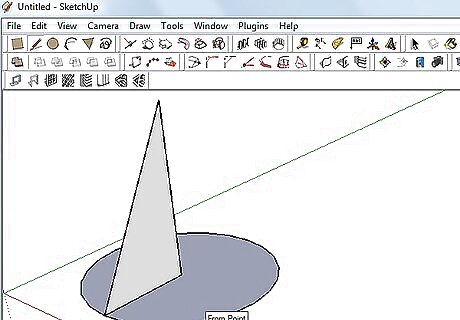
Draw a line from center to the edge and from the center upward. This will determine the height of the cone. Draw a line connecting the top of the standing line and the edge of the circle. Doing this should form a triangle; a pivotal part of the cone.
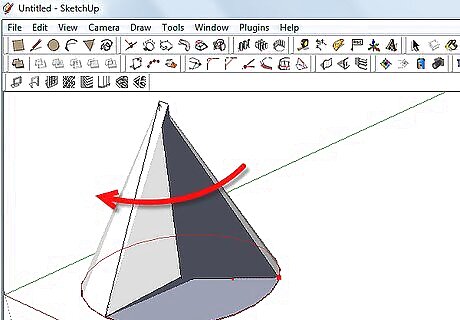
Click on "Tools", then "Follow Me." Click on the triangle and just hover over the edge of the circle. Next, drag it around the outline of the circle.
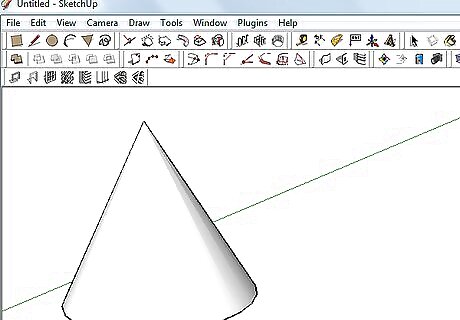
Finished. You've just achieved sketching a cone!


Comments
0 comment