views
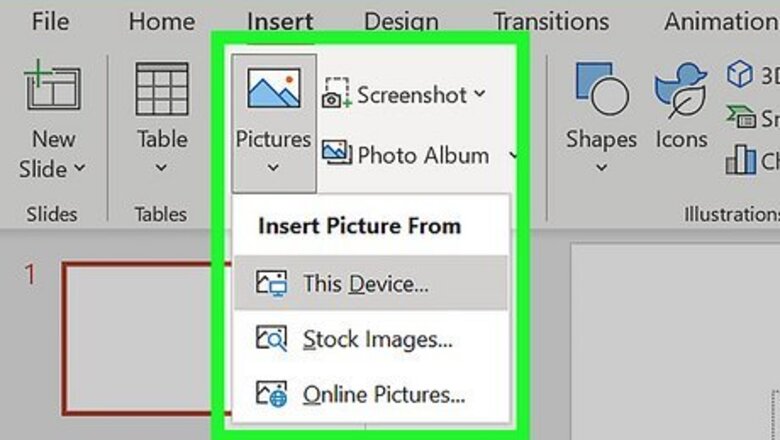
- To insert an image, click Insert, select Pictures, then select your picture.
- You'll find your picture editing tools on the Picture Format menu at the top of PowerPoint.
- To crop an image, select it, click Crop, and drag the boundaries to the desired size.
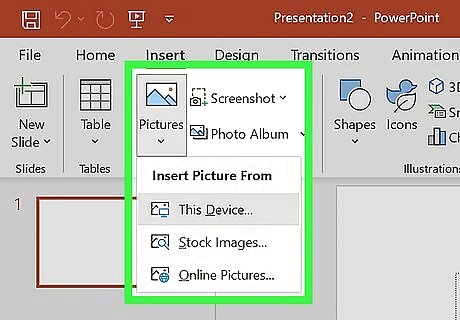
Insert the image you would like to edit. Click Insert and select Pictures. When a window prompts you to select an image, choose the image location, then open it.
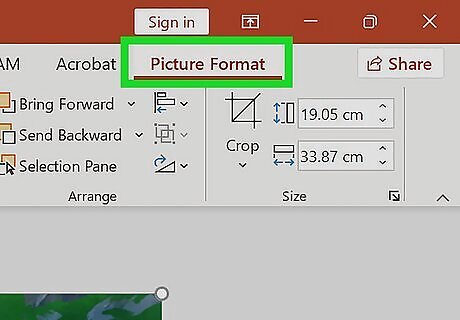
Click the Picture Format menu. You'll see it at the top of PowerPoint. This is where you'll find all of your image editing tools.
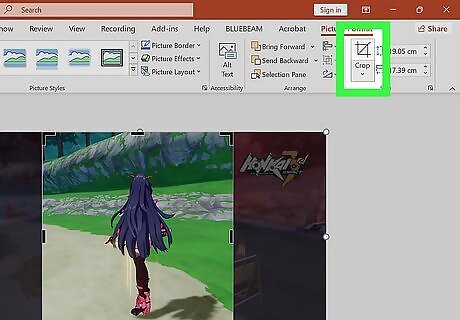
Crop the image. Select the image, then click Crop on the toolbar. Now you'll be able to drag the lines that surround the image to crop it to a smaller size.
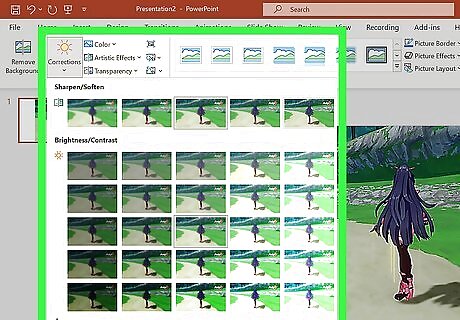
Adjust the brightness and contrast. Click the Corrections menu to find the brightness and contrast options. Choosing an option from the menu instantly applies the effect to the picture.
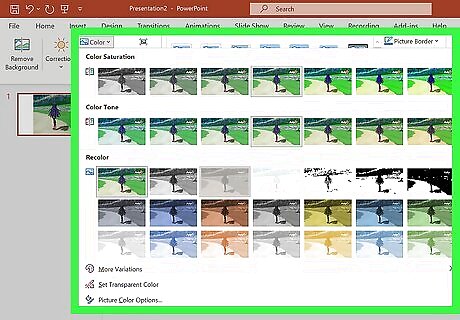
Change the color tone and saturation. Click the Color menu to find coloring options. Here you'll find multiple options for recoloring the image.
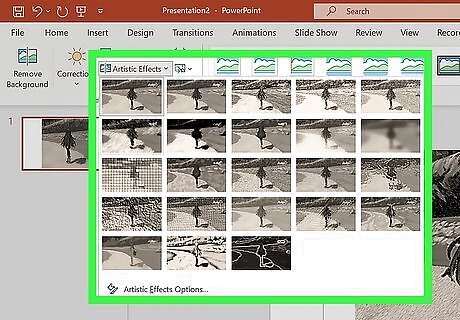
Apply effects. There are two places to find fun effects for your photos. Click Artistic Effects to find fun effects to change the lines in the photo, or Picture Effects for more 3D-type effects like drop-shadow, bevel, and glow.
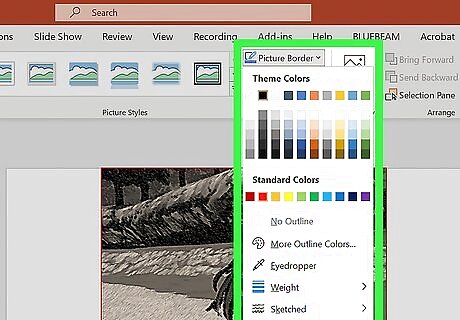
Create a border. Click the Picture Border menu to add a border to the image. You can select a custom color, weight, and even pattern to surround your picture.
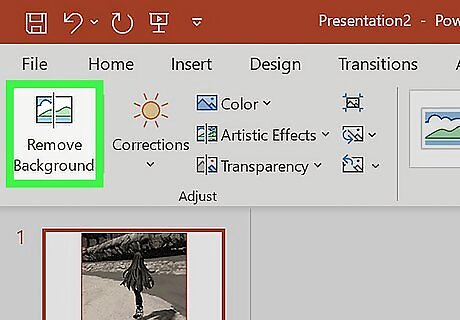
Remove the picture's background. If the picture is of a subject on a background, you can remove the background. Just click Remove Background in the toolbar, mark the parts of the image you want to keep, then click Keep changes.
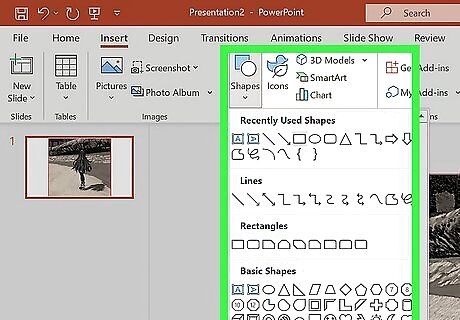
Add text and shapes. Click the Insert menu to insert other objects on the photo. If you want to type on the photo, you can click Text Box to draw a text box, then type in your desired font and color. You can also click Shapes to draw circles, squares, and other shapes anywhere on the picture.






Comments
0 comment