views
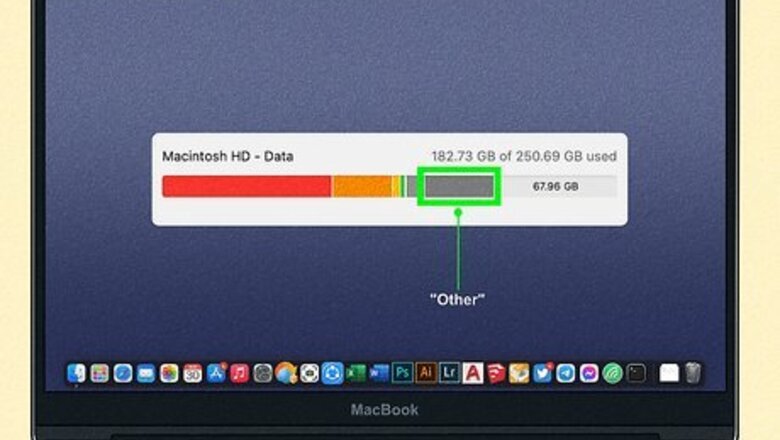
- The “Other” category in Storage is called “System” or “System Data” in macOS Monterey and later.
- You can safely delete many types of files in this category, such as browser cache files, old DMG files, and outdated local backups.
- If you’d rather not delete your files manually, consider buying a third-party disk cleanup app.
What’s in Other Storage?
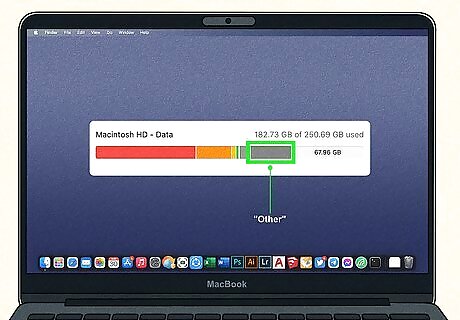
The “Other” category contains a variety of file types. As the name suggests, “Other” is a catch-all term for files and data that can’t be easily classified into major categories like Apps, Photos, or Messages. Some of the types of files that get lumped in with “Other” include temporary files, cached data, archive files, and browser plugins. Some of these files are junk, but others are important. Since this category contains such a variety of types of data, there’s no simple way to clear out all of these miscellaneous files at once.
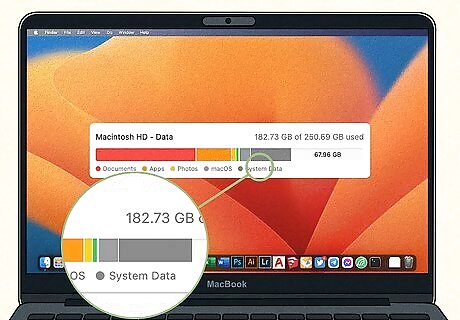
This category is called “System” or “System Data” since Monterey. Before the release of macOS Monterey, these miscellaneous files were classified as “Other.” In more recent versions of macOS, they are called “System” or “System Data.” However, the types of files contained in these newer categories are basically the same. To view a breakdown of your storage in macOS Ventura or later, open the Mac Apple Apple menu at the top of the screen and select System Settings > General > Storage. In earlier versions of macOS, you will find this information under Apple menu > About This Mac > Storage.
Is It Safe to Delete Other Storage?
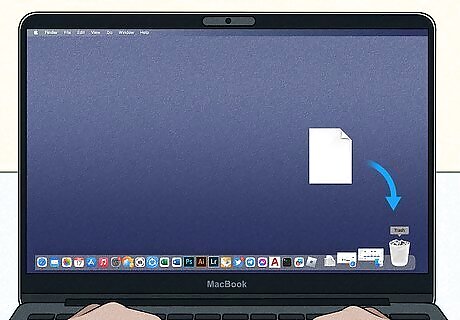
You can delete some of these files safely. Many of the files in the “Other” or “System Data” category are things that you can delete without any major impact on your system, such as old backup files, install files for apps, or cookies associated with your web browsing history. However, some of them are important for ensuring that your computer runs the way it is supposed to.

Make sure you know what a file is before you delete it. Your Mac has a lot of hidden files on it with no obvious purpose, but many of these are important system files. Deleting them could destabilize your operating system or cause your Mac to stop working. Before you start clearing out files, make sure you understand exactly what they’re for. For instance, files with a . prefix, such as .profile or .DS_Store, are generally unsafe to delete. You can find more information about which files are safe or unsafe to change, move, or delete here.
Deleting Other Storage Safely

Clear cache files. Your Mac stores many types of cache files, which are temporary data files that help apps, web browsers, or your system operate more efficiently. It’s generally safe to delete these types of files, although some of them are more important than others. Browser cache: These are files that are stored by your browser to help you access online content more quickly. Browser cache files are easy and safe to clear. The way you do this depends on the browser. In Chrome and Firefox for Mac, use the keyboard shortcut ⌘ Command+⇧ Shift+Del to open a page or window where you can delete your cache or browsing data. Check the boxes next to whichever types of data you want to delete (such as cache, cookies, and browsing history), then select Clear Data or Clear Now. If you do this in Chrome, you’ll need to click the Clear Browsing Data option when the Settings – Privacy and security page opens. Safari works a little differently. Click the Safari menu at the top of the screen, then select Settings or Preferences. Click the Advanced tab and check the box next to Show Develop menu in menu bar. Select Empty Caches from the Develop menu. System cache: The potential for problems is a little higher when you delete system cache files. Before you start, back up your Mac. From there: Launch a Mac Finder Finder window and click Go in the menu bar at the top of the screen. Select Go to Folder. Type Library/Caches into the window that pops up, then click Go. Open the folders and select any files you want to delete, then drag them to the Trash in your Dock. In general, it’s safer to delete system cache files that were not added recently, since your system is less likely to still be using them. To sort by date, click View in the Finder menu bar at the top of the screen, then select Show View Options > Sort By > Date Modified. Empty the Trash when you’re done. Application cache: Most of the time, you can safely delete these temporary data files associated with your apps. In some cases, your apps might even run faster afterward! To do it: Open Mac Finder Finder and select Go > Go to Folder. Type in ~/Library/Caches. Note that this is a slightly different pathway from the one you’d type in for the system cache above. Click Go. Go through the folders and drag any files you’d like to delete into the Trash, then empty the Trash.
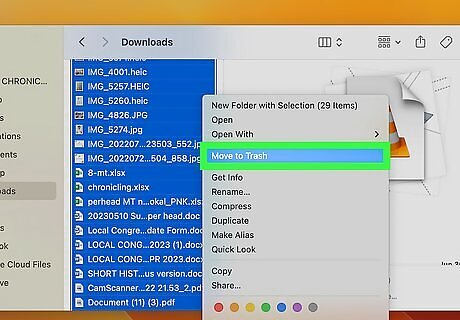
Clean up your Downloads folder. This is a safe and easy way to clear out space on your computer. Typically, you can find the Downloads folder by launching Mac Finder Finder, then clicking Downloads in the left side panel. Go through and delete anything you don’t need anymore, like old installation files, archives you’ve already extracted, and downloaded media or documents you no longer want. If you don’t see Downloads in the left Finder pane, open the Finder menu and click Settings or Preferences, then check the box next to Downloads in the Sidebar tab.
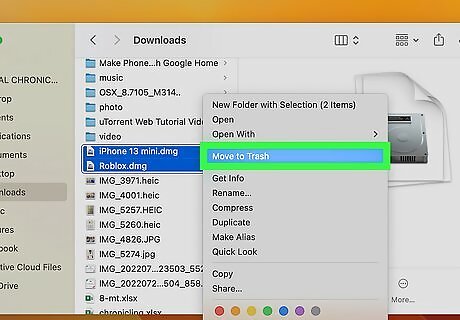
Delete old DMG files. DMG files are app installation files specific to Mac, similar to EXE files on Windows computers. Once you have installed an app from a DMG file, you can safely throw away the DMG file without causing any problems for your system or impacting your ability to use the app. To manually find and delete DMG files on your Mac: Open a Mac Finder Finder window and type dmg into the search bar at the top of the window. Select Disk Image under the Kinds header in the drop-down menu that appears under the search bar. Make sure you have This Mac selected next to the Search: header at the top of the Finder window, underneath the toolbar at the top of the window. You should now see all the DMG files that are on your Mac. Select any that you want to delete and drag them to the Trash, then empty the Trash.
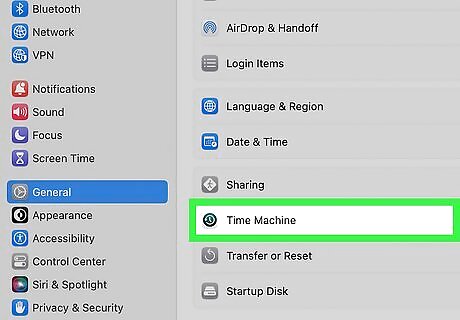
Turn off Time Machine. Time Machine is a Mac utility that takes “snapshots” of the files located on your Mac so you can restore them from backups if you need to. If these snapshots are taking up too much space on your computer, you can delete them by turning off backups temporarily: Open the Mac Apple Apple menu and select System Settings (Ventura or later) or System Preferences (Monterey or earlier). In Ventura or later, click General in the left sidebar, then select Time Machine from the right panel. If you’re using Monterey or earlier, simply click Time Machine in the main System Preferences menu. If you’re using Ventura or later, select Options > Back up frequency > Manually, then click Done. This will turn off automatic backups. For Monterey or earlier, deselect Back Up Automatically or toggle off the switch next to that option. When you’re done, wait a few minutes for your system to delete the old backup files, then turn automatic backups back on again. If you’ve never set up Time Machine before, you won’t see these options. Instead, you’ll see a button that says Add Backup Disk…. In this case, your Mac shouldn’t be storing any local snapshots.
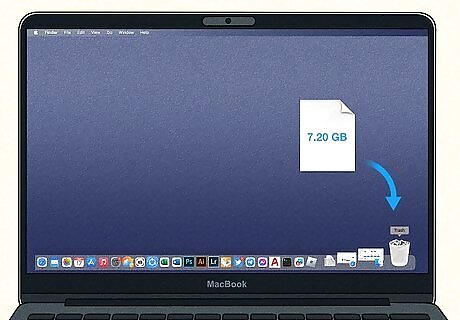
Get rid of large documents you don’t need. While documents have their own category in more recent versions of the macOS storage breakdown, if you’re using a pre-Monterey OS, they will be lumped into “Other.” Even text-only documents can take up a surprising amount of space on your computer, so it’s a good idea to clear out docs you don’t need anymore. You can also back them up on iCloud or a third-party cloud storage service, or transfer them to an external hard drive, before deleting your local copies. To delete documents manually, simply open the folders where they are located in Finder, select the documents you don’t want anymore, and drag them to Trash. Remember to empty Trash when you’re done so the documents don’t keep taking up space on your Mac!
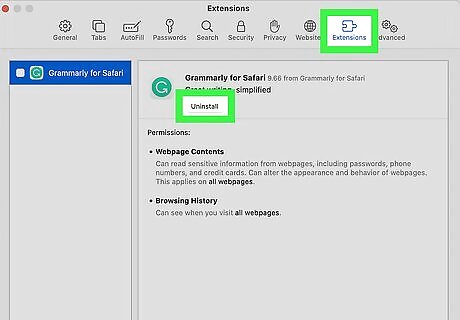
Uninstall unwanted plugins and extensions. Plugins, extensions, and other add-ons add functionality to your apps, especially internet browsers. However, too many of them can take up space or even make your apps unstable. The steps to manually remove these add-ons vary depending on the app you’re using. For example: Safari: Open Safari, then select Settings or Preferences in the main Safari menu. Open the Extensions tab, then click the Uninstall button under any extensions you want to delete. Firefox: Launch Firefox and click the ☰ menu button in the top right corner of the window. Select Add-ons and themes, then click Extensions. Scroll through your extensions in the new tab that opens up and select ••• next to any extension you want to delete. Click Remove to delete it. You can also delete themes you don’t want by selecting Themes from the Add-ons and themes menu, then following the same steps. If you’re having trouble deleting an add-on, see Firefox’s troubleshooting guide for detailed instructions. Chrome: Launch the Chrome app and find the icon for the extension you want to uninstall to the right of the address bar. Ctrl-click it and select Remove from Chrome.
Using Third Party Apps
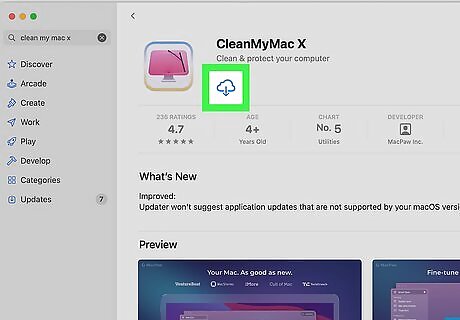
Download a disk cleanup app for targeted cleaning. There are several third-party apps on the market that are designed to clean out junk files on your Mac. These apps can safely remove files you don’t need and save you the time and effort of locating and deleting them manually. Some popular options include CleanMyMac X, MacCleaner Pro, and Drive Genius.
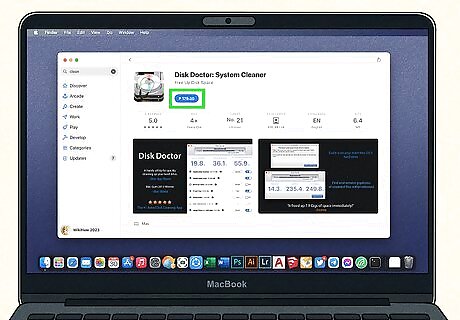
Keep in mind that these apps typically aren’t free. While most of them offer a free trial option, buying the full license can be pricey. If you’d rather not shell out the money for one of these apps, there are other options. In addition to cleaning up unwanted files manually, you can also use your Mac’s built-in storage optimization options. For example, in your Mac’s Storage menu, look at the Recommendations section for options such as setting up iCloud Storage, removing old media files automatically (such as stored movies and TV episodes from Apple TV), or setting files in Trash to be deleted automatically after 30 days.


Comments
0 comment