views
- Adjust the seat forward or back by cranking the socket near the seat motor with the “winder tool” in your vehicle’s tool kit. (Consult your owner’s manual.)
- Try using a power drill with a flexible extender if you don’t have a winding tool. Or, if you have wiring skills, try connecting the seat motor to a battery pack.
- Repairing the power seat requires removing the entire seat and doing some fairly complex electrical work—consider having this done professionally.
Why isn’t the power seat moving?
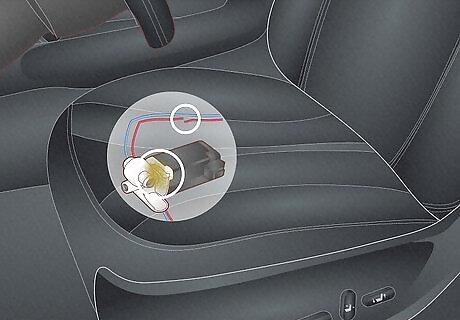
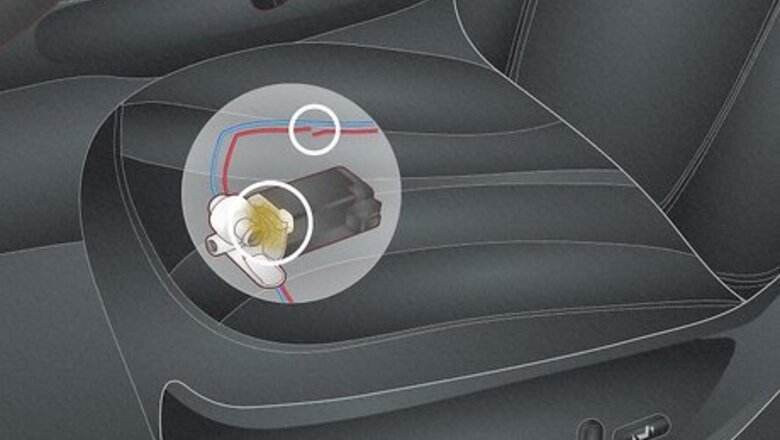
Bad motor or bad wiring If your vehicle’s battery and electrical system are otherwise fine, you’re probably dealing with a bad motor, bad wiring, or both. The seat might be completely “dead” when you press the adjustment levers, or the motor might make weak or unusual sounds and fail to move the seat. While removing the seat and replacing the bad motor(s) or wiring is the long-term solution, using a winder tool (or power drill) as described in this article is the best temporary fix.
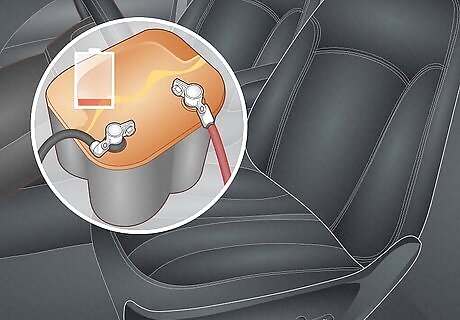
Power failure If the vehicle has a very weak or disabled battery, the power seat obviously won’t function. This is the kind of problem you’ll face if you’re trying to salvage power seats from a junkyard car, for example. The winder tool (or power drill) work here, or you may consider wiring the seat’s motor to an external battery (as mentioned in this article). If your vehicle has a weak or dead battery, wikiHow can help you jump start or replace the battery.
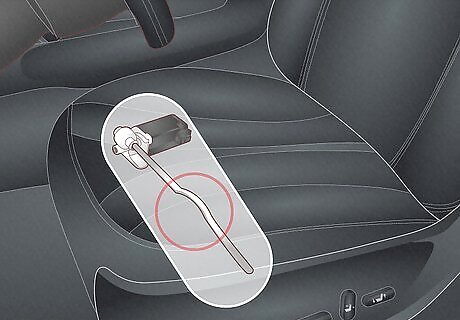
Jammed mechanism Power seat motors turn long screw-like rods and slide the seat along rails to make adjustments. A bent or broken part, or some type of obstruction, may jam up this mechanism. If this is the problem, the seat might move slightly while the motor makes loud or grinding noises. Unless you can see, reach, and remove the obstruction, removing the seat and repairing/replacing the mechanism may be the only option—and one that average DIYers should leave to a professional.
Using a Winder Tool
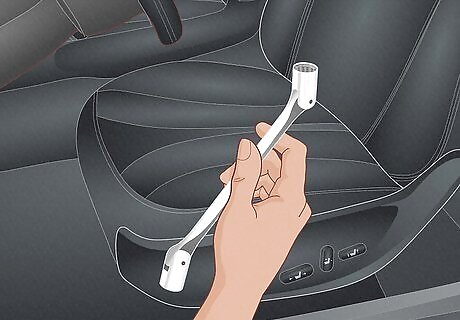
Check the tool kit for a flexible allen wrench-type tool. Your vehicle probably came with a small tool kit, and if it did (and you still have it), it likely has some sort of “winder tool” in it. A winder tool looks like a combination of a flexible drill bit extender and an allen wrench—it has a long, flexible shaft with a bit (usually square or hexagonal) at one end and a rigid, bent handle at the other end. Your vehicle’s tool kit is usually stashed along with other emergency repair items like the spare tire and jack. Check your owner’s manual for specific information. If you don’t have a winder tool, try searching for one online—unfortunately, they’re harder to track down than you’d think. Additionally, winder tools aren’t universal and may not work with your particular power seat motor.
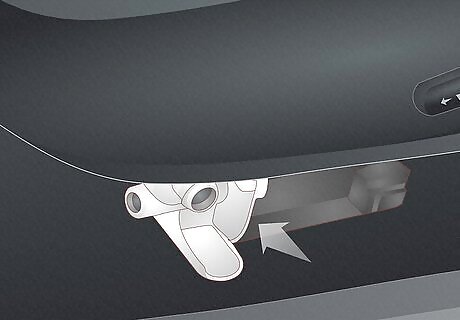
Find the motor under the seat and look for a socket. The location of the motor you’re looking for will vary based on your vehicle, but your best bet is to look under the seat from the rear. Look for a small enclosed box, usually along one of the rails the seat moves on. On this motor box, look for a socket opening that has the same shape (usually square or hexagonal) as the bit on the winder tool. Just to throw in a little more of a complication here, your power seat may have multiple motors, each of which controls different aspects of the motor’s movement. Unless your owner’s manual walks you through the process, you’re pretty much stuck having to find each motor and figure out through trial-and-error what adjustments it makes to the seat. You’ll need a flashlight—and don’t be surprised if you find some loose change and ancient fast food crumbs down there!
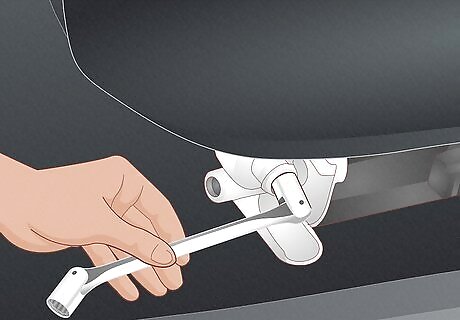
Insert the winder’s bit into the motor’s socket. Assuming you have the matching winder tool that came with your vehicle, the bit should fit snugly into the socket. If you find out at this point that you have the wrong winder tool for your vehicle, check out our advice on trying to use a power drill with a flexible extender bit—it’s not a perfect solution, but it may be your best option for getting the job done.
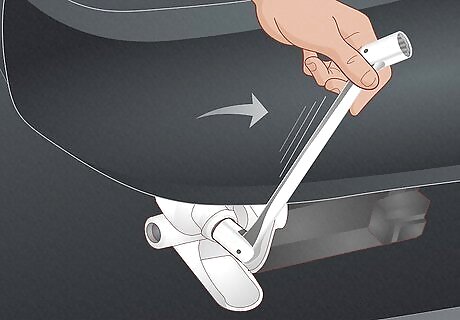
Turn the winder’s handle to (slowly) move the seat. Most likely, turning the handle clockwise will slowly inch the seat back, while turning it counterclockwise will move it forward. Watch closely to confirm this is the case—unfortunately, you’ll soon realize that this method moves the chair very slowly. But it’ll eventually do the job! If only one side of the chair is moving forward or backward, there are probably two separate motors that need to be manually adjusted. Look for a second motor opposite to the one you’re working on. Once you find it, alternate between motor sockets, moving the chair a little bit at a time with each one. There’s a good chance you’ll only be able to move the seat forward or back with a winder tool—not up or down, etc.
Can I use a drill instead of a winder tool?
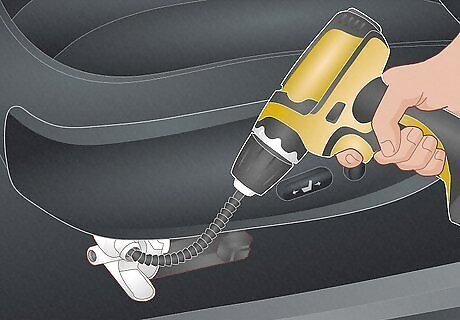
Using a power drill may work if you can get it to fit. This has a chance of working faster than using a winder tool, but it comes with some problems. First off, you may have trouble finding a screwdriver bit to fit into the seat motor’s socket (which is made for the winder tool). Second, you may only be able to reach the socket with the help of a flexible drill bit extender. If you can reach the socket and get the bit to fit, run the power drill at its lowest speed so you can easily observe and control the movement of the seat. Running the drill slowly also reduces the likelihood of stripping out the socket. If there are two motors that control forward/back movement, go back and forth between them regularly with the drill to keep the seat from going crooked and getting stuck on the track. Keep in mind that, while it’s possible this method will work just as well (and maybe faster) than the winder tool, it’s not the method you’ll find recommended in any owner’s manual. The winder tool is designed for this job, while a power drill is not.
Other Adjustments & Repairs
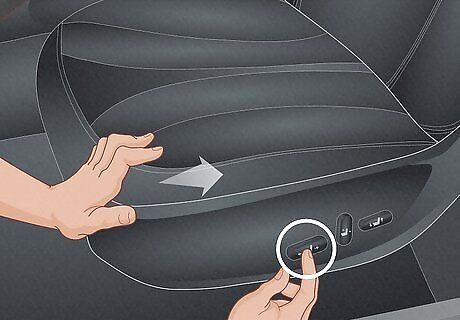
Push on the seat while pressing on the adjustment lever. This method has a chance of working if the motor is partly functional but incapable of moving the seat. (Basically, you’re providing the motor with the extra “oomph” it needs!) While holding the adjustment lever, press firmly on the seat in the direction you want it to move. If you’re lucky, you’ll be able to muscle the seat into your desired position. Keep in mind that you may do further damage to the power seat’s motor and mechanism this way. Eventually (or maybe immediately), the system will fully break down and you’ll have to rely on another method.
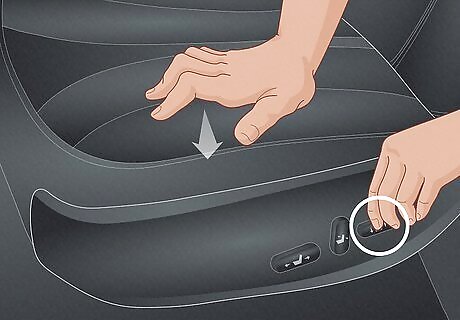
Push down on the seat while also pushing in the direction you want. Unlike the similar method of pushing to help the motor along, this time you’re trying to overcome a non-functional motor with simple brute force. By pushing down on the seat very hard while also giving a forceful push in the direction you desire, you may be able to move the seat a small amount on its tracks. However, it’s also possible that the seat will refuse to budge at all. In this case, there’s a good chance you’ll damage the seat mechanism.
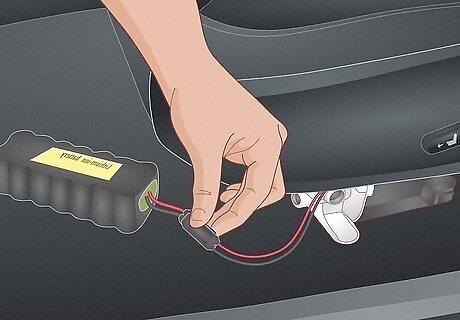
Connect the motor to a battery under specific circumstances. Here are those circumstances: 1) The seat motor works but isn’t getting any power (either because of bad wiring to it or because the car is without power); 2) You’re okay with cutting and stripping the wires to the motor; 3) You have moderate or higher electrical wiring skills. This method is probably best suited to removing a seat from a vehicle in a junkyard, but here’s a rundown of what to do if you want to give it a try: Find the wire bundle running to the seat motor, cut it, and strip away the coating on the end of the wires inside. Clamp or splice lengths of coated wire to the two thickest wires inside the bundle. Connect the other ends of the wires to the positive and negative terminals of a battery, such as a battery pack with lead wires or a cordless tool battery. If the motor is good, the seat will start to move (switch terminals with the wires if the seat is moving in the wrong direction).
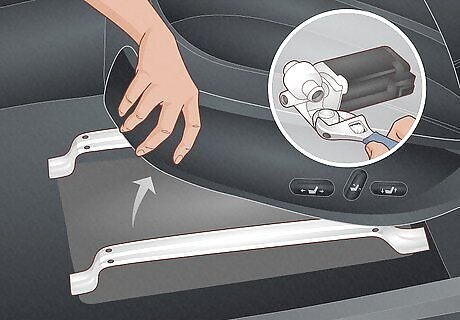
Remove the seat and repair or replace the motors and/or wiring. There simply isn’t enough room to reach under a vehicle seat and do substantial repair or replacement work, so removing the seat is a must if you want to go the repair/replace route. But this is a major effort that has a couple of big strikes against it for the average DIYer: 1) To reach the four bolts (one at each corner) that hold the seat in place, you have to move the seat fully forward and fully back. But this isn’t easy to do when the power seat mechanism isn’t working! So you end up having to temporarily solve the problem to (maybe) have a chance at permanently solving it. 2) There are a lot of wires and multiple motors under a power seat, especially in a modern vehicle. Unless you’re very confident in your wiring skills, strongly consider leaving this job to the professionals at an auto garage. If you decide that this repair is beyond your skills, figure on paying somewhere around $800 USD to have your power seat repaired professionally.


Comments
0 comment