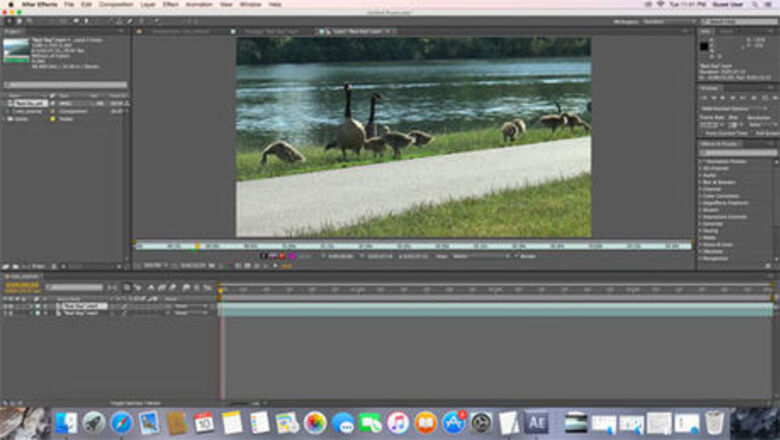
views
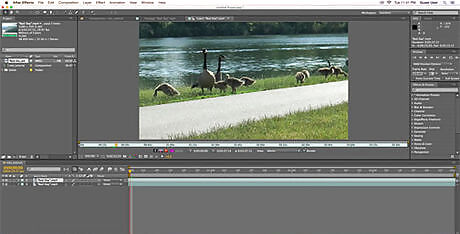
Import your footage into AE. Make sure that the preview resolution is set to “Full” so that you can clearly make out the details of your subject, which will ensure the accuracy of your rotobrushing.
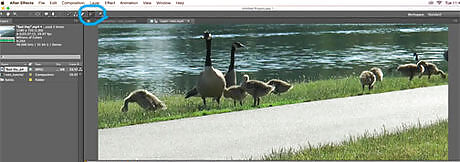
Select the rotobrush tool. Double-click your footage to open the layer panel. At the top of the layer panel is the Roto Brush icon. Click the icon, and the selection cursor will have turned into the Roto Brush cursor.
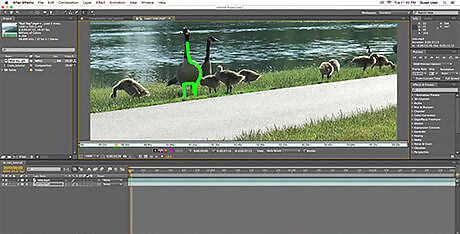
Paint your subject. Starting at the beginning of your composition, use the rotobrush to paint the subject. The software will begin to detect the outline of your subject and will trace a pink line in the selected area.
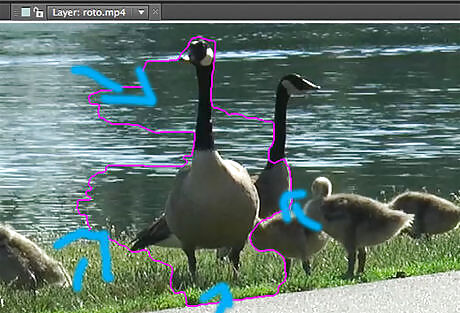
Edit the selection. The software will never trace the outline with perfect accuracy. Zoom-in to the areas where there is too much or too little selected, and begin editing with the brush. Hold the Alt button on the keyboard to switch the cursor to subtract (red). This is used for deleting selections and chiseling difficult areas like between the subject's feet. Vary the size of the brush using Alt+Command to go into smaller areas.
Monitor the selection. After you have a satisfactory trace in the first fame, the software will automatically propagate the brush, as the video progresses, to follow the path of the subject - but it will make errors that require intervention. Using the arrow keys, move the video ahead frame by frame, watching the outline to make sure it is continuing to track the shape of the subject.
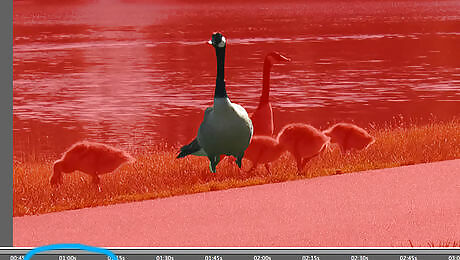
Fix selection errors. Once you come across a frame where the outline is no longer accurately tracing the subject, you must manually fix the errors with the Roto Brush. HINT: Toggle different views to help rotoscope more accurately. Once you fix an erroneous frame, the software will save the new information and you can continue forward checking the rest of the frames. Continue this process of editing the automated brush errors until you reach the end of your composition.
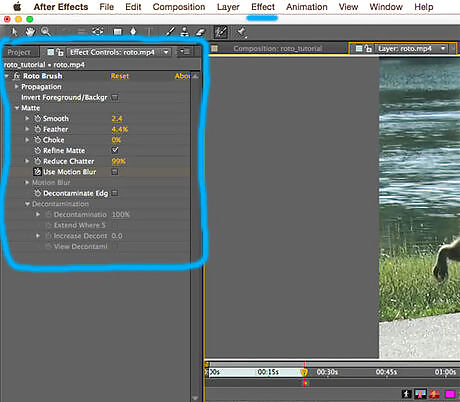
Fine-tune your rotoscope. Twirl down in your layer panel under “Effect Controls” to “Roto Brush & Refine Edge”. From here, you can select options to adjust your rotoscoped footage. From here, you can adjust the feather to make the outline softer, reduce chatter to smooth out rough outlines, and much more. Edit and keyframe these settings to achieve your desired result.
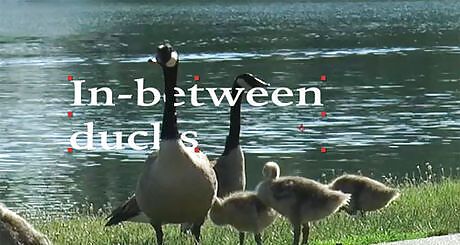
Apply your rotoscoped footage to your production. Now that you have an isolated subject, you can make many interesting effects in your production. By duplicating the original footage, you can create depth by having 3D particles appear to flow both in front and behind your subject, or you can completely move the subject into a different background as if the subject was filmed with a green screen – there are lots of special effects possibilities with rotoscoping.






Comments
0 comment