views
Installing Moon+ Reader
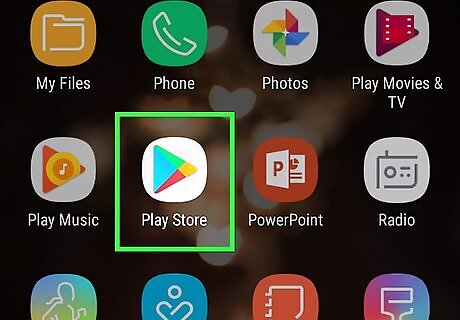
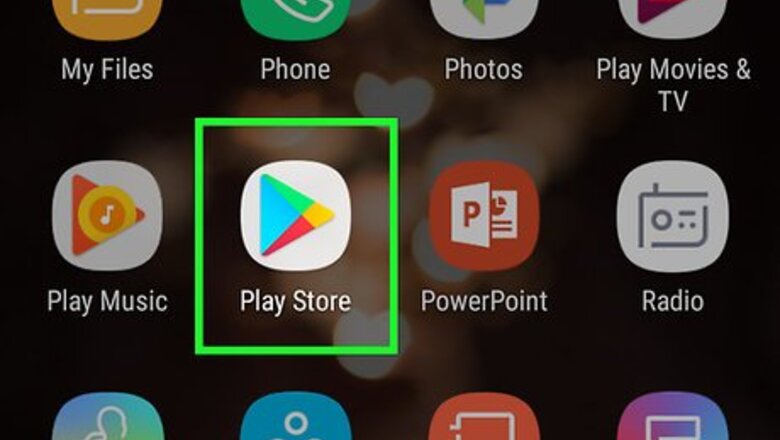
Open the Play Store Android Google Play app. You'll find it in your app drawer.
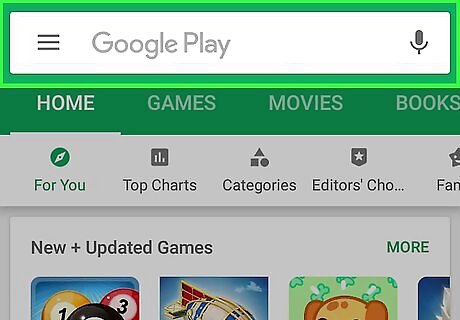
Tap the search bar at the top of the screen.
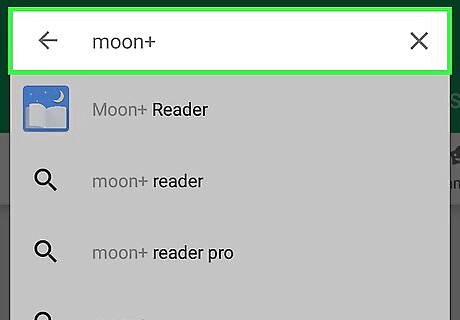
Type moon+ into the search field. A list of matching results will appear.
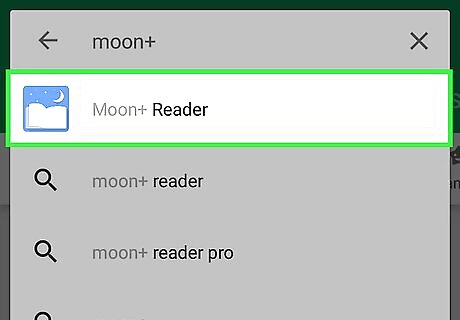
Tap the free Moon+ Reader app. You can try the free version and decide later if you want to upgrade to the paid version. The paid version removes adds and supports Google Drive and Dropbox.
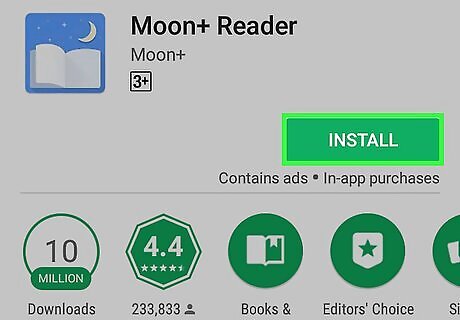
Tap INSTALL. It's the green button near the top-right corner of the screen. Moon+ Reader will now install on your Android.
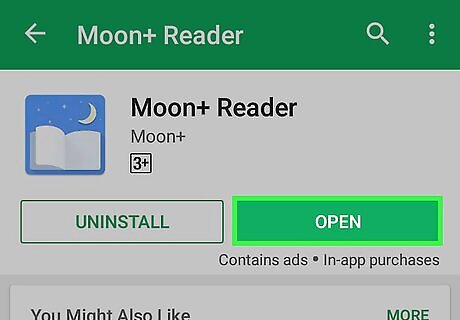
Tap OPEN to launch the app. This button appears after installation is finished. You can also launch the app by returning to the app drawer and tapping the blue icon with a book and yellow moon inside. The first time you open the app, you'll have to follow the on-screen instructions to give it permission to access your Android's storage.
Importing Books from Your Android
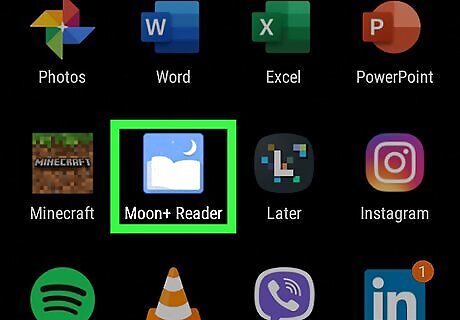
Open Moon+ Reader on your Android. It's the icon with a book and yellow moon, and you'll find it in the app drawer. Use this method if you have book files saved to your Android (either on the SD card or in local storage) that you want to add to Moon+ Reader.
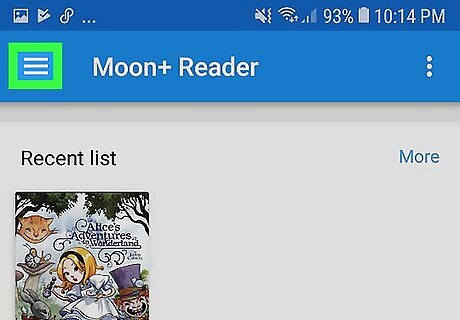
Tap the ≡ menu. It's the three horizontal lines at the top-left corner. A menu will expand.
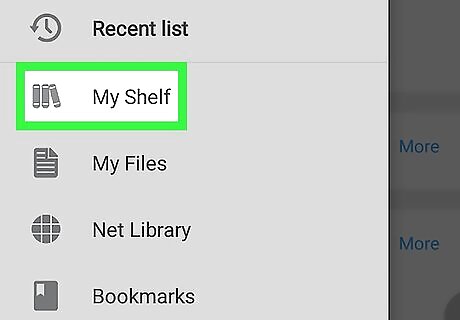
Tap My Shelf. It's near the top of the menu.
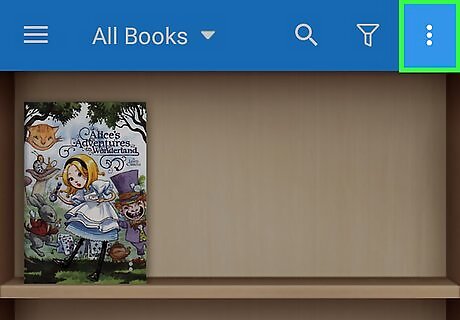
Tap the ⋮ button. It's at the top-right corner of the screen.
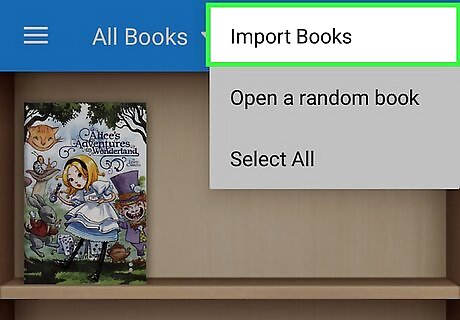
Tap Import Books. It's at the top of the menu.
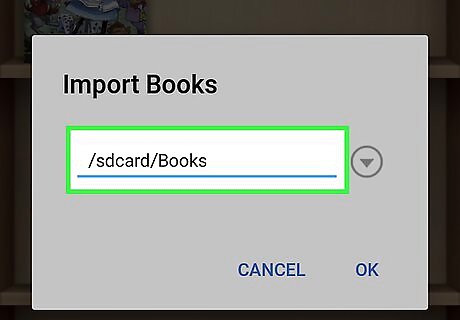
Tap the current path. It will probably be called /sdcard/Books or something similar. This brings up a file navigation window.
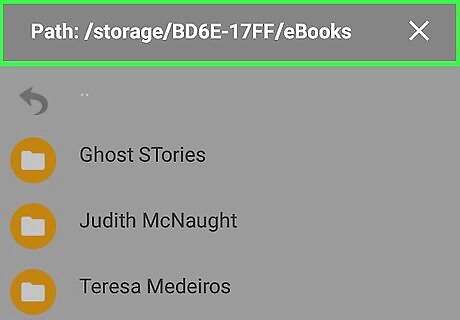
Browse to the folder where your books are located. This could be your Downloads folder if you downloaded your books on your Android, or whatever folder you transferred them to from your computer.
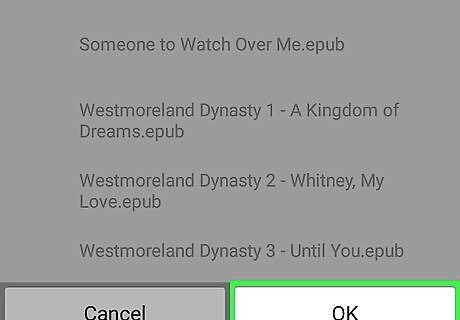
Tap OK to scan the folder for book files. The scan will display all PDF, EPUB, and MOBI files in the selected folder.
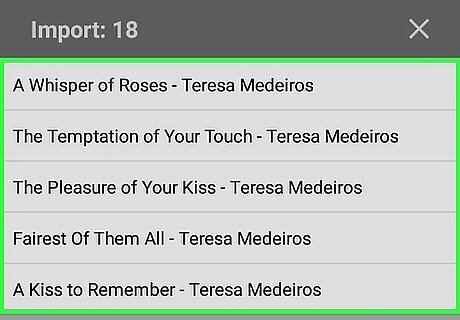
Tap the files that you want to import. This places a blue-and-white check mark next to each book you select.
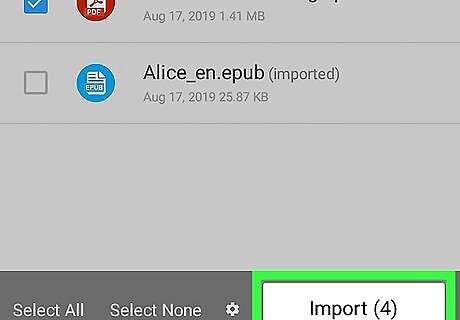
Tap Import. It's at the bottom of the window. The selected books will be added to your shelf.
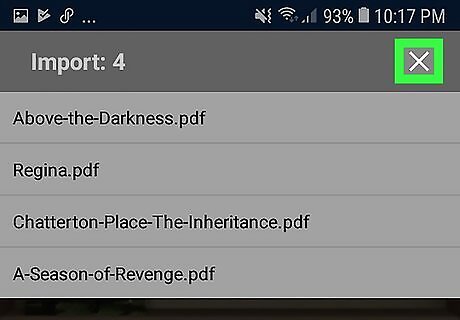
Click OK. This closes the window and returns you to My Shelf, where you can now browse your books.
Importing Free Online Books
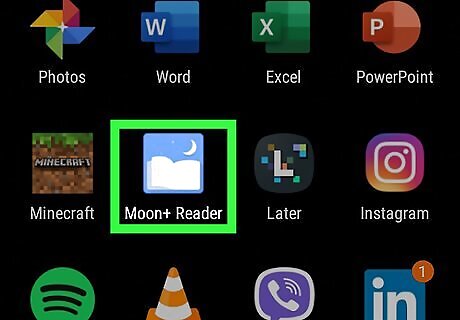
Open Moon+ Reader on your Android. It's the icon with a book and yellow moon, and you'll find it in the app drawer. Use this method if you want to download new free books from online sources.
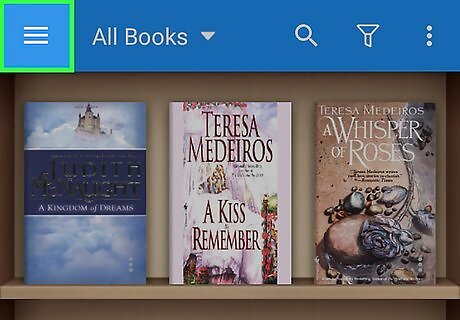
Tap the ≡ menu. It's the three horizontal lines at the top-left corner. A menu will expand.
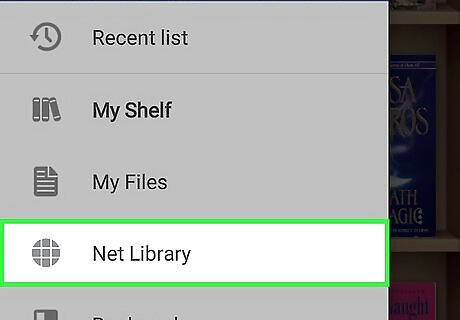
Tap Net Library. It's the option with a gray globe. A list of online book repositories will appear.
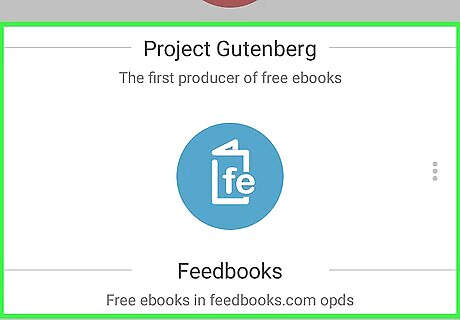
Tap one of the free e-book distributors. Depending on the source you choose, you may have to agree to some terms before you can proceed.
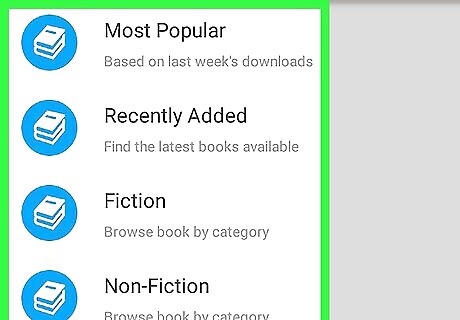
Browse the available books. The process will be different depending on which service you selected, but you can usually search by keyword and browse by category.
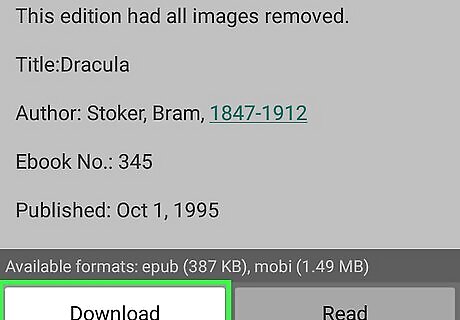
Tap the Download button for a book you want. A list of available formats will appear.
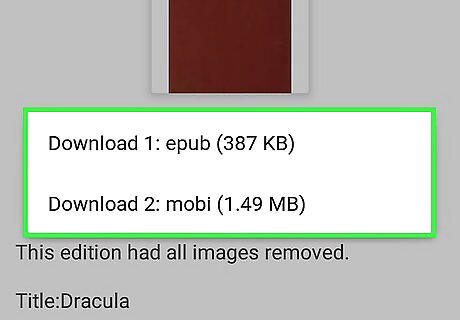
Tap the format you want to download. EPUB, MOBI, and PDF are all open formats that are completely compatible with Moon+ Reader. Once you select a format, the book will start downloading. The differences between the formats are negligible for most users. As you start reading lots of e-books, you may find yourself gravitating more towards a specific format.
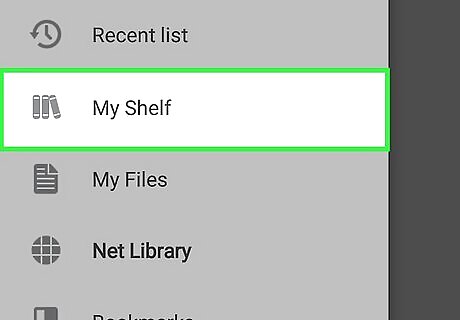
Tap the ≡ menu and select My Shelf. This displays your Moon+ bookshelf, although you'll notice that your new book has yet to appear.
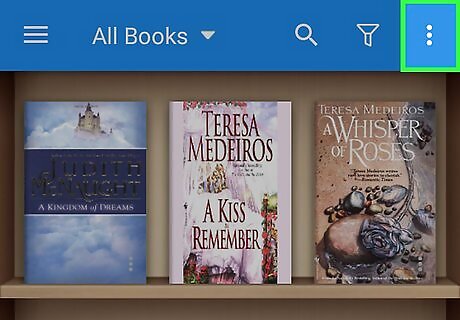
Tap the ⋮ button. It's the three dots at the top-right corner. A menu will appear.
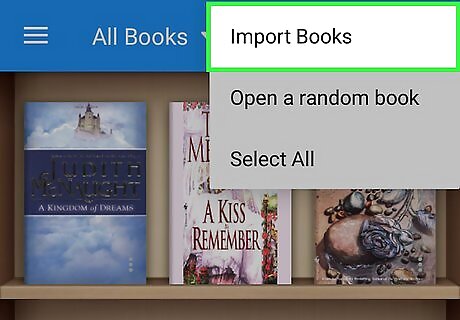
Tap Import Books on the menu.
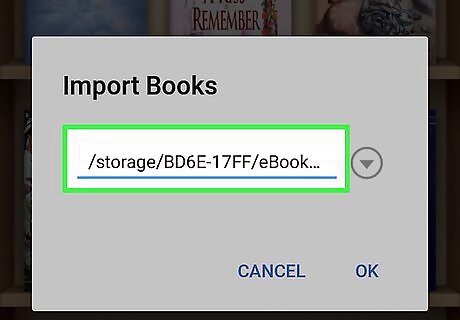
Tap the current path. It will probably be called /sdcard/Books or something similar. This brings up a file navigation window.
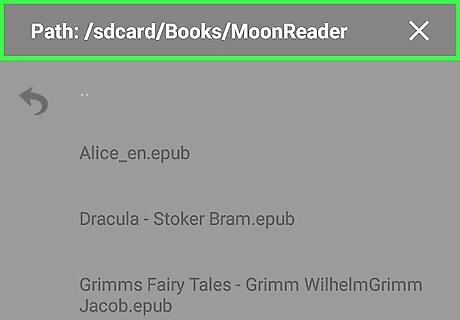
Navigate to /sdcard/Books/MoonReader. This is the folder your downloaded books are saved to (even if you don't have an SD card inserted). A list of books in the folder will appear.
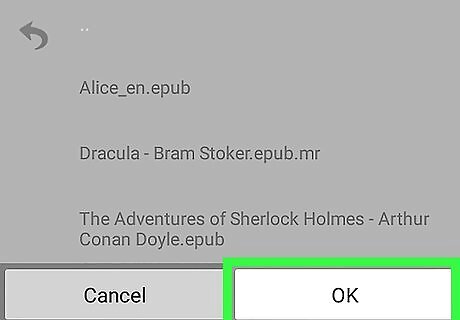
Tap OK. This changes the default folder to the one that contains your book(s).
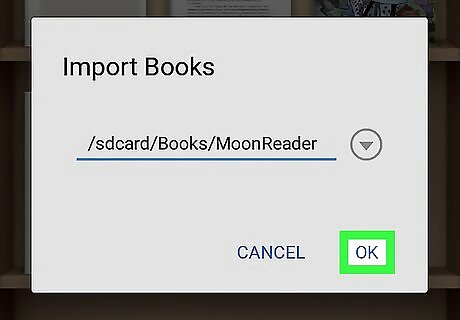
Tap OK on the window. A list of your books will appear again, but this time you'll be able to select them for import.
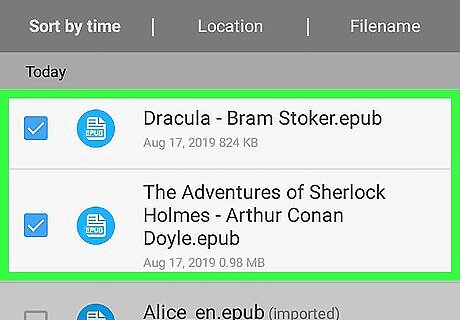
Tap the files that you want to import. This places a blue-and-white check mark next to each book you select.
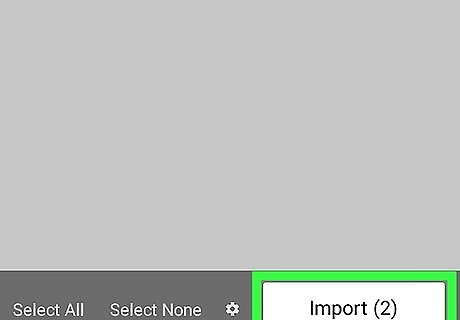
Tap Import. It's at the bottom of the window. The selected books will be added to your shelf.
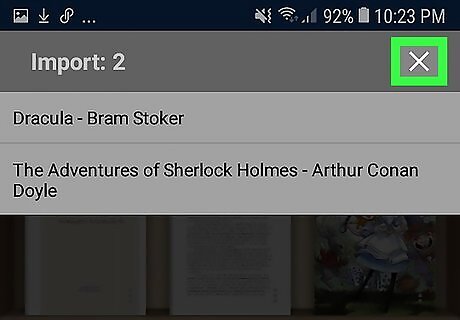
Click OK. This closes the window and returns you to My Shelf, where you can now browse your books.
Browsing your Book Library
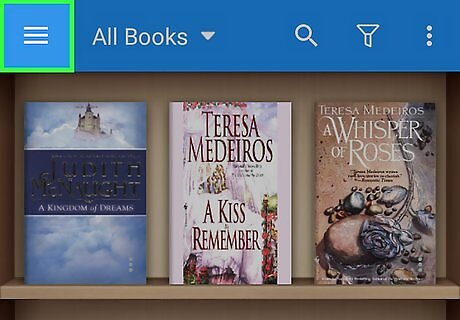
Tap the ☰ menu. It's the three horizontal lines at the top-left corner of the screen.
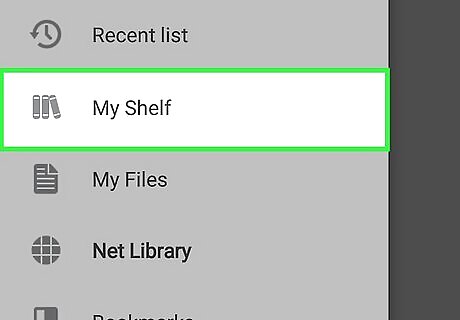
Tap My Shelf on the menu. This displays your bookshelf, where you'll find all of your imported books.
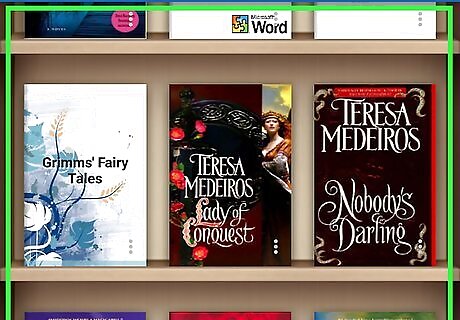
Scroll up and down to view all of your books.
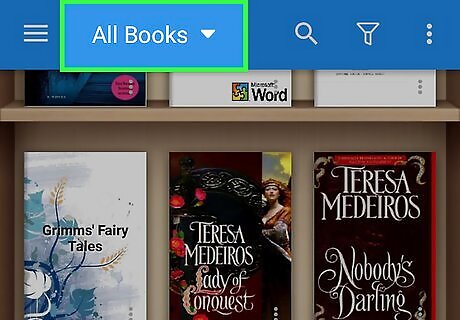
Tap the All Books menu to change your view. All books are displayed by default, but you can choose which titles to see.
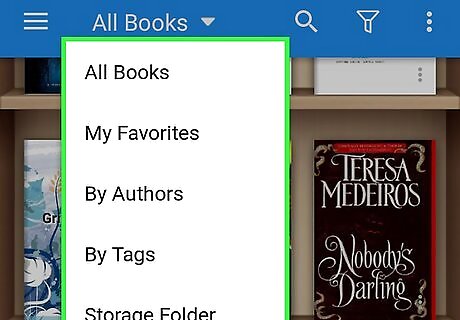
Tap the view you want to use. You can sort by authors, view books you've marked as your favorites, browse by tags, and view your device storage folders. My Shelf will then refresh to display only those titles that meet the criteria you select from this menu.
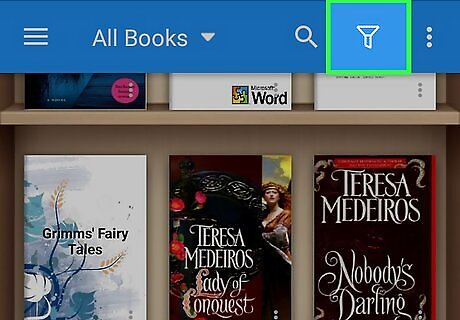
Tap the funnel icon to filter My Shelf even further. It's near the top-right corner of the screen.
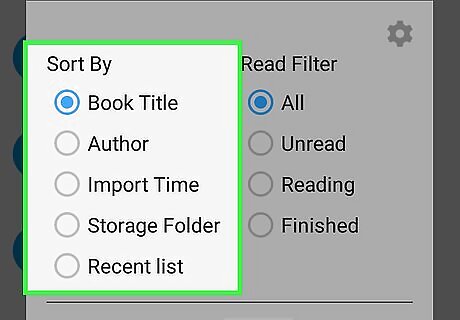
Tap a "Sort By" option. These options display the order in which your books are displayed.
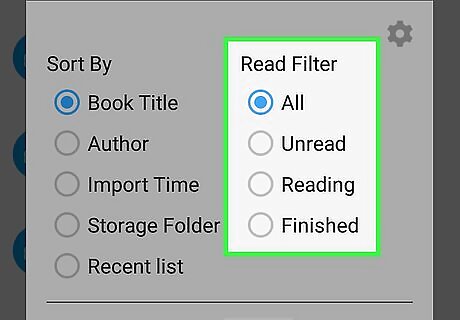
Tap a "Read Filter" option. This will allow you to display only unread books, only books you're currently reading, or only books you've finished.
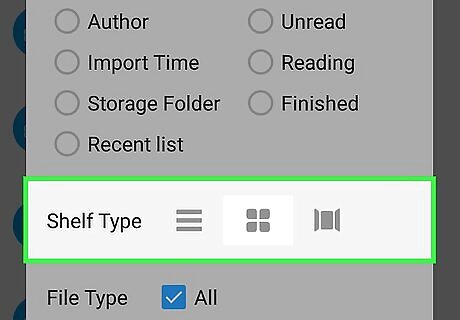
Tap a "Shelf Type" option. This just changes how your books appear on My Shelf. You can view a list, a grid pattern, or open book-to-open book.
Reading a Book
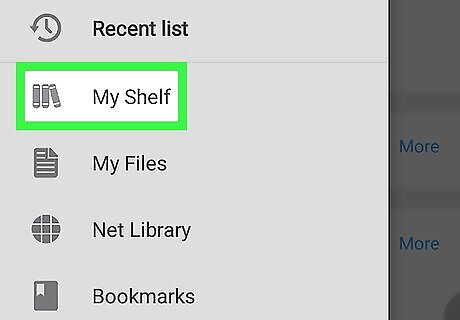
Tap the ≡ menu and select My Shelf. This displays your Moon+ bookshelf, where you'll find your imported books.

Tap a book to open it. Depending on the file, you may see an intro page, a table of contents, or some other information.
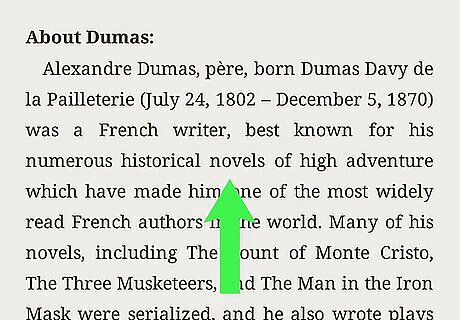
Swipe to turn the page. You can swipe right to left or down to up to move to the next page. Swiping left to right or up to down will return to the previous page. You can also change pages by tapping the top or the bottom of the screen. If your book displays a table of contents, you can tap a chapter or section to jump to it.
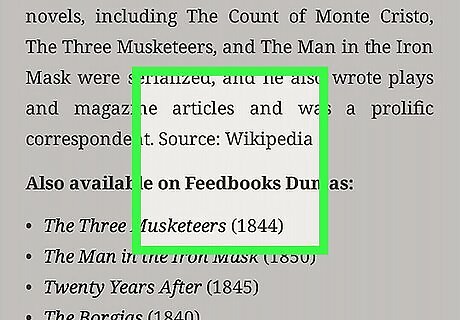
Tap the center of the screen to open the reader controls. This displays a row of icons along the bottom of the screen.
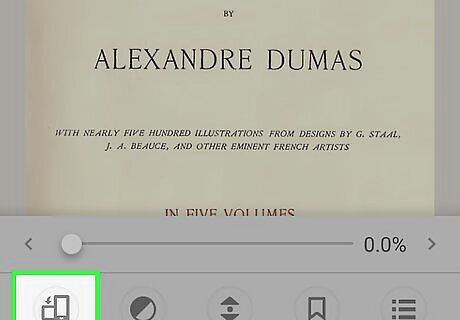
Tap the rotate icon to change the screen orientation. It's the first icon on the bottom of the screen. This allows you to switch between portrait and landscape mode.
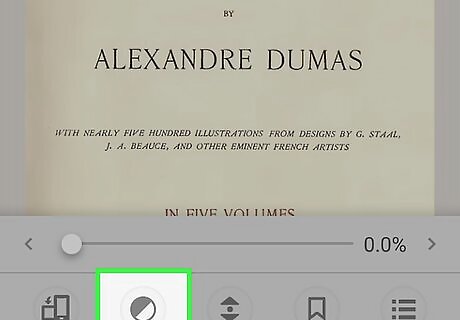
Tap the contrast icon to switch between dark and light modes. It is the second icon, which is a circle divided in two. Dark mode, which is usually better at night, displays white text on a dark gray background. Light mode displays black text on a beige background.
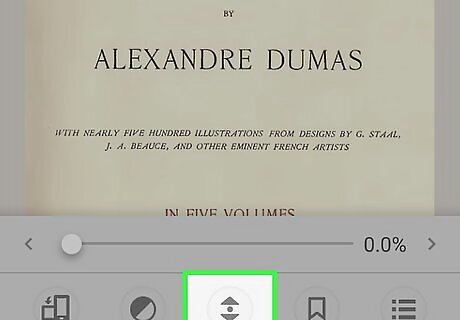
Tap the auto-scroll to enable automatic scrolling. It's the third icon, which looks like two arrows separated by a dot. This will open a new menu where you can set up auto-scrolling, a feature that allows you to read without having to manually turn the page. After making your selection, tap OK to confirm. Tap the screen at any time to pause auto-scrolling.
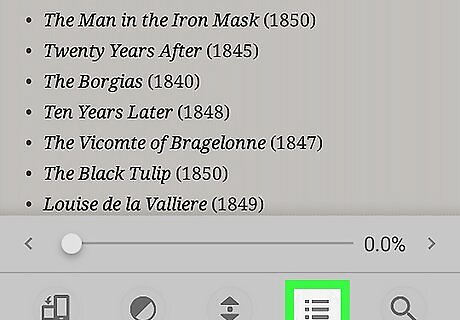
Tap the list icon to manage your chapters and bookmarks. This will usually display two tabs—Chapters and Bookmarks. Tap Chapters to view the chapter list and jump between chapters/sections (if available). Tap Bookmarks to browse existing bookmarks or add a new one. When you want to add a new bookmark, go to this screen, tap Add new bookmark at the bottom, set your preferences for the bookmark, and then tap OK.
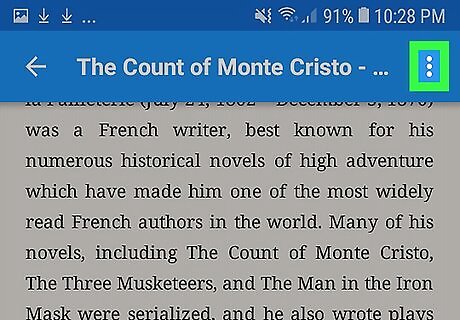
Tap the three-dot ⁝ menu to view more options for that book. It's at the top-right corner of the screen. This will open a menu that allows you to further customize your reading experience for this particular title. Browse through the menus and experiment with settings until you find the right setup. Some options in this menu, including syncing your reading position to Google Drive or Dropbox, are only available in the Pro (paid) version of Moon+ Reader.
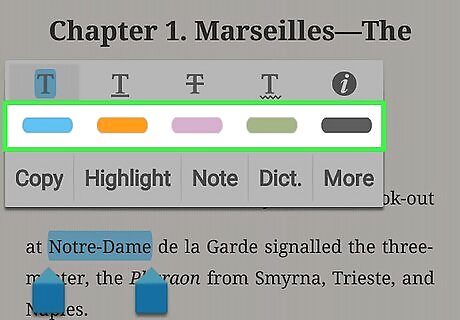
Highlight text on the page. If you want to illuminate a portion of the text with a certain color, you can do so using the highlighter. Here's how: Tap and hold a word in the text you want to highlight. After a second or so, the word will be selected and some handles will appear on either side. Drag the handles to select the text you want to highlight. Tap a highlighter color to highlight the selected text.
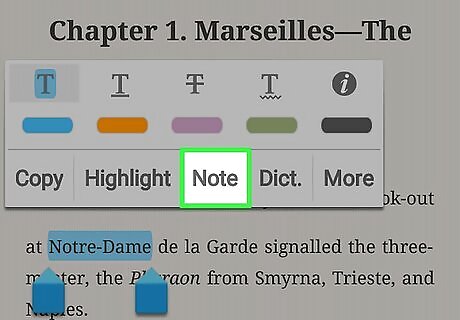
Add a notation to some text. If you want to add your own notes, you can do so using the Note feature. Here's how: Tap and hold a word in the text where you want to add your note. After a second or so, the word will be selected and some handles will appear on either side. Drag the handles to select the text. Tap Note to open a window that allows you to type. Type your note and tap Save. This adds a post-it note icon to the selected text. To read the note, click the post-it icon. To delete it, tap Delete.
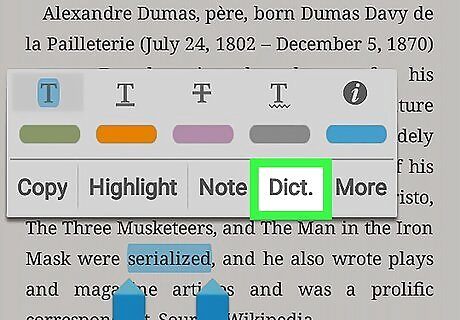
Research or translate text. If you want more information on some text or just need to look up a word, you can use the app's built-in research tools. Here's how: Tap and hold a word in the text where you want to add your note. After a second or so, the word will be selected and some handles will appear on either side. Drag the handles to select the word or phrase you want to look up. To look a word up in the dictionary, tap Dict. The first time you use this feature, you'll be prompted to choose a default dictionary and set some preferences. You may have to install a dictionary app for some of the options, but they are all safe (and free). To search for a word or phrase online, tap More to display some research options (including Google, Translate, and Wikipedia. Tap the option you want to use and follow the on-screen instructions.
Syncing to Google Drive or Dropbox
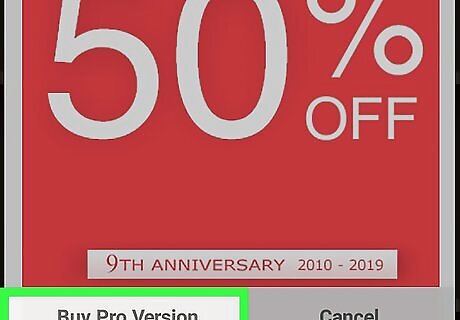
Purchase Moon+ Reader Pro. You'll need the paid version of Moon+ in order to link your Dropbox or Drive account. Once linked, any e-books that you add to your cloud storage will automatically sync with Moon+ reader. To buy Moon+ Reader Pro, tap the ☰ at the top-left corner, tap About at the bottom, and then tap Buy Pro Version. Follow the on-screen instructions to make your purchase.
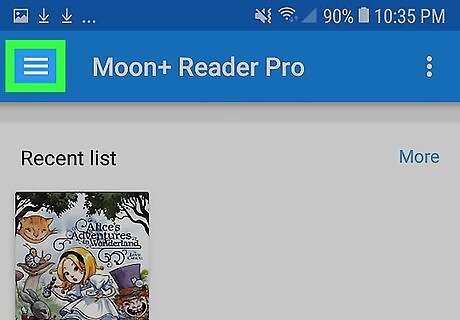
Tap the ☰ menu in Moon+ Reader Pro. It's the three horizontal lines at the top-left corner of the screen.
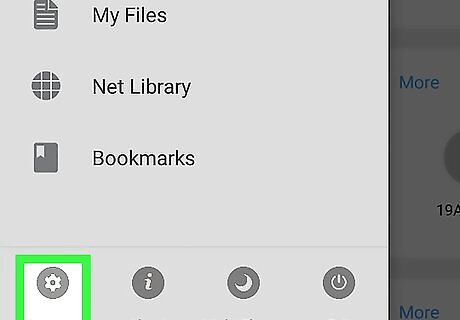
Tap Options. It's at the bottom of the menu.
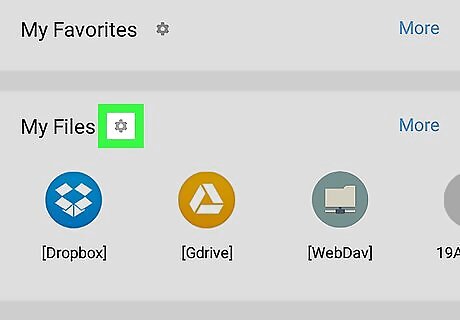
Tap the gear Android 7 Settings next to the service you want to use. Once you choose your service, you'll be prompted to sign in with your account.
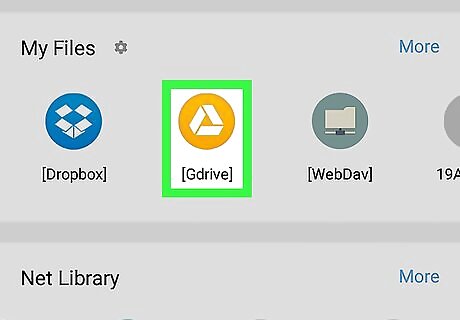
Sign in to Google Drive or Dropbox using your existing account. Once you're logged in, the accounts will be linked.
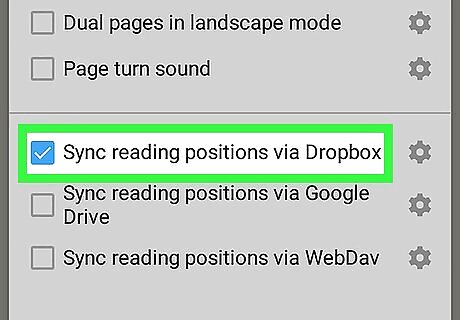
Enable reading position syncing. This feature allows you to save your position in the book to Google Drive or Dropbox so you can resume from the same position on another phone or tablet: Go to My Shelf. Tap the book you want to sync. Tap the center of the screen to view the controls. Tap the ⁝ menu at the top-right corner. Scroll down and tap "Sync reading positions" next to the service you want to use. Tap anywhere outside of the window to save your changes.




Comments
0 comment