views
Android 5.0 and Later
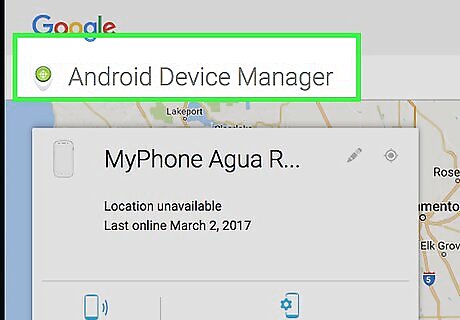
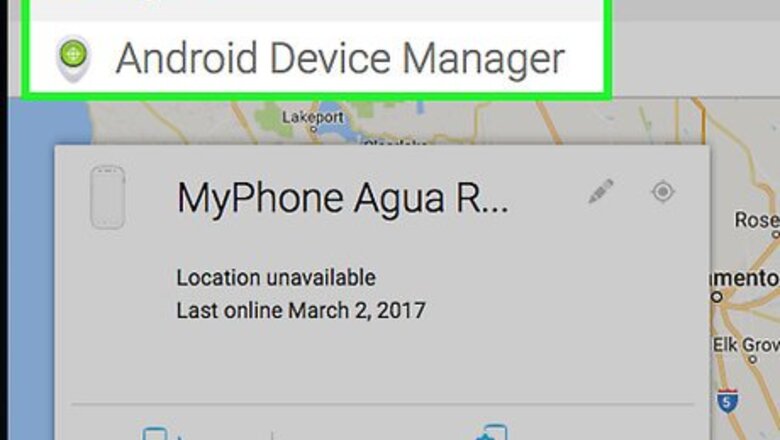
Visit Android Device Manager in a web browser. This method will erase the content from your phone. As of Android 5.0, Google has removed the ability to bypass the lock code without wiping the content. You'll be able to get back into your phone, but you will lose any data (such as music and photos) saved to the device. This method will only work if you have Android Device Manager enabled on your phone. If you are unable to unlock your phone with this method, learn how to perform a factory reset on your Android..
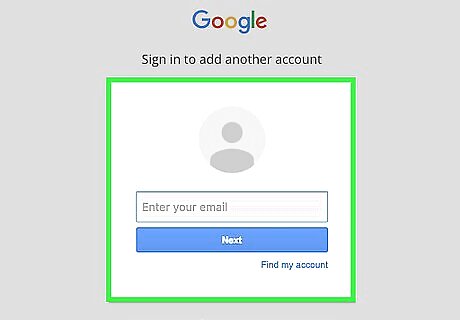
Sign in with your Google Account. Use the same Google account information that is associated with your Android phone.
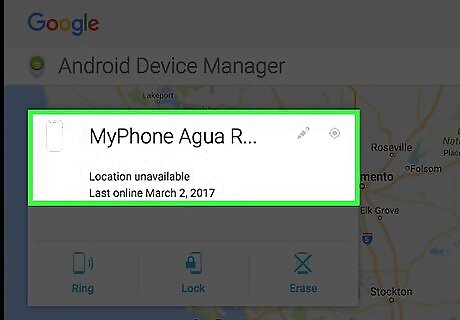
Select your device from the list. If you have more than one Android associated with this Google account (such as older phones), you will see a list of devices from which to choose.
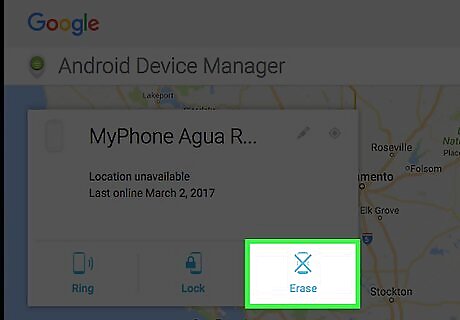
Select “Erase.” Remember that this method will erase the data on your device.
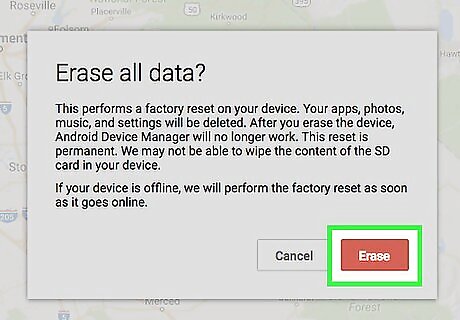
Tap “Erase” again to continue. The device will now restore back to its original factory settings. This will take several minutes.

Follow the on-screen prompts to set up your phone. You'll now be walked through a setup process for your phone as if it were new.
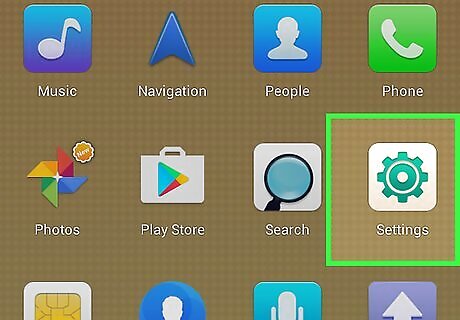
Open the Settings app. Once setup is complete and you've arrived at the home screen, create a new lock password or pattern.
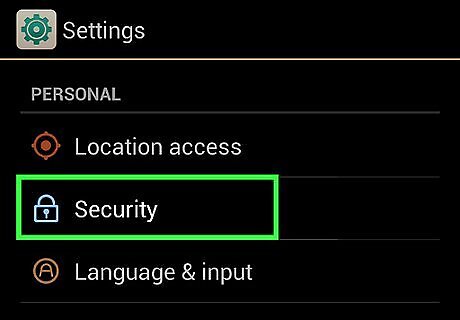
Tap “Security”.
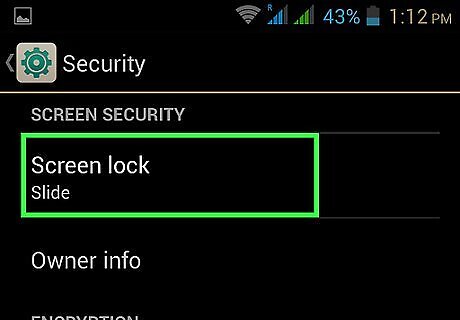
Tap “Screen lock”. Choose the type of screen lock you want to use, and then follow the prompts to create your new passcode.
Android 4.4 and Earlier
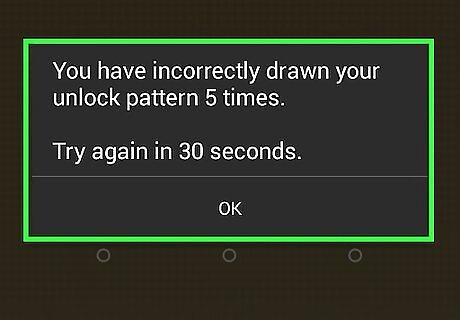
Attempt to unlock your phone five times in a row. This method will only work if you have a pattern-type passcode set up on Android 4.4 (KitKat) or below. After five unsuccessful unlock attempts, you will see a link that says “Forgot Pattern?”
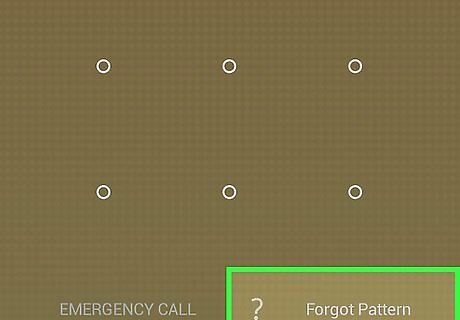
Tap “Forgot Pattern?”. Now you will have the opportunity to sign into your phone using the Google username and password associated with your phone.
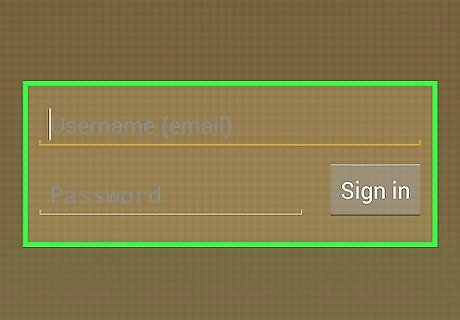
Enter your Google account information and tap “Sign In”. If the username and password are correct, you should now be logged back into your Android.
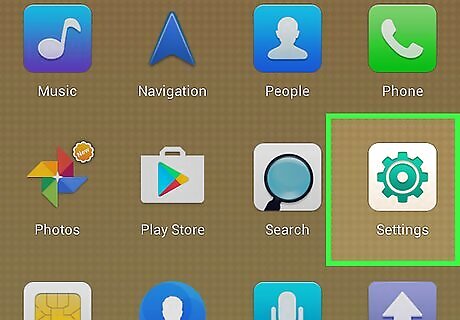
Open the Settings app. When you logged in with your account information, your previous lock pattern was deactivated. Now you can create a new code that you'll remember.
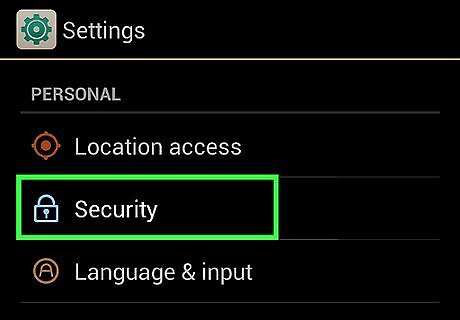
Tap “Security”.
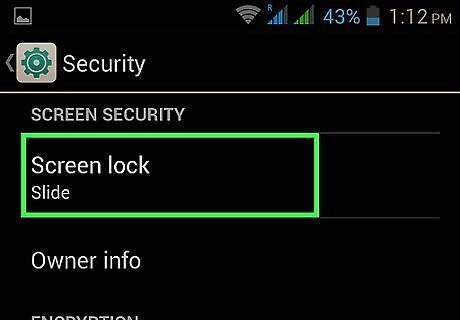
Tap “Screen lock”. Here you will select the type of screen lock you want to use, then follow the prompts to create a new password or pattern.
Using iTunes Backup and Restore
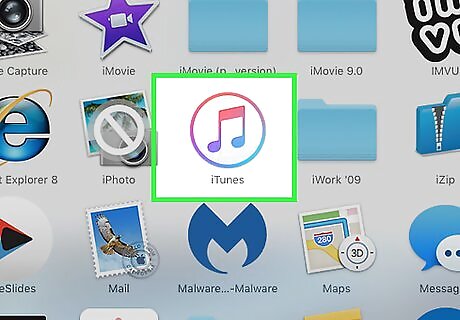
Connect your iPhone to iTunes. If you fail to unlock your iPhone after six tries, you will see a message that says “Device is Disabled”. To get back into your phone, connect it to the computer on which you use iTunes, then open iTunes. If you see the message “iTunes could not connect to [your device] because it is locked with a passcode” or “You haven't chosen to have [your device] trust this computer, try a different computer you've synced with in the past. If there is no secondary computer, see Using iPhone Recovery Mode.
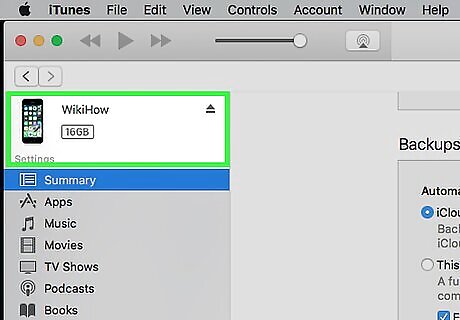
Sync your iPhone with iTunes. If your iPhone is configured to sync automatically, it should begin to sync. If your phone does not sync automatically: Click your iPhone.
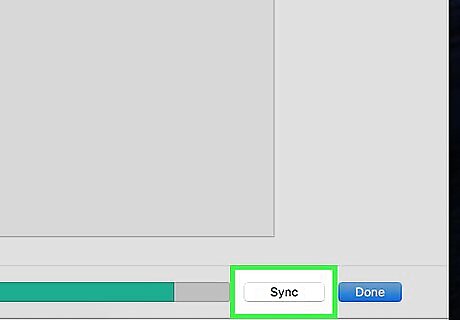
Click the “Sync” button at the bottom of iTunes.
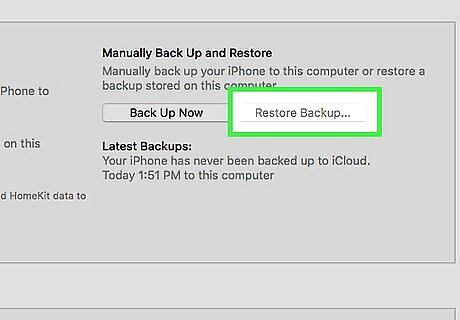
Click “Restore iPhone…” to begin restoring from backup. Now that you've synced a backup of your iPhone content to the computer, you'll be able to reset your iPhone back to its original settings. When the restore is complete, the Setup screen will appear on your iPhone.
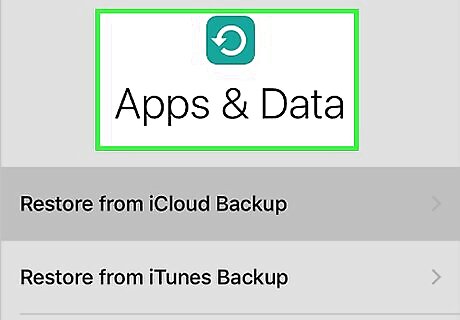
Follow the prompts until you arrive at the Apps & Data screen. Now you'll move through setting up your iPhone as though it's a new device. This is where you'll set your location, set up Wi-Fi, and create a brand new passcode. Once you arrive at the “Apps & Data” screen, you'll have the option to restore from your backup.
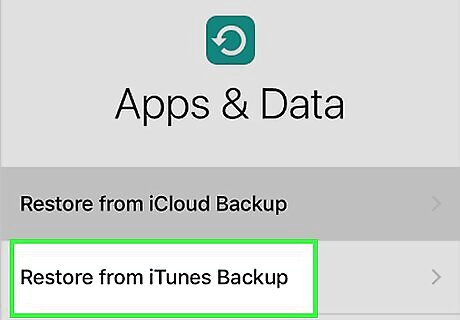
Select “Restore from iTunes Backup”.
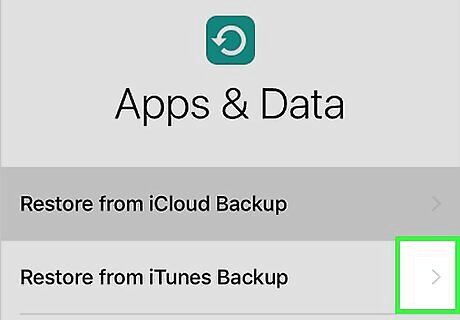
Tap “Next”. The next few steps will be performed on the computer in iTunes.
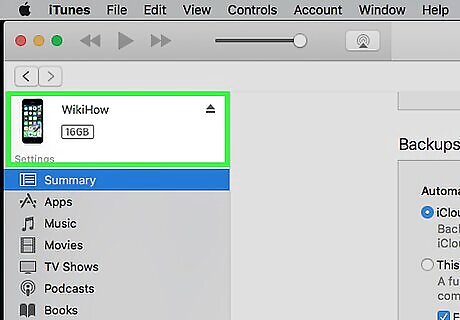
Select your iPhone in iTunes. Click the iPhone icon in the top left corner of iTunes to select the device.
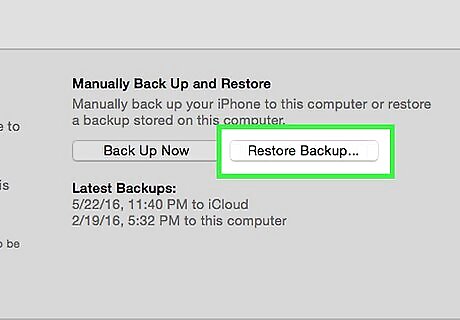
Select “Restore Backup”.
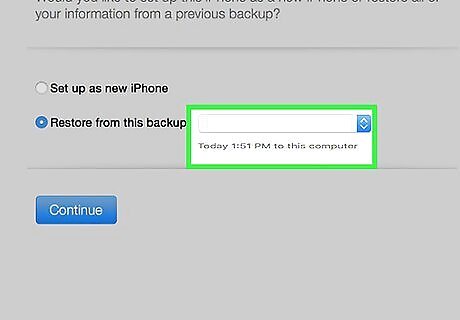
Choose the most recent backup. If you see more than one backup listed, make sure you choose the one that reflects today's date.

Follow the prompts to restore your iPhone. When the restoration is complete, all of your data will be back on your iPhone.
Using iPhone Recovery Mode
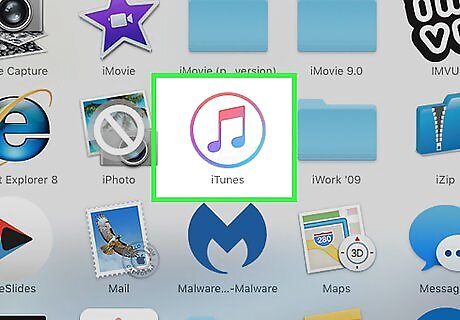
Connect your iPhone to iTunes. If your iPhone was disabled as the result of multiple failed login attempts, you'll see a message that says “Device is Disabled”. This method will erase all of the content on your iPhone, so you should only use it if you're unable to use iTunes Backup and Restore. Unlike using iTunes Backup and Restore, you can complete this method with any computer using iTunes (not just the one you normally sync with).
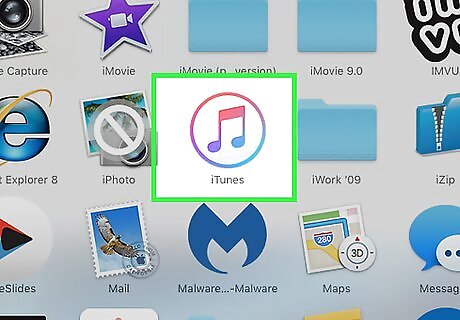
Press and hold the Sleep/Wake and Home buttons at the same time. Keep holding these buttons down until you see the Recovery Mode screen. This screen is black and will display the iTunes logo and a connector, indicating that the device is connected to iTunes.
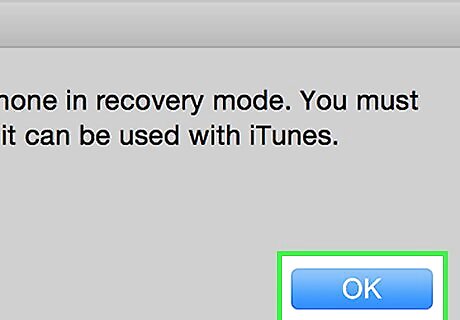
Click “OK” on the pop-up in iTunes. Do this if you see the following text in a pop-up window: “iTunes has detected an iPhone in recovery mode. You must restore this iPhone before it can be used with iTunes.” Otherwise, move to the next step.
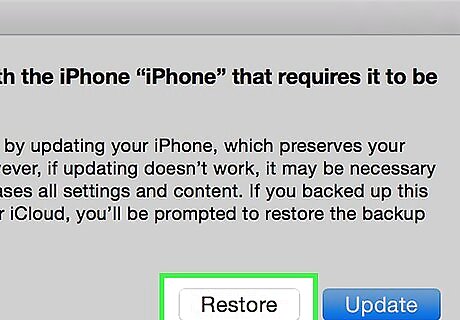
Click “Restore” in iTunes. You'll see this button on a pop-up window that also contains the buttons “Cancel” and “Update.” Once you click “Restore,” iTunes will start the restoration process, which may take several minutes.

Follow the setup prompts on your iPhone. When the restore is complete, your iPhone will rest. Follow the prompts to set your location, Wi-Fi, and create a new passcode. If you made an iCloud backup at an earlier date, select the option to “Restore from iCloud Backup” on the “Apps & Data” screen. If you have no backup, select “Set Up as New iPhone” on the “Apps & Data” screen.


Comments
0 comment