views
Washing and Preparing Your Hair
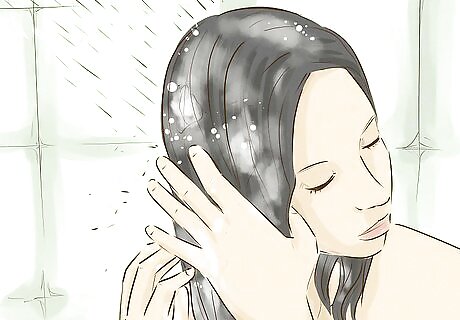
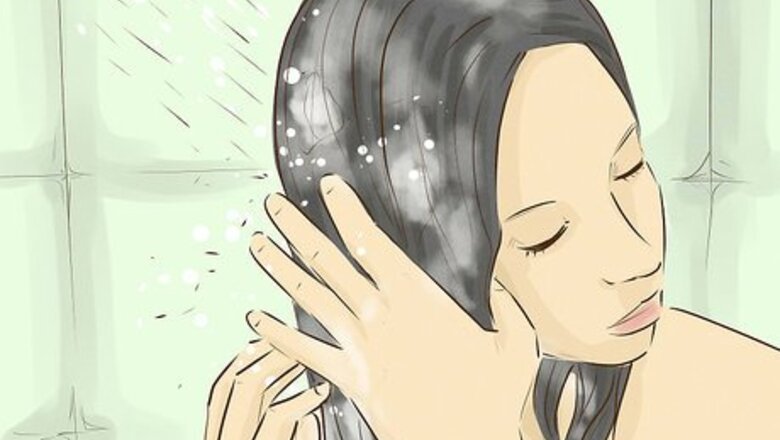
Wash your hair. Use a mild shampoo and be sure that your hair is clean and free of any hair-care products before you begin trimming. You do not need to condition, but it may help eliminate any tangles. Rinse your hair until no residual bubbles or soap are present in the run-off. The water flowing from your scalp should be clean and clear. Hair that is very thick, curly or coarse should be washed twice to make sure it is clean.

Lightly towel dry any excessive moisture. Do not dry entirely, but instead, allow your hair to remain damp. This will make it more manageable. A spray bottle filled with water can be used to moisten the hair as it dries.

Cover your shoulders with a towel. This will catch any drips and will also keep the hair from falling down your shirt as you trim. It will also make cleaning-up afterward easier. A towel or tarp can also be placed on the ground to catch the hair as it falls. Use a hairdresser's cape if you happen to have one.
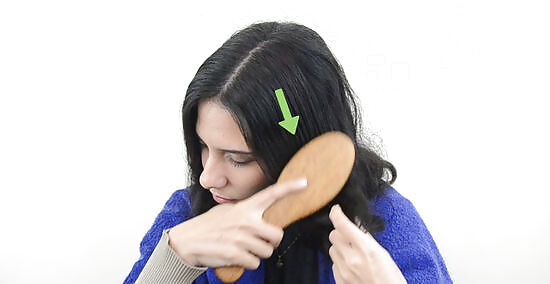
Brush your hair. Be sure to remove any tangles or knots, starting at the ends and working your way up. If you have wavy or curly hair, use a wide-toothed comb instead. It may help to re-moisten your hair.
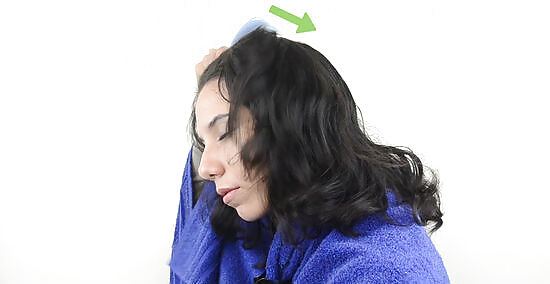
Comb your hair straight back. Using a fine or large tooth comb, begin at your forehead and end at the base of your neck. Once your hair is slicked back it will be easier to make clean, perfectly straight parts. Clean parts are crucial to making proper sections of your hair.
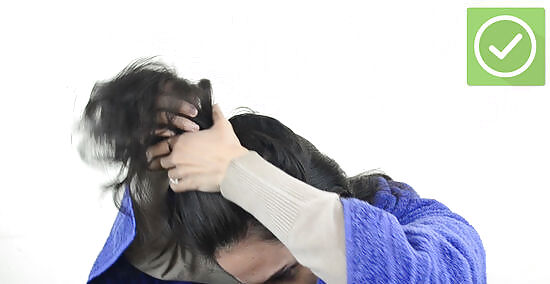
Part your hair. Starting immediately behind your left ear, draw the comb across the top of the scalp using the tip or edge of the comb. Stop when you reach the same position behind your right ear. Everything in front of the part will be considered the front section. Hold the comb at an angle like you would a knife. Depending on your own hair type and thickness, you may want to use a larger-tooth comb.
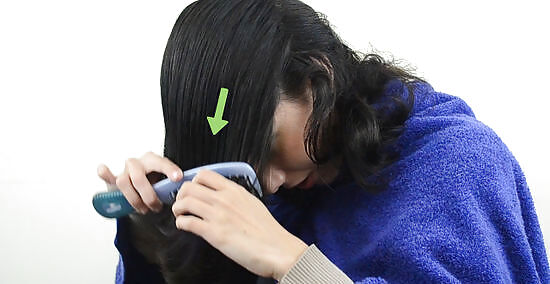
Comb the top section of hair forward. Remember, a clean part is the key to getting even sections, which will result in a more even trim.
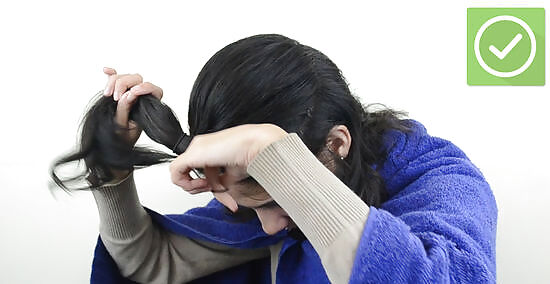
Secure the front section of hair. Use ties or bands to form pony tails that draw the hair away from the back of your head. Clips will work better for shorter hair.
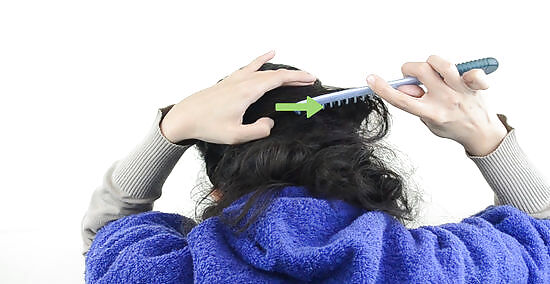
Create another part or section in your hair. Placing the tip of the comb at approximately the same position you did for the first part, draw a line around the back of your scalp that is parallel to the ground. End just behind your opposite ear. Hair above this part is considered the top, while the hair that falls below is referred to as the bottom.
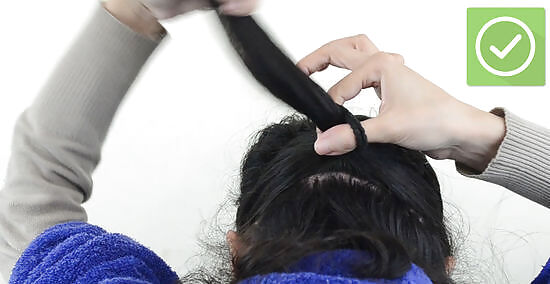
Secure the top section as you did the front. Use ties or clips as needed. Do not section the bottom.
Trimming Your Hair
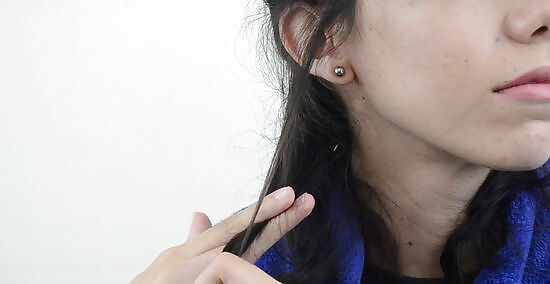
Make a scissor like motion with the index and middle fingers of your free hand and "pinch" off two-to-three inches of hair. Be sure to select hair from the bottom section and on one-side of the scalp or the other, but not the middle. This will be your guide cut. In this case, your freehand will be the hand that you will not be using to hold the sheers or scissors. You will be doing this repeatedly, so be sure to maintain consistency with each pinch.
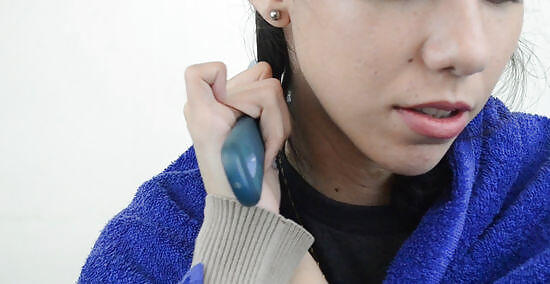
Comb this portion of hair straight. Be sure to work-out any knots or tangles and repeat as necessary. It might help to re-moisten your hair. Depending on your hair type, a brush might work better to remove knots and tangles.
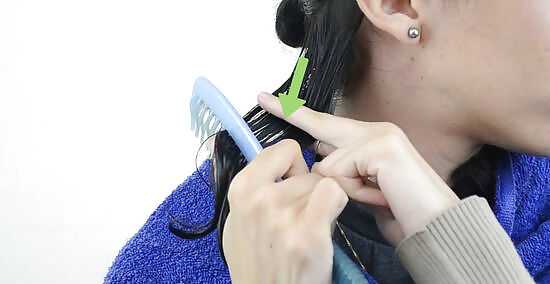
Run the comb through this portion, again. This time, as you run the comb the length of your hair follow it with your pinched fingers. Leave approximately a quarter-inch of a gap between your fingers and the comb and be sure to maintain a consistent pinch. Pinch too loosely and the hair will not sit right and will result in an uneven trim. Not much tension is necessary, so don't feel like you need to pinch very tightly either. Do not use a brush for this step.
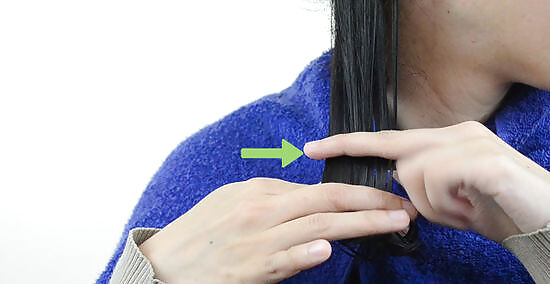
Stop sliding your fingers just one-inch from the tips. If you have managed to hold your fingers properly throughout the comb--and the slide--you will be able to see uneven growth at the ends. Practice this over-and-over and be sure to maintain consistent motions. The more consistent you can be with this, the more consistent your trim will be.
Make your guiding-cut. Using clean, sharp, salon quality scissors or sheers, even out the ends of your hair by making a cut that is parallel to your pinched fingers. Follow the existing shape of each piece of hair as you trim. The amount of hair trimmed is up to you. Standing in front of a mirror helps when you are trimming your own hair. It can, however, be quite difficult getting used to working with your mirror image.
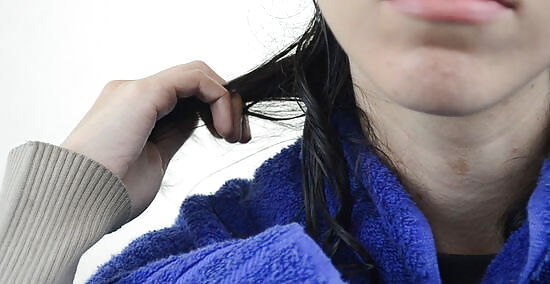
Pinch off another portion of hair. This portion should be immediately next to the portion of hair that you just worked with and should include about 25-percent of the hair that you just trimmed. Once this portion is combed straight, you should be able to see a sharp difference between the hair that has been trimmed and the hair that has not. Use the trimmed hair as a guide.
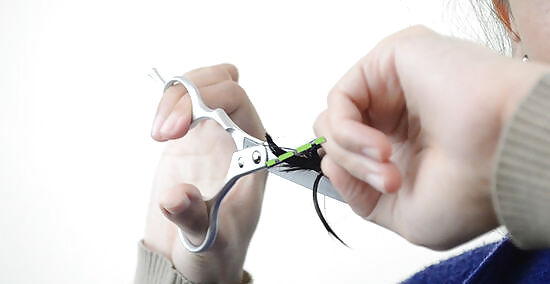
Repeat steps one through four. Make sure to use the exact same scissor-pinch motion. You should be able to see a sharp contrast between trimmed and non-trimmed hairs.
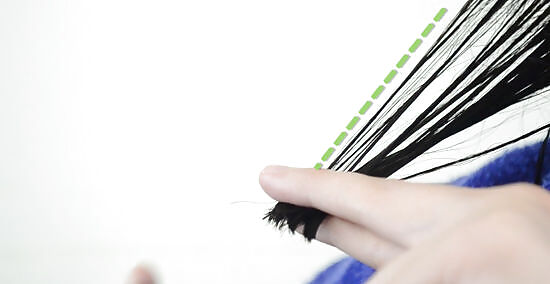
Even out the hair. Extend the straight-edge line you created with your guide cut by trimming the overgrown hairs. Take a few deep breaths to steady your hand if needed.
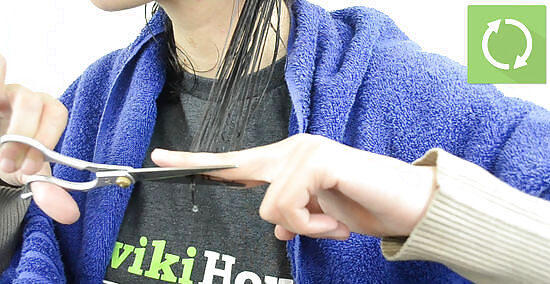
Work your way throughout the bottom section. Repeat steps one through five as needed.
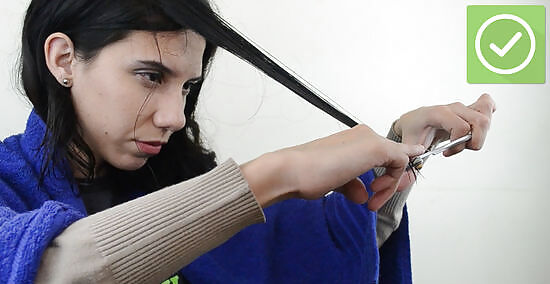
Complete your trim. Once you have completed the bottom-section of your hair, you can now move on to the top, and later, the front. Repeat steps one through five for each portion of hair, in each section until you are finished.







Comments
0 comment