views
Taking Apart a Wooden Frame
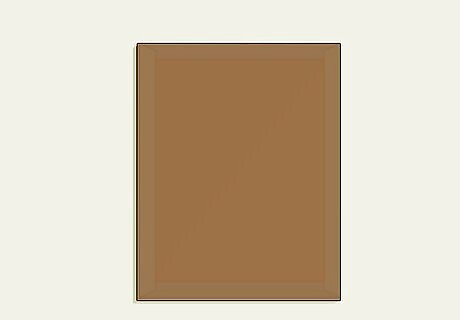
Flip your frame over so it’s face-down. You’ll be working from the back of the frame as you take it apart. Work on a clean flat surface so you don't damage the glass on the front.
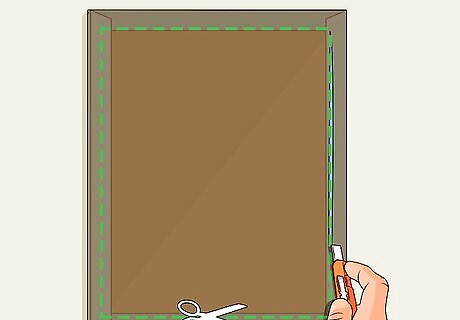
Cut off the paper backing using a utility knife. If the back of your wooden frame isn’t covered with paper, you can skip this step. Otherwise, cut along the inside edges of the frame with the utility knife and then pull the cut-out paper off the back of the frame.
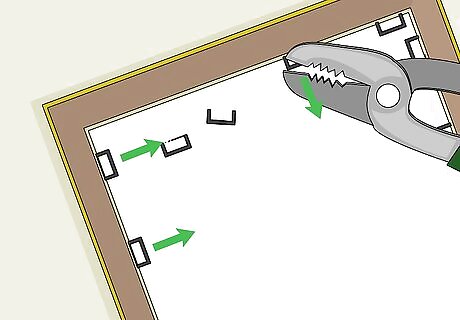
Pull out the nails or staples with pliers. Now that the paper backing is off, you should see a piece of cardboard that’s held in place by small nails or staples. You need to pull them all out with the pliers so you can take the cardboard out of the frame. If you’re having trouble getting staples out with pliers, try a staple remover.
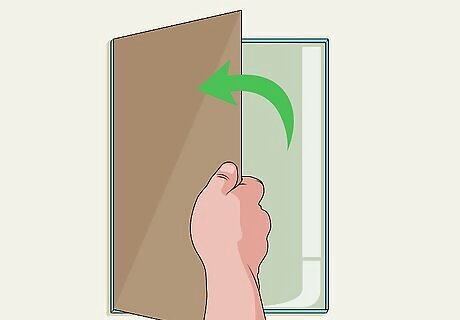
Lift the contents of the frame out of the frame. Take out the piece of cardboard, the print, and the glass. Set them somewhere safe so you can reuse them later.
Disassembling a Metal Frame
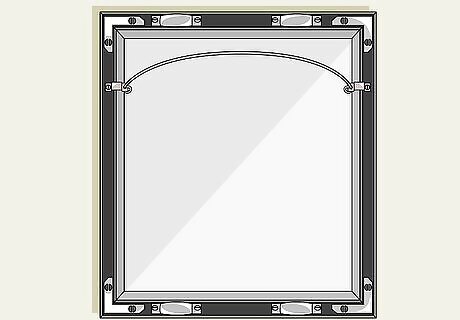
Turn your metal frame over so it’s upside down. You’ll need to access the back of the frame to take it apart. Make sure the surface you're working on is clean and flat so the glass on the front of the frame doesn't get damaged.
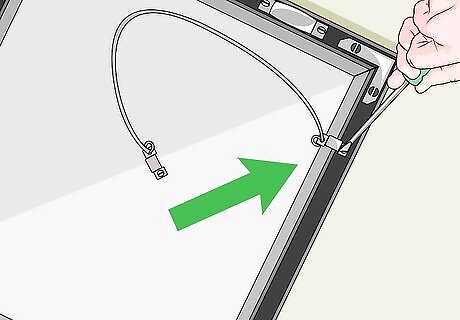
Unscrew the wire from the back of the frame. Most metal picture frames are hung using a wire that runs between the left and right sides of the frame. If your frame doesn’t have a wire, you can skip this step. If it does, use a screwdriver to remove the screws that are holding the wire in place. Set the wire and screws aside.
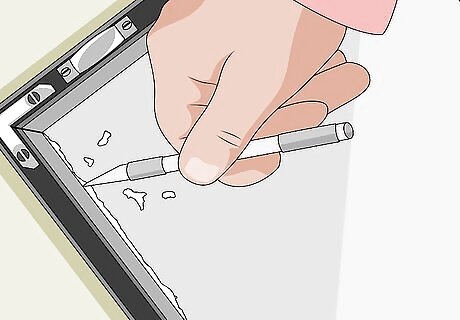
Cut along the inner edges of the frame with a utility knife. There should be paper lining the inner edges of the frame. You’ll need to cut through the paper so you can access the spring clips that are holding the frame together.
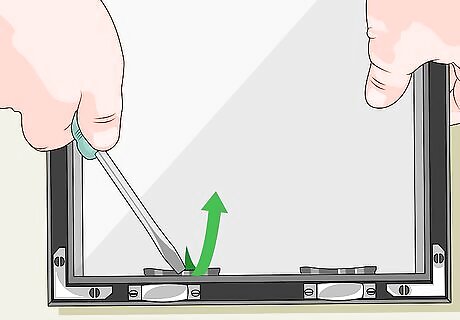
Use a flat-head screwdriver to pull out the spring clips from the inner edges. The spring clips are the clips inside the frame that hold the contents of the frame in place. To remove them, wedge the flat-head screwdriver under the ends of the clips and bend the screwdriver until they pop out. Once they’re partially out of the frame, use your hands to pull them out the rest of the way. There should be 4 spring clips in total — 1 on each side.
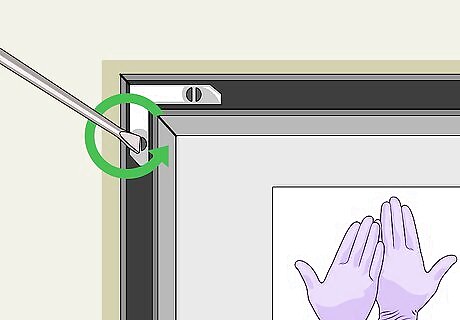
Remove the screws in the bottom corners of the frame. You need to remove these screws so you can take apart the bottom of the frame. When you're finished, place the screws somewhere safe so you have them when you're ready to put the frame back together.
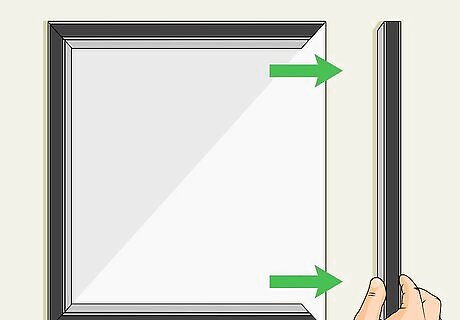
Pull the bottom side of the frame out. The bottom side should easily separate from the rest of the frame now that the screws in the bottom corners have been removed. If it’s stuck, try tapping on it a few times with the handle of the screwdriver to force it out.
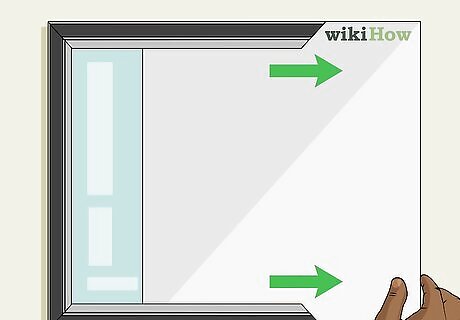
Slide the contents of the frame out of the open side. Set the frame backing, the print, and the glass aside. When you’re ready to put the frame back together, all you need to do is slide the contents of the frame back into the open side and screw the bottom of the frame back on. But on fancier frames, do make sure to pinch together the two prongs on the corner L-brackets, when reassembling. This guides them to the correct groove to align parts properly. Otherwise the external corners will be misaligned.






Comments
0 comment