views
Taking a Screenshot
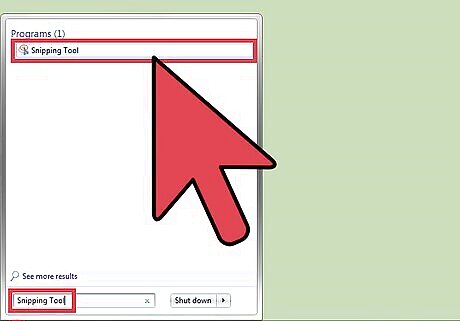
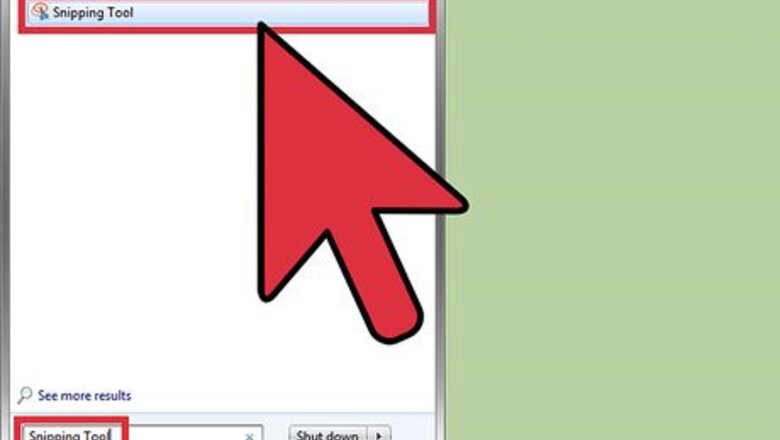
Open the Snipping Tool. Click the “Start” button.” Type “Snipping Tool” in the search bar and open the application If you are using Windows 8, place your cursor in the lower right corner of your screen. Swipe up and select “Search.” Type “Snipping Tool” in the search bar and select the result listed as “Snipping Tool.” If you are using Windows 7 or Windows, click "Start". Select "All Programs", followed by "Accessories", then "Snipping Tool".
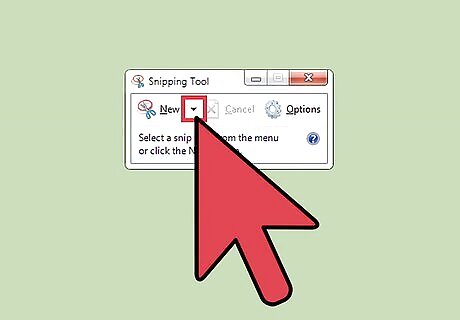
Click the downward pointing arrow next to "New".
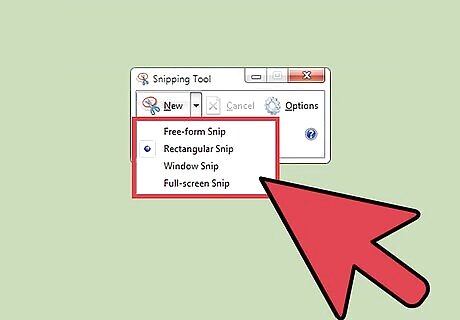
Choose a snip type from the drop-down menu that appears. “Free-form Snip:” Use your stylus or cursor to draw a custom shape around the item “Rectangular Snip:” Take a rectangular snip by clicking and dragging your cursor or stylus along and around the edge of the item “Window Snip:” Click on the window you want captured in the snip. “Full-screen Snip:” Snip the entire screen
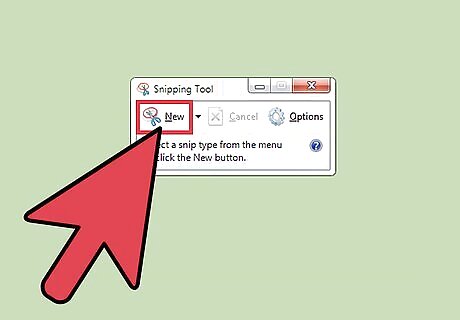
Click "New".
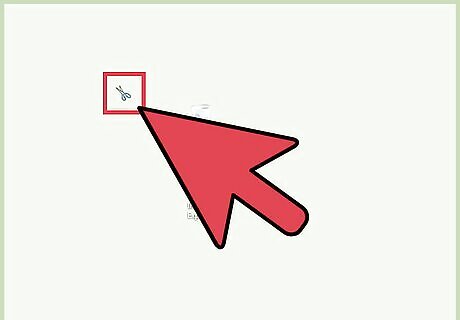
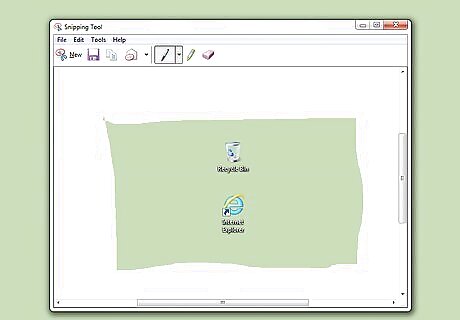
Draw free-form around the object you want to capture. Click down on your cursor and hold as you draw free-form around the object you want to capture.
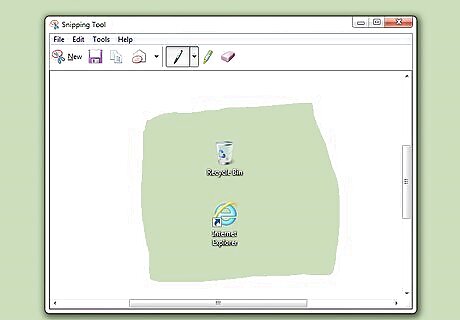
Release the cursor to take the snip. The snip will open in the Snipping Tool’s Mark-up Window where you can edit, annotate, or share it
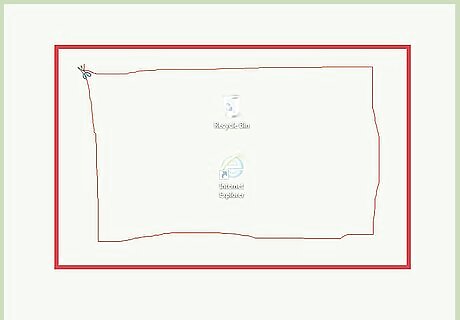
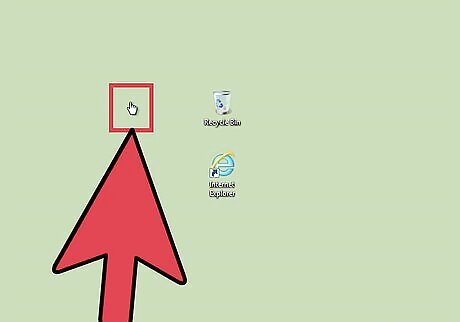
Draw a rectangle around the object you want to capture. Click down on your cursor and drag your cursor to create a rectangle around the object .
Release the cursor to take the snip. The snip will open in the Snipping Tool’s Mark-up Window where you can edit, annotate, or share it
Click on the window you want to capture.
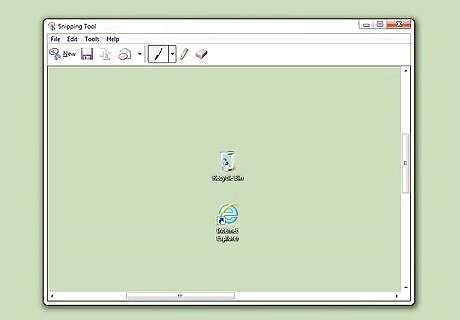
Release the cursor or stylus to take the snip.
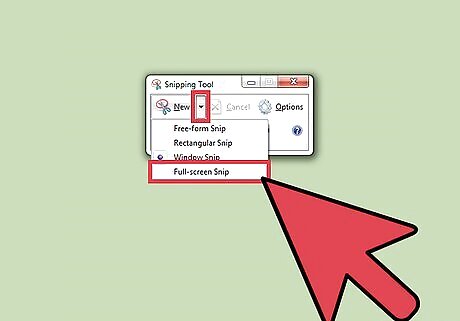
Capture a Full-screen snip. After selecting “Full-screen snip,” a screenshot of your entire screen is instantly captured. The snip will open in the Snipping Tool’s Mark-up Window where you can edit, annotate, or share it
Snipping on a Time Delay in Windows 10
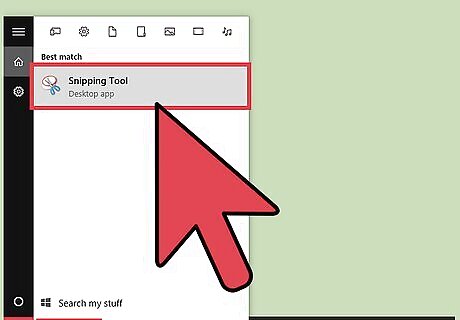
Open the Snipping Tool and set a time delay. Windows 10’s Snipping Tool has a new feature, called “Time Delay.” When you take a traditional snip, you don’t have any time to “set up” the shot, making it impossible to capture a screenshot of anything that requires a click from your mouse to open. The time delay feature gives you 1, 2, 3, 4, or 5 seconds to move your mouse and click a feature, such as a drop-down menu, before the snip is captured.
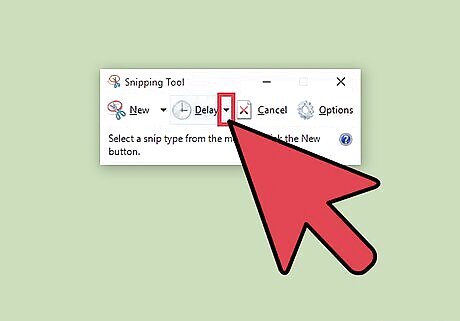
Click on the downward pointing arrow next to "Delay".
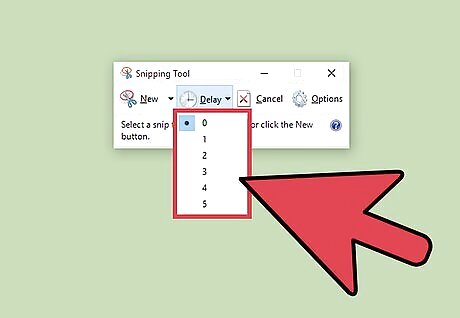
Set a "1", "2", "3", "4", or "5" second delay.
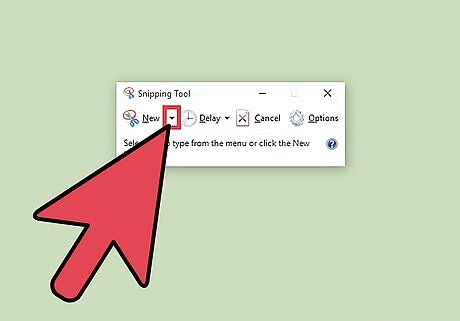
Click the downward pointing arrow next to "New".
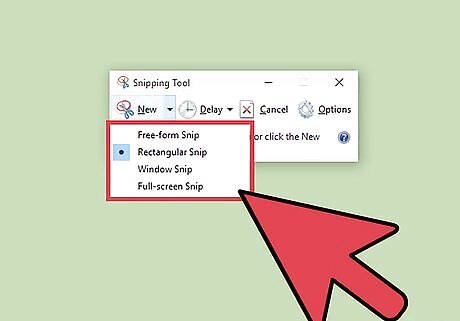
Select a snip type. Options include: "Free-form snip", "Rectangular snip", "Window snip", or "Full-screen snip".
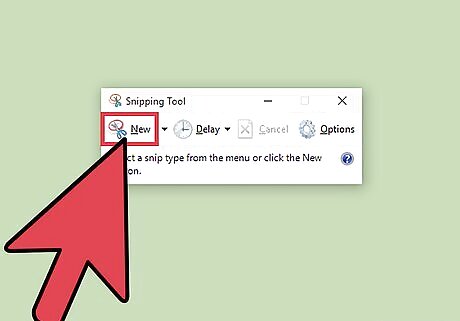
Click "New". Normally when you select this an overlay instantly appears on your screen. However if you've selected a time delay the overlay will appear after 1, 2, 3, 4, or 5 seconds. When the delay is done, your overlay will appear, effectively freezing your screen and allowing you to take the screenshot you desire.
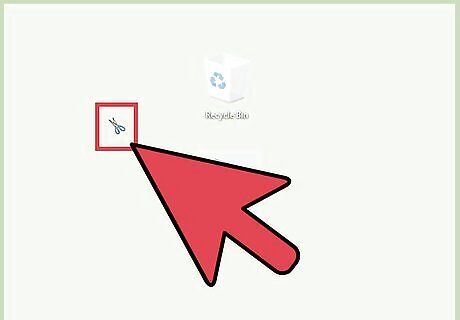
Draw free-form around the object you want to capture. Click down on your cursor and hold as you draw free-form around the object you want to capture.
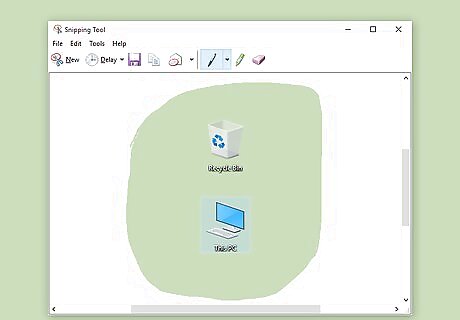
Release the cursor to take the snip. The snip will open in the Snipping Tool’s Mark-up Window where you can edit, annotate, or share it
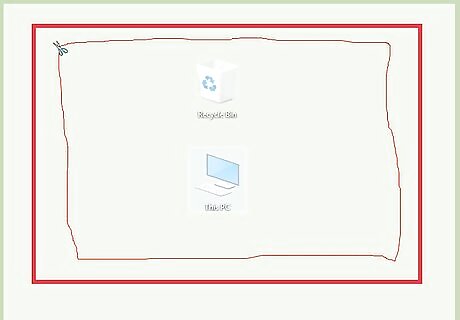
Draw a rectangle around the object you want to capture. Click down on your cursor and drag your cursor to create a rectangle around the object .
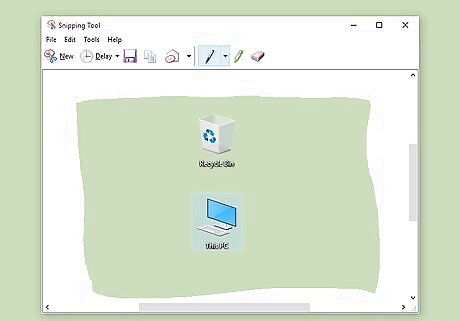
Release the cursor to take the snip. The snip will open in the Snipping Tool’s Mark-up Window where you can edit, annotate, or share it
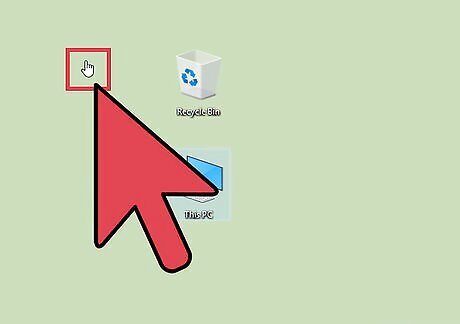
Click on the window you want to capture.
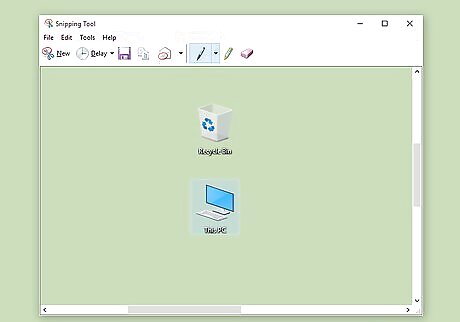
Release the cursor or stylus to take the snip.
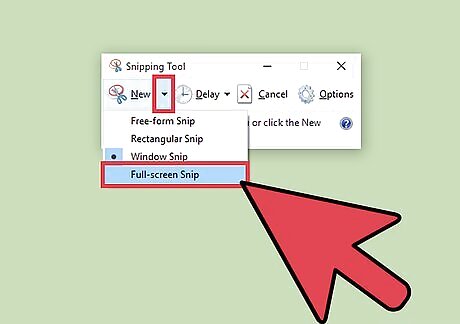
Capture a Full-screen snip. After selecting “Full-screen snip,” a screenshot of your entire screen is instantly captured. The snip will open in the Snipping Tool’s Mark-up Window where you can edit, annotate, or share it.
Capturing Cursor-Activated Menus in Windows 7, 8 and Vista
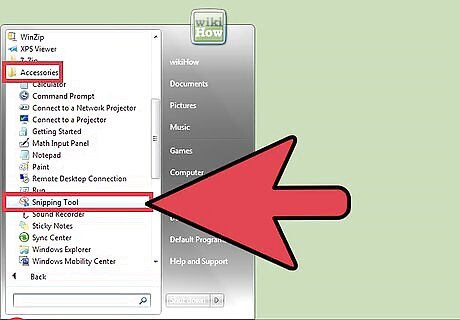
Open the Snipping Tool. Windows 8, 7, and Vista allows users to capture cursor-activated objects too. To begin, click “Start”, followed by “All Programs”, “Accessories”, and finally “Snipping Tool”.
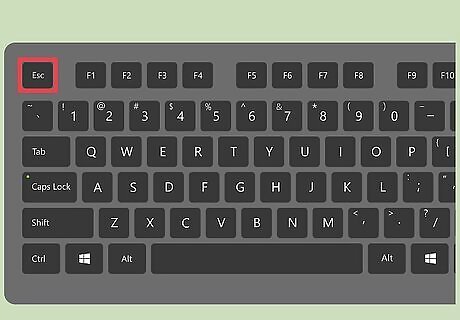
Push Esc. Pressing Esc will remove the overlay from the screen. The Snipping Tool will remain visible.

Open the menu you want to snip.
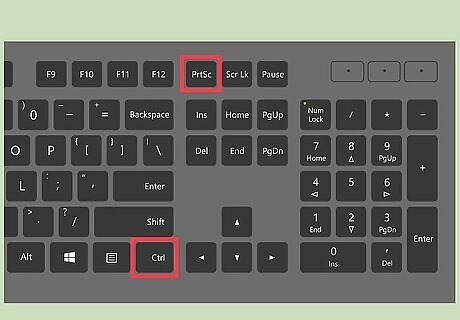
Press Ctrl+PrtScn to launch the Print Screen Function. The overlay will appear again and the screen will freeze. The Snipping Tool window will remain visible.
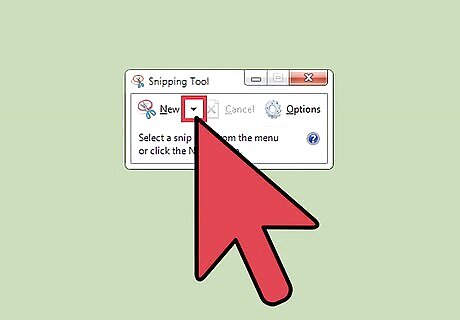
Click on the downward pointing arrow next to "New".
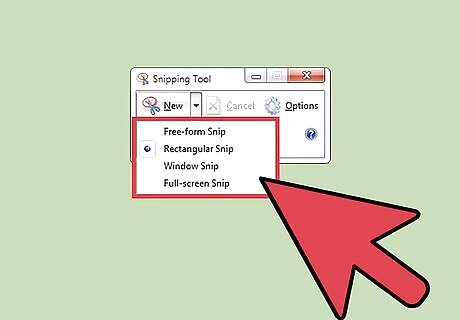
Choose a snip type. Options include: “Free-form snip”, “Rectangular snip”, “Window snip”, and “Full-screen Snip”.
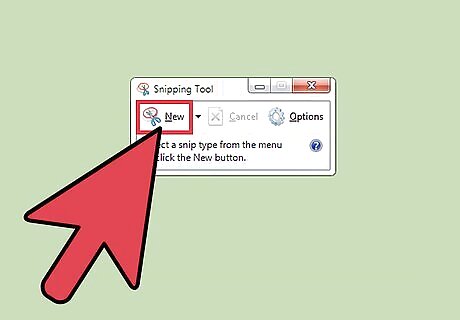
Click "New".

Draw free-form around the object you want to capture. Click down on your cursor and hold as you draw free-form around the object you want to capture.
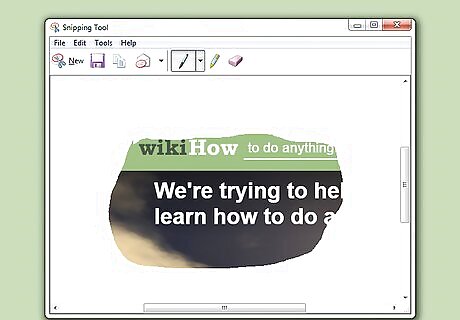
Release the cursor to take the snip. Once captured, the snip will open in the Snipping Tool’s Mark-up Window.
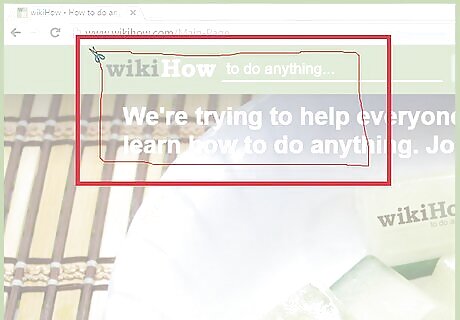
Draw a rectangle around the object you want to capture. Click down on your cursor and drag your cursor around the object to create a rectangle.

Release the cursor to take the snip. Once captured, the snip will open in the Snipping Tool’s Mark-up Window.

Click on the window you want to capture.

Release the cursor or stylus to take the snip.
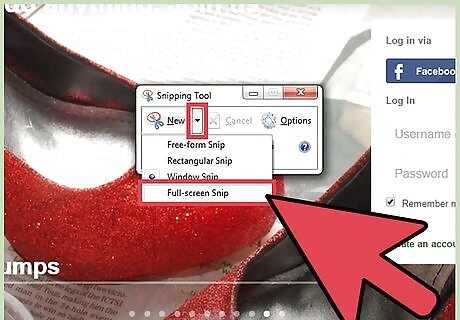
Capture a Full-screen snip. After selecting “Full-screen snip,” the screenshot is instantly captured. Once captured, the snip will open in the Snipping Tool’s Mark-up Window.
Annotating, Saving, and Sharing the Snip
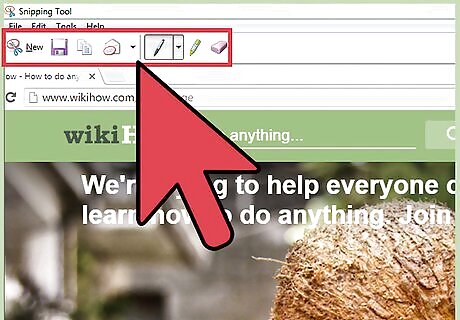
Write on the snip. Windows’ Snipping Tool includes a pen. You can use the pen to write freeform on your snip.
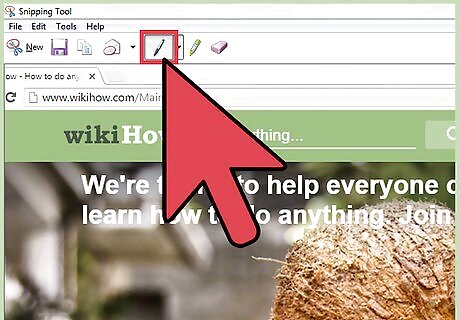
Click on the pen icon.
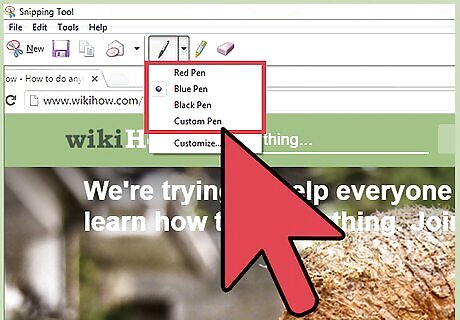
Select a pen type. Options include: ”Red Pen” ”Blue Pen” ”Black Pen” ”Custom Pen”.
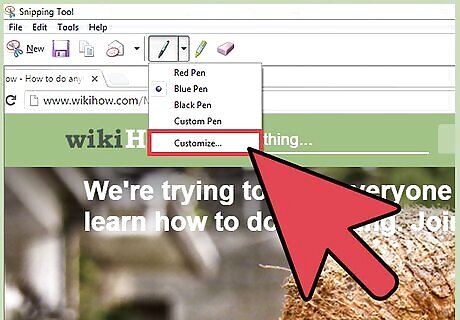
Customize the pen. From the drop down menu, select “Customize”. This option allows you to alter the pen’s color, thickness, and tip.
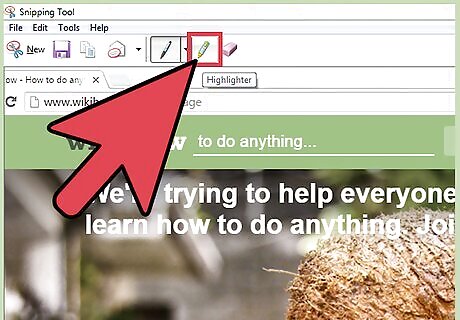
Click on the highlighter icon and then highlight the snip. It is located next to the pen icon. You may use the highlighter to draw attention to important aspects of your snip. This tool is not customizable.
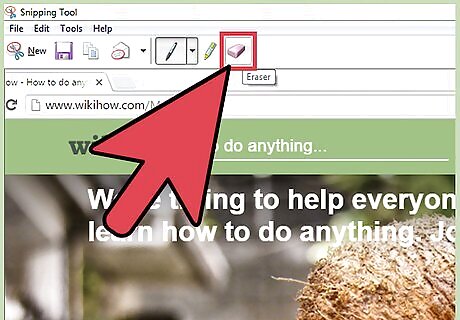
Click on the eraser icon and then erase your annotations. Hold as you move the eraser over any previous annotations you want to remove.
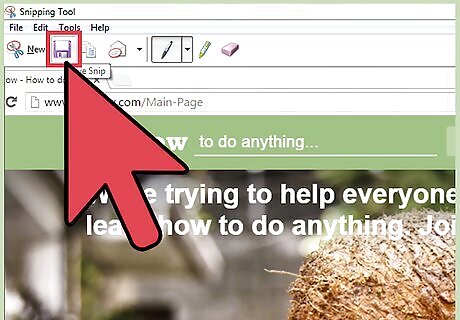
Tap the “Save Snip” button to save the snip.
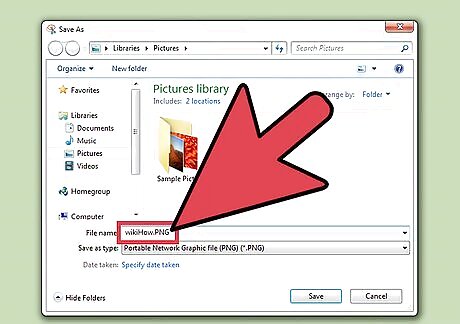
Assign a name to the snip and select where you want to save it.
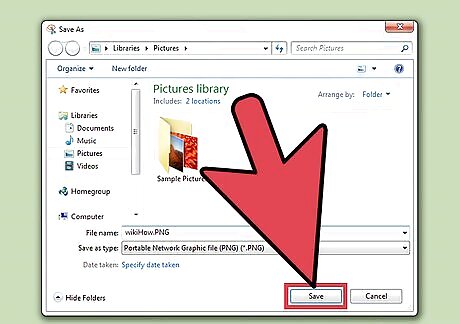
Click “Save.”
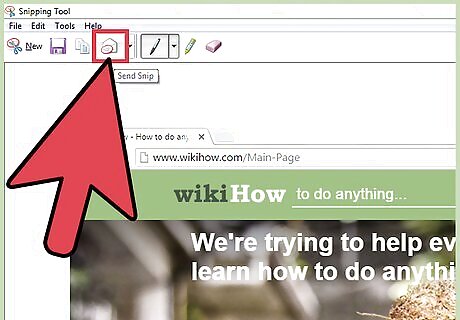
Select the “Send Snip” button to email the snip. Clicking this button will launch your default mail-client and automatically attach the snip to the email.
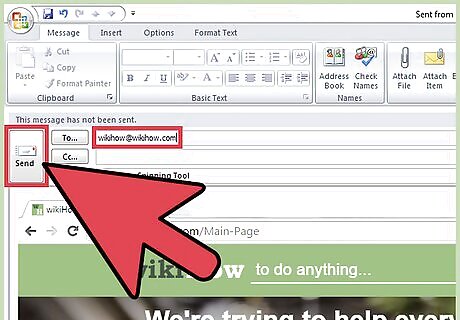
Type in the email address and click “Send”.


Comments
0 comment