
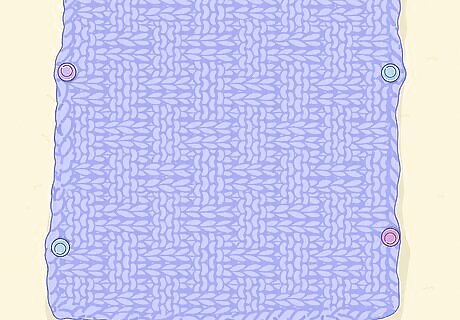
Choosing a Stitch
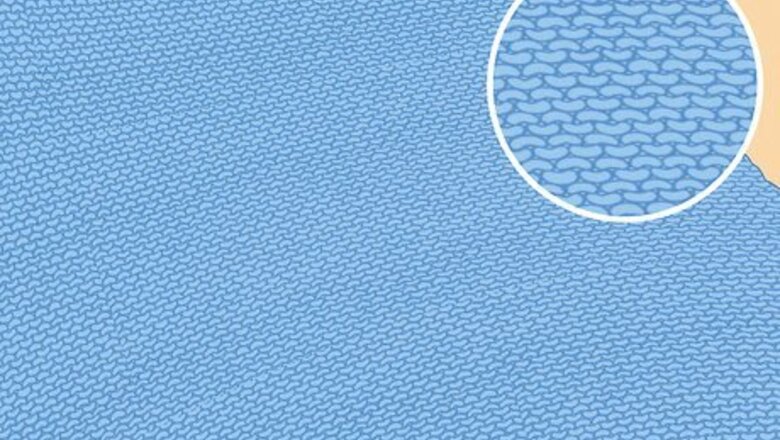
Work in the garter stitch for the simplest pattern. If you're new to knitting and want to make your first scarf, learn the garter stitch. To make this basic stitch, simply make knit stitches for every row until the scarf is as long as you want it to be. Since the garter stitch relies on knit stitches for every row, you won't get the curling that you have from an imbalance of knit and purl stitches. The garter stitch is a foundation pattern in knitting. Once you're comfortable with the garter stitch, try patterns that include purl stitches as well.
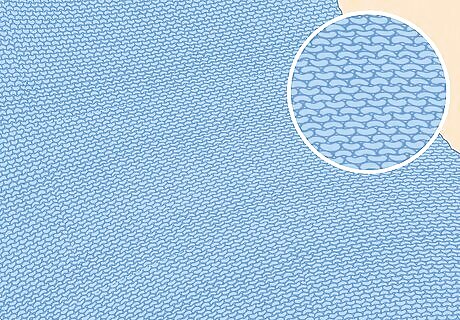
Use a seed stitch to create a simple texture. If you'd like to create a slightly knobby texture on your scarf, use the seed stitch (also called the British moss stitch). To make the stitch, work 1 row of knit 1 purl 1 (K1, P1). For the next row, work purl 1 knit 1 (P1, K1) across. Keep alternating these rows until the scarf is as long as you want. Although the moss stitch is similar to a stockinette stitch, it won't curl because each row is balanced between knit and purl stitches. To make an American moss stitch, make the first row of K1, P1, but then do 2 rows of P1, K1 and 1 row of K1, P1.
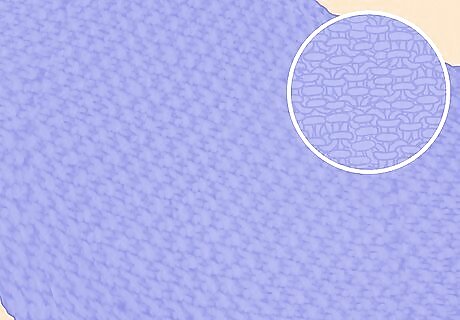
Make a basketweave stitch scarf. For a fun pattern that has a woven textile look, cast on a multiple of 8 stitches. Knit all of the stitches for the first row. For rows 2 through 6, K4, P4 across each row. Then knit every stitch of row 7. For rows 8 through 12, P4, K4 across each row. Repeat these 12 rows until the scarf is as long as you like. A basketweave pattern has a bit more weight than other patterns which can keep the edges from curling. The basketweave stitch can make your scarf look a little bulky. If you'd like a chunky scarf, use a thick yarn. To minimize the look, choose a finer yarn.
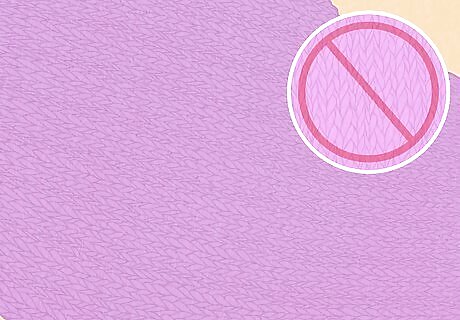
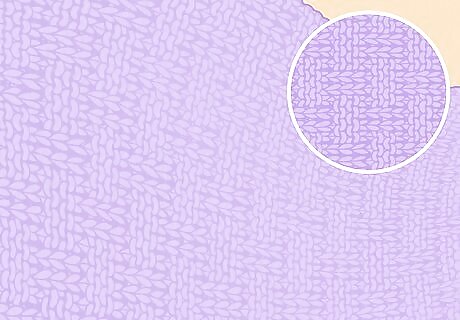
Avoid using a stockinette stitch for the scarf. If you choose a pattern that has more knit stitches than purl stitches, it's more likely to curl up. Read your pattern carefully before beginning and don't use a pattern that directs you work knit stitches on one side and purl stitches on the other side. The stockinette stitch works 1 row in knit stitches, followed by 1 row in purl stitches. If you do choose to knit a stockinette stitch for your scarf, it's important to add a border because the border will stop the edges from curling.
Adding a Border or Backing

Include a garter or seed stitch border. Determine how wide you want your border to be on both sides and decide if you want a simple garter or seed stitch border. Add the number of stitches you want to the pattern and remember to work an equal number of stitches on both ends of the scarf. For example, if you want to add 2 in (5 cm) of garter stitch on both sides of your scarf, you may need to add 16 stitches to the pattern. Knit 8 stitches when you begin a row, work the pattern across, and then knit the last 8 stitches. Repeat this for the scarf.
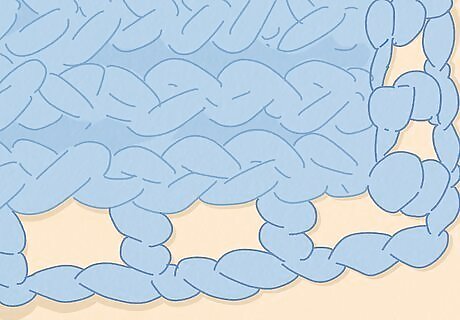
Make a decorative lacy border. If you want a lacy effect that will also help the scarf lay flat, add 6 stitches to your scarf when you cast on. Knit the first stitch, wrap the yarn around your needle and use it to knit the next 2 stitches together. Work the pattern across the row until you get to the last 3 stitches. Then K2, yarn over, and K1. For the following row, purl the first 3 stitches before you work the scarf pattern and purl the last 3 stitches. Repeat this for the rest of the scarf to create lace-like gaps for the border.

Knit a selvedge if you don't want a large border. You can add a few stitches to both ends of your scarf to prevent curling without creating the look of a noticeable border. For one of the simplest selvedges, cast on 4 stitches more than what your pattern calls for. Knit the first 2 stitches of every row and then work the pattern as directed. When you get to the last 2 stitches, knit each of them. Repeat this for every row of your scarf to make a double garter selvedge edge.
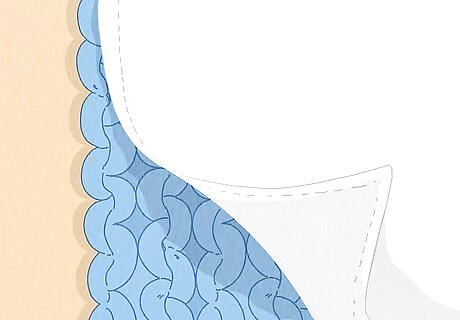
Put fabric backing or sewing tape on the wrong side of the scarf. Some scarves will stop curling if you add a little weight to one side of the scarf. Use sewing tape or stitch fabric backing onto the wrong side of the scarf. Place the tape or fabric along the edges of the scarf to stop them from curling. Keep in mind that if you use fabric, it will be visible which is why it's important to sew it onto the wrong side of the scarf. If your scarf doesn't have a hidden or wrong side because the pattern is worked on both sides, just choose one side to weight down.
Blocking the Scarf

Determine if your scarf has natural fibers. You can temporarily stop the scarf from curling by flattening it in a process called blocking. Since blocking only works with natural fibers, read the care label to see what it's made of. Avoid blocking the scarf if it's made with acrylic, rayon, polyester, or nylon. Natural fibers include wool, cotton, animal fibers, linen, and hemp.
Spread the scarf on a towel. Open a towel and lay it flat on a work surface. Then take your scarf and lay it on the towel so it's completely flat and as smooth as you can get it. Avoid pulling or tugging the scarf to stretch it.
Pin the scarf to the towel. Use sewing or safety pins to pin the edges of the scarf to the towel. Pin the scarf evenly so the pins don't pull or stretch the scarf into an unusual shape. Ensure that you don't split yarn when you insert the pins. Try to insert the pins between loops of stitches.

Spray the scarf with water until it's saturated. Fill a clean spray bottle with water and spray the entire scarf. Keep spraying until the scarf feels wet to the touch. It's important to get the scarf wet enough or it won't hold the flat shape for very long. If you don't have a water bottle, use your hands to flick water onto the scarf until it's wet. EXPERT TIP Gregory Patrick Gregory Patrick Knitting Specialist Gregory Patrick is a knitter who runs the popular blog Madman Knitting. He is also the author of the book "Mad Man Knitting or The Waiter and the Fly". He has been knitting and writing about knitting for over 10 years. Gregory Patrick Gregory Patrick Knitting Specialist Our Expert Agrees: It can be nearly impossible to keep the edges from curling while you're knitting. An easy way to get rid of the curling after you finish a piece is to wet the knitting, pin it flat to a blocking mat, and allow it to dry.

Leave the scarf to dry. Keep the pins in the scarf so the scarf stays flat as it dries. Depending on the size and thickness of your scarf it make take several hours or up to overnight before it dries. Once the scarf is dry, you can remove the pins. Keep in mind that you'll have to block the scarf again if you wash it in the future.


Comments
0 comment