views
Learning the Basics
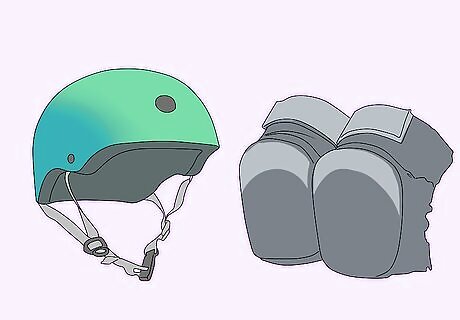
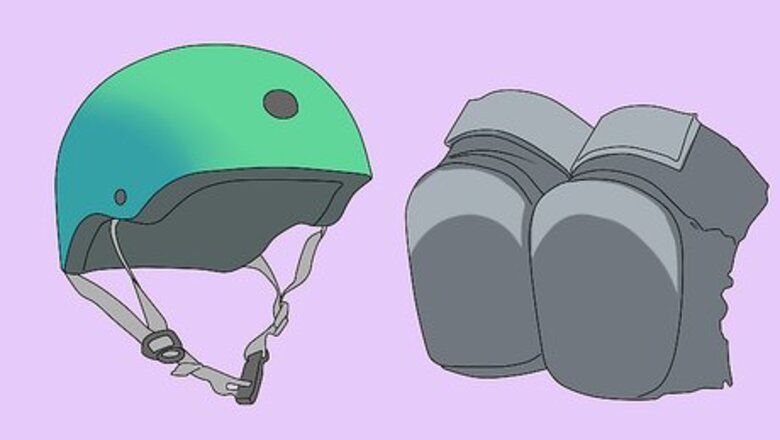
Put on a helmet, elbow pads, and knee pads to stay safe. Buckle the helmet onto your head and fasten the Velcro on your elbow and knee pads. When you ride a Ripstik, you can move at rather fast speeds and have the potential to fall and hurt yourself. To prevent hurting your head, arms, and legs, wear a helmet and protective padding. It’s also helpful to have a pair of sneakers with rubber soles. They help you stabilize your feet on the board.
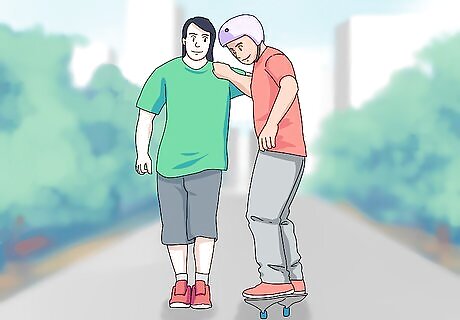
Have a friend help you balance if you need help getting on the board. It is much easier to balance if you have a friend who can support your weight as you stand on the board. Grasp their shoulder as you get balanced, then let go of them when your footing feels secure. If you don’t have a friend, lean on a wall or railing to help you get on the board.
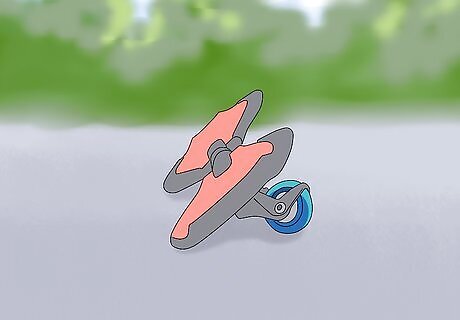
Put your RipStik on a smooth, flat surface. To get started, find a flat paved surface to practice on. This can be a sidewalk, driveway, or empty parking lot, for instance. Place the RipStik on the ground so it rests on its side. The board should face you and the wheels should point away from you. Avoid riding through areas with cracks, speed bumps, water, and sand. Any of these may throw off your balance and cause you to fall.
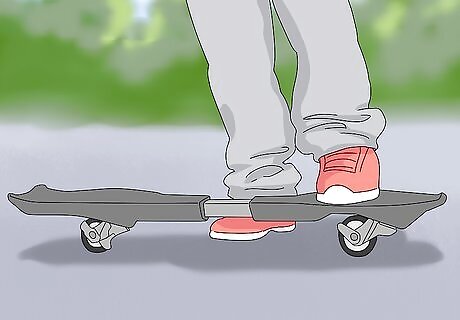
Place your non-dominant foot on the nose of the board. The front of the board is slightly more narrow, and this is called the “nose.” If your right foot is your dominant foot, place your left foot at the nose of the board. When you ride a RipStik, the nose must be facing forward. Riding with your left foot in front is referred to as riding "regular." Riding "goofy" is when you ride with your right foot on the nose of the board. The larger end called the tail of the board.
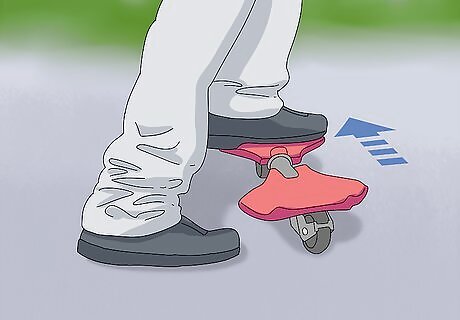
Push off with your dominant foot and place it on the tail. After one of your feet is centered on the nose, use your other foot to gain some momentum, and then square your foot on the center of the board. Move your foot in one quick motion so you can easily find your balance. At this point, both feet should be centered on each end of the board. You’ll find that speed equals stability when riding a RipStik, so pushing with one of your feet will help you get balanced. If a friend is helping you, they can let go at this time. If you are struggling to maintain your balance, try pushing off with a bit more force and moving your foot to the board faster. You can also try bending your knees slightly to help you stay in position.
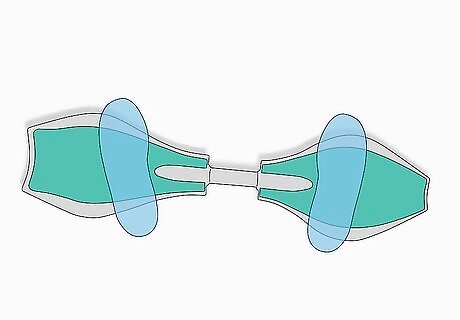
Reposition your footing if your feet are not centered. When you ride a RipStik, your feet must be in the middle of both the nose and tail sections. If they aren’t, simply stop the RipStik and try again. If your feet aren’t centered, you won’t be able to control the board, make a turn, or gain speed correctly.
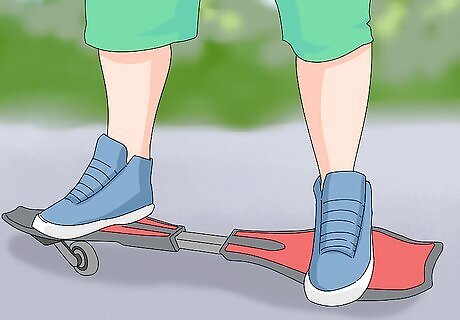
Maintain your balance as the board is moving. It’s much easier to stay on the RipStik once the board starts to move. Adjust your weight into a comfortable position and let the board glide forward. Keep your feet centered as you ride to move straight. This may take some practice, but with time, this motion will feel more and more comfortable. If you are having trouble balancing, try bending your knees slightly or practice somewhere near a wall or railing so you can get stability.
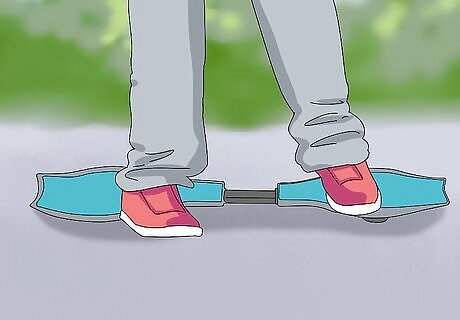
Step off the RipStik when you want to stop. Getting off of the RipStik is simple. All you need to do is take your dominant foot off the board, followed by your non-dominant foot. If you are going slowly, you can do this rather effortlessly. If you are concerned about your speed, move the foot on the nose of the board towards one side to come into a 90-degree turn, and then remove your foot. This slows the board down before you get off of it.
Gaining Speed and Turning
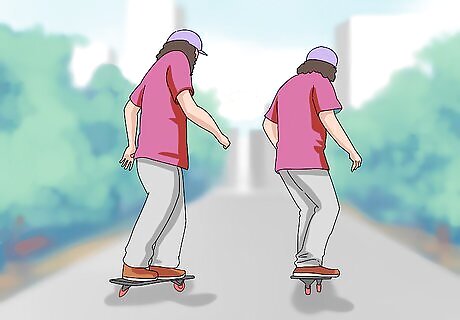
Twist your hips back and forth to move the RipStik faster. When riding a RipStik, you don’t have to push with your foot like you do when riding a skateboard. Simply wiggle the nose and the tail simultaneously by twisting your hips and shoulders back and forth. Move slowly to gradually increase speed, or twist your body quickly to go really fast. When doing this, your body moves in a snake-like motion.
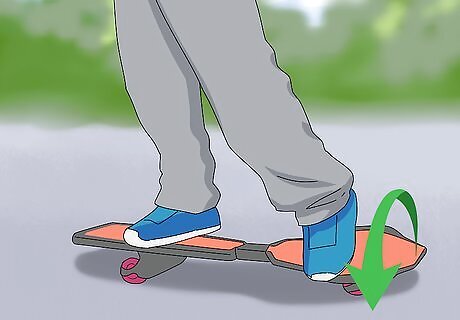
Shift your weight on your front foot from side to side to make a turn. The direction of your turn depends on which foot you have in the front. For instance, if your left foot is on the nose of the board, adjust your weight towards the toe-side of your foot to move to the right. To turn toward the left, distribute your weight to the ankle-side of your foot.
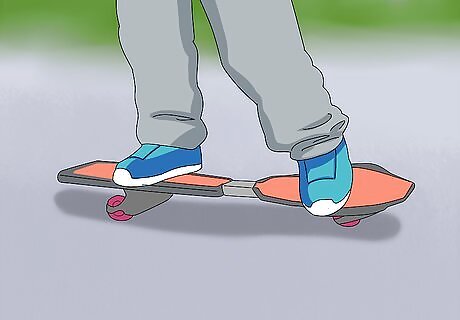
Move your feet in opposite directions to make a sharp turn. If you want to make a turn that’s greater than 90-degrees, adjust the foot on the tail of your board the opposite way you angled your front foot. For instance, if you lean toward the left to distribute your weight toe-side, twist your back foot towards the right. This may take some practice, but by moving your back foot the opposite way of your front foot, you can easily manipulate the RipStik.
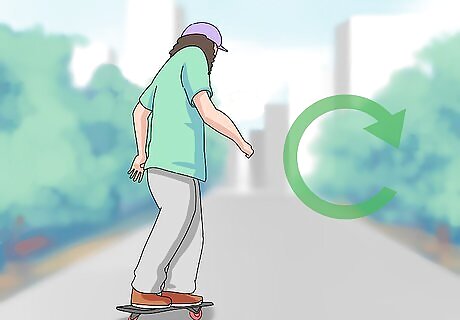
Practice this over time to perfect your turning technique. Riding a RipStik looks easier than it is, and it takes some practice to be able to get on the board, speed up, and turn with ease. If you can, practice for 30 minutes every day until you feel comfortable hopping on for a ride. The more you practice, the easier riding a RipStik will be.




Comments
0 comment