
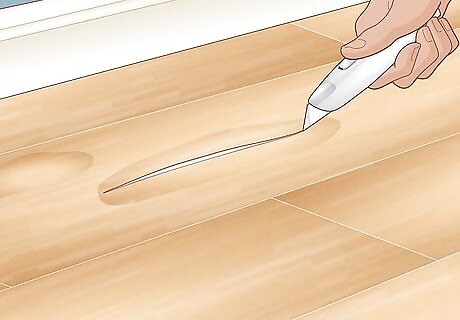
Repair Small Scrapes and Cuts
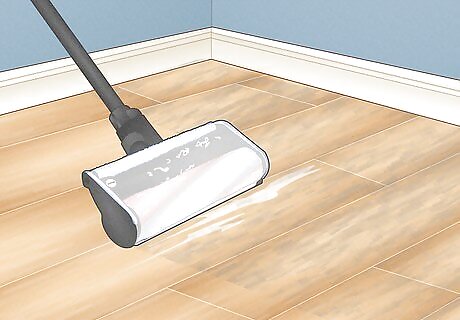
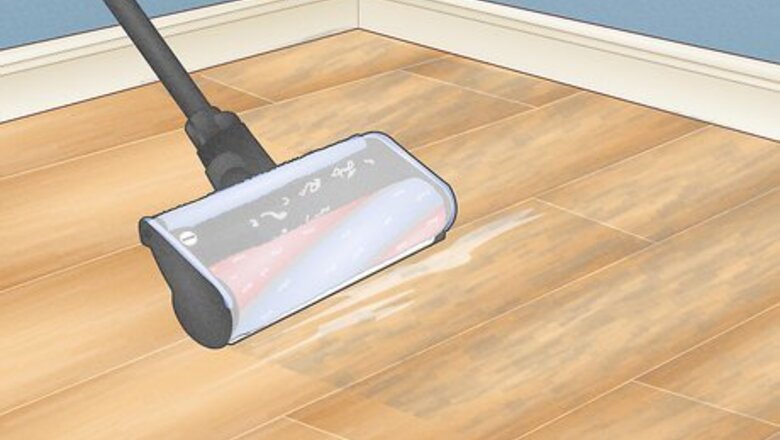
Use a vacuum cleaner or broom to clear away any existing dirt or debris from the surface of your vinyl flooring where the cut or scrape is located. Mop and rinse the damaged area with fresh, warm water if vacuuming or sweeping the area does not remove the dirt. Consult the manufacturer of the vinyl flooring for further direction on cleaning products that are safe to use if neither of the vacuuming or mopping methods do not remove all the dirt.
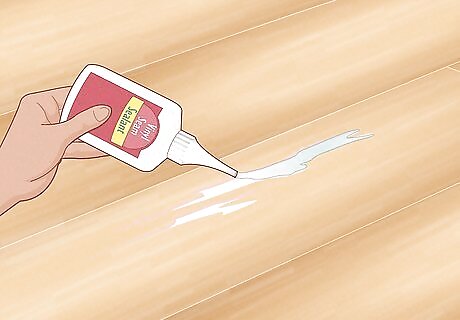
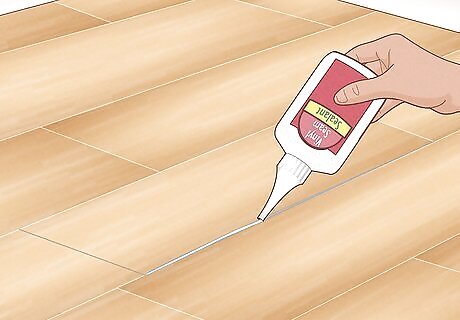
Apply a low-gloss seam sealer or vinyl seam sealant to the scraped or cut areas of the vinyl flooring. These products will help fill and seal any scrapes or cuts, preventing the lower layers of the vinyl flooring from deteriorating further.
Repair Bubbles
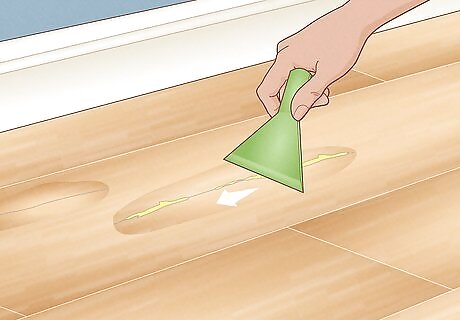
Use a utility knife to make a cut straight down the length of each bubble in the middle. If your vinyl flooring has produced bubbles as a result of water damage, wait until the floor has dried completely before making any cuts.

Use a squirt bottle or a glue syringe to squirt vinyl floor adhesive into each cut you have produced in the center of each bubble.
Use a tool such as a plastic putty knife to spread the adhesive around evenly beneath each bubble location.
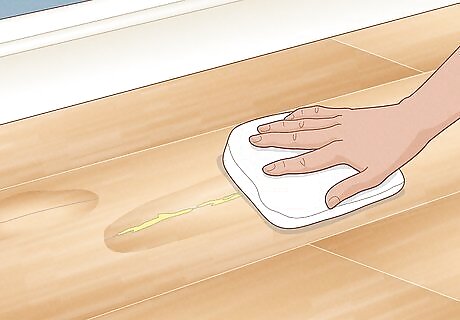
Remove any excess adhesive from outside of the cut in the vinyl flooring using a clean rag.
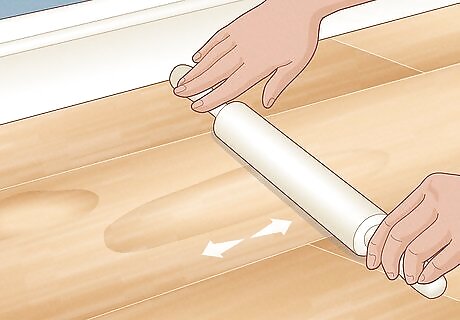
Use a rolling pin or similar object to roll across the adhesive spots in the vinyl flooring to make it stick to the floor evenly.
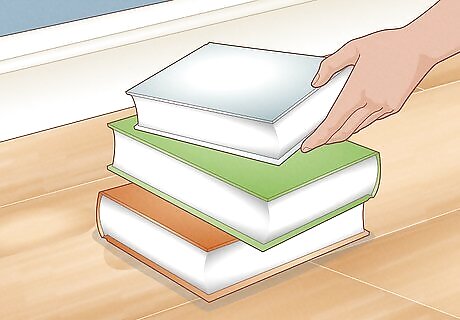
Place an object or multiple objects, such as a stack of books, evenly over the entire spot where the adhesive is now located and allow the flooring to dry completely. Consult with the directions on the vinyl floor adhesive packaging to determine how long it will take for the adhesive to dry fully.
Replace Flooring Suffering from Major Damages

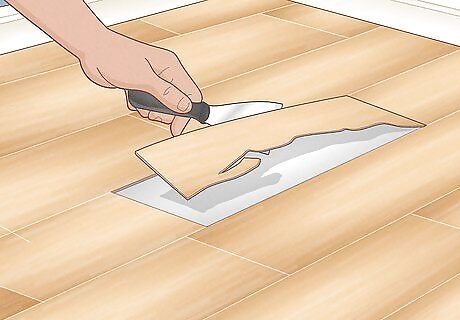
Use a utility knife with a fresh, sharp blade to make a cut around the tile or section of vinyl flooring you need to replace.
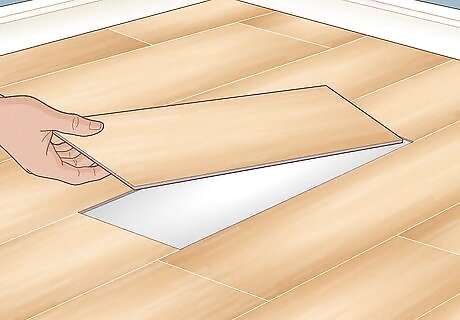
Firmly pry up the damaged flooring section using a putty knife or similar tool without damaging the surrounding flooring. If the adhesive is making the vinyl flooring section difficult to remove, aim a hair-dryer at the affected section to loosen the adhesive.
Obtain an extra vinyl flooring replacement tile that matches the damaged tile you removed. If your vinyl flooring is made from sheets instead of individual tiles, take the piece you cut from your floor and use it as a template to cut a new piece from a new sheet of flooring. If you do not have a matching vinyl flooring tile, you may want to consider removing a tile from a location where mismatched tiles will not be seen; such as underneath your refrigerator or stove, or from the inside of a closet.
Place the new flooring tile or sheet into the empty space in the floor to make sure it fits properly and make any necessary adjustments to its shape using the utility knife.
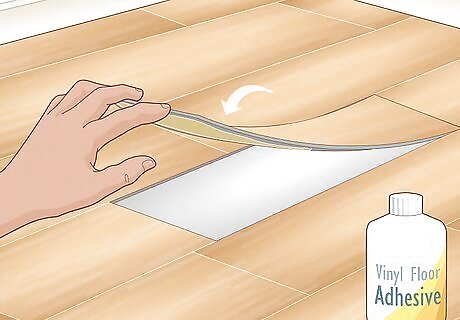
Apply the indicated amount of vinyl flooring adhesive as directed by the manufacturer to the matching replacement tile and secure it firmly into place.
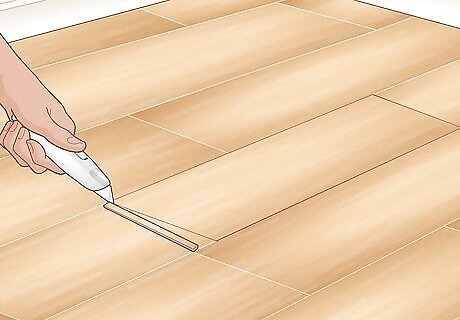
Apply vinyl seam sealant to any existing open seams that lack adhesive.
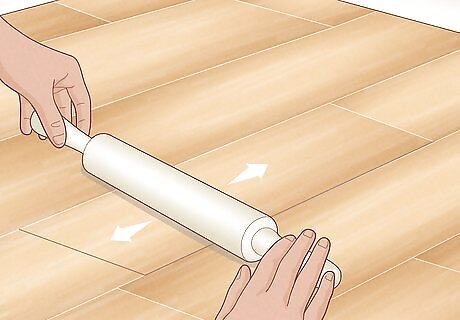
Use a rolling pin or hand roller all over the top of the new vinyl flooring to secure it into place and to enforce the adhesive.
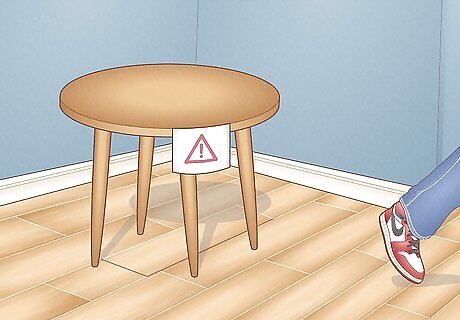
Divert all foot traffic away from the replacement section of the vinyl flooring until the adhesive has completely dried.


Comments
0 comment